
If you’ve been riding your mountain bike and suddenly realized the seat is uncomfortable, worn out, or just not fitting right, you’re not alone—many riders face this issue after rough trails or long sessions. Changing your mountain bike seat might seem intimidating, but it’s a straightforward DIY task that can restore comfort and improve your ride quality in under 30 minutes. With the right tools and steps, you can swap it out yourself and get back to pedaling with ease.
In this comprehensive guide, we’ll go beyond the basics to cover everything from selecting the perfect replacement seat to detailed installation steps, common pitfalls to avoid, and tips for long-term maintenance. Whether you’re a beginner biker or a seasoned trail enthusiast, you’ll walk away confident in your ability to change your mountain bike seat successfully. By the end, your bike will feel customized to your body, preventing soreness and enhancing performance on those bumpy mountain paths.
Tools and Materials Needed for Changing Your Mountain Bike Seat

Before diving into the process, gather the essential tools and materials to ensure a smooth swap. Most of what you’ll need is basic bike repair gear, available at any cycling shop or online retailer like REI or Amazon. This setup keeps things efficient and prevents frustration mid-project.
Here’s a quick rundown in table form for easy reference:
| Item | Quantity | Specifications |
|---|---|---|
| Allen wrench set | 1 set | Sizes 4mm to 6mm (most common for seat clamps) |
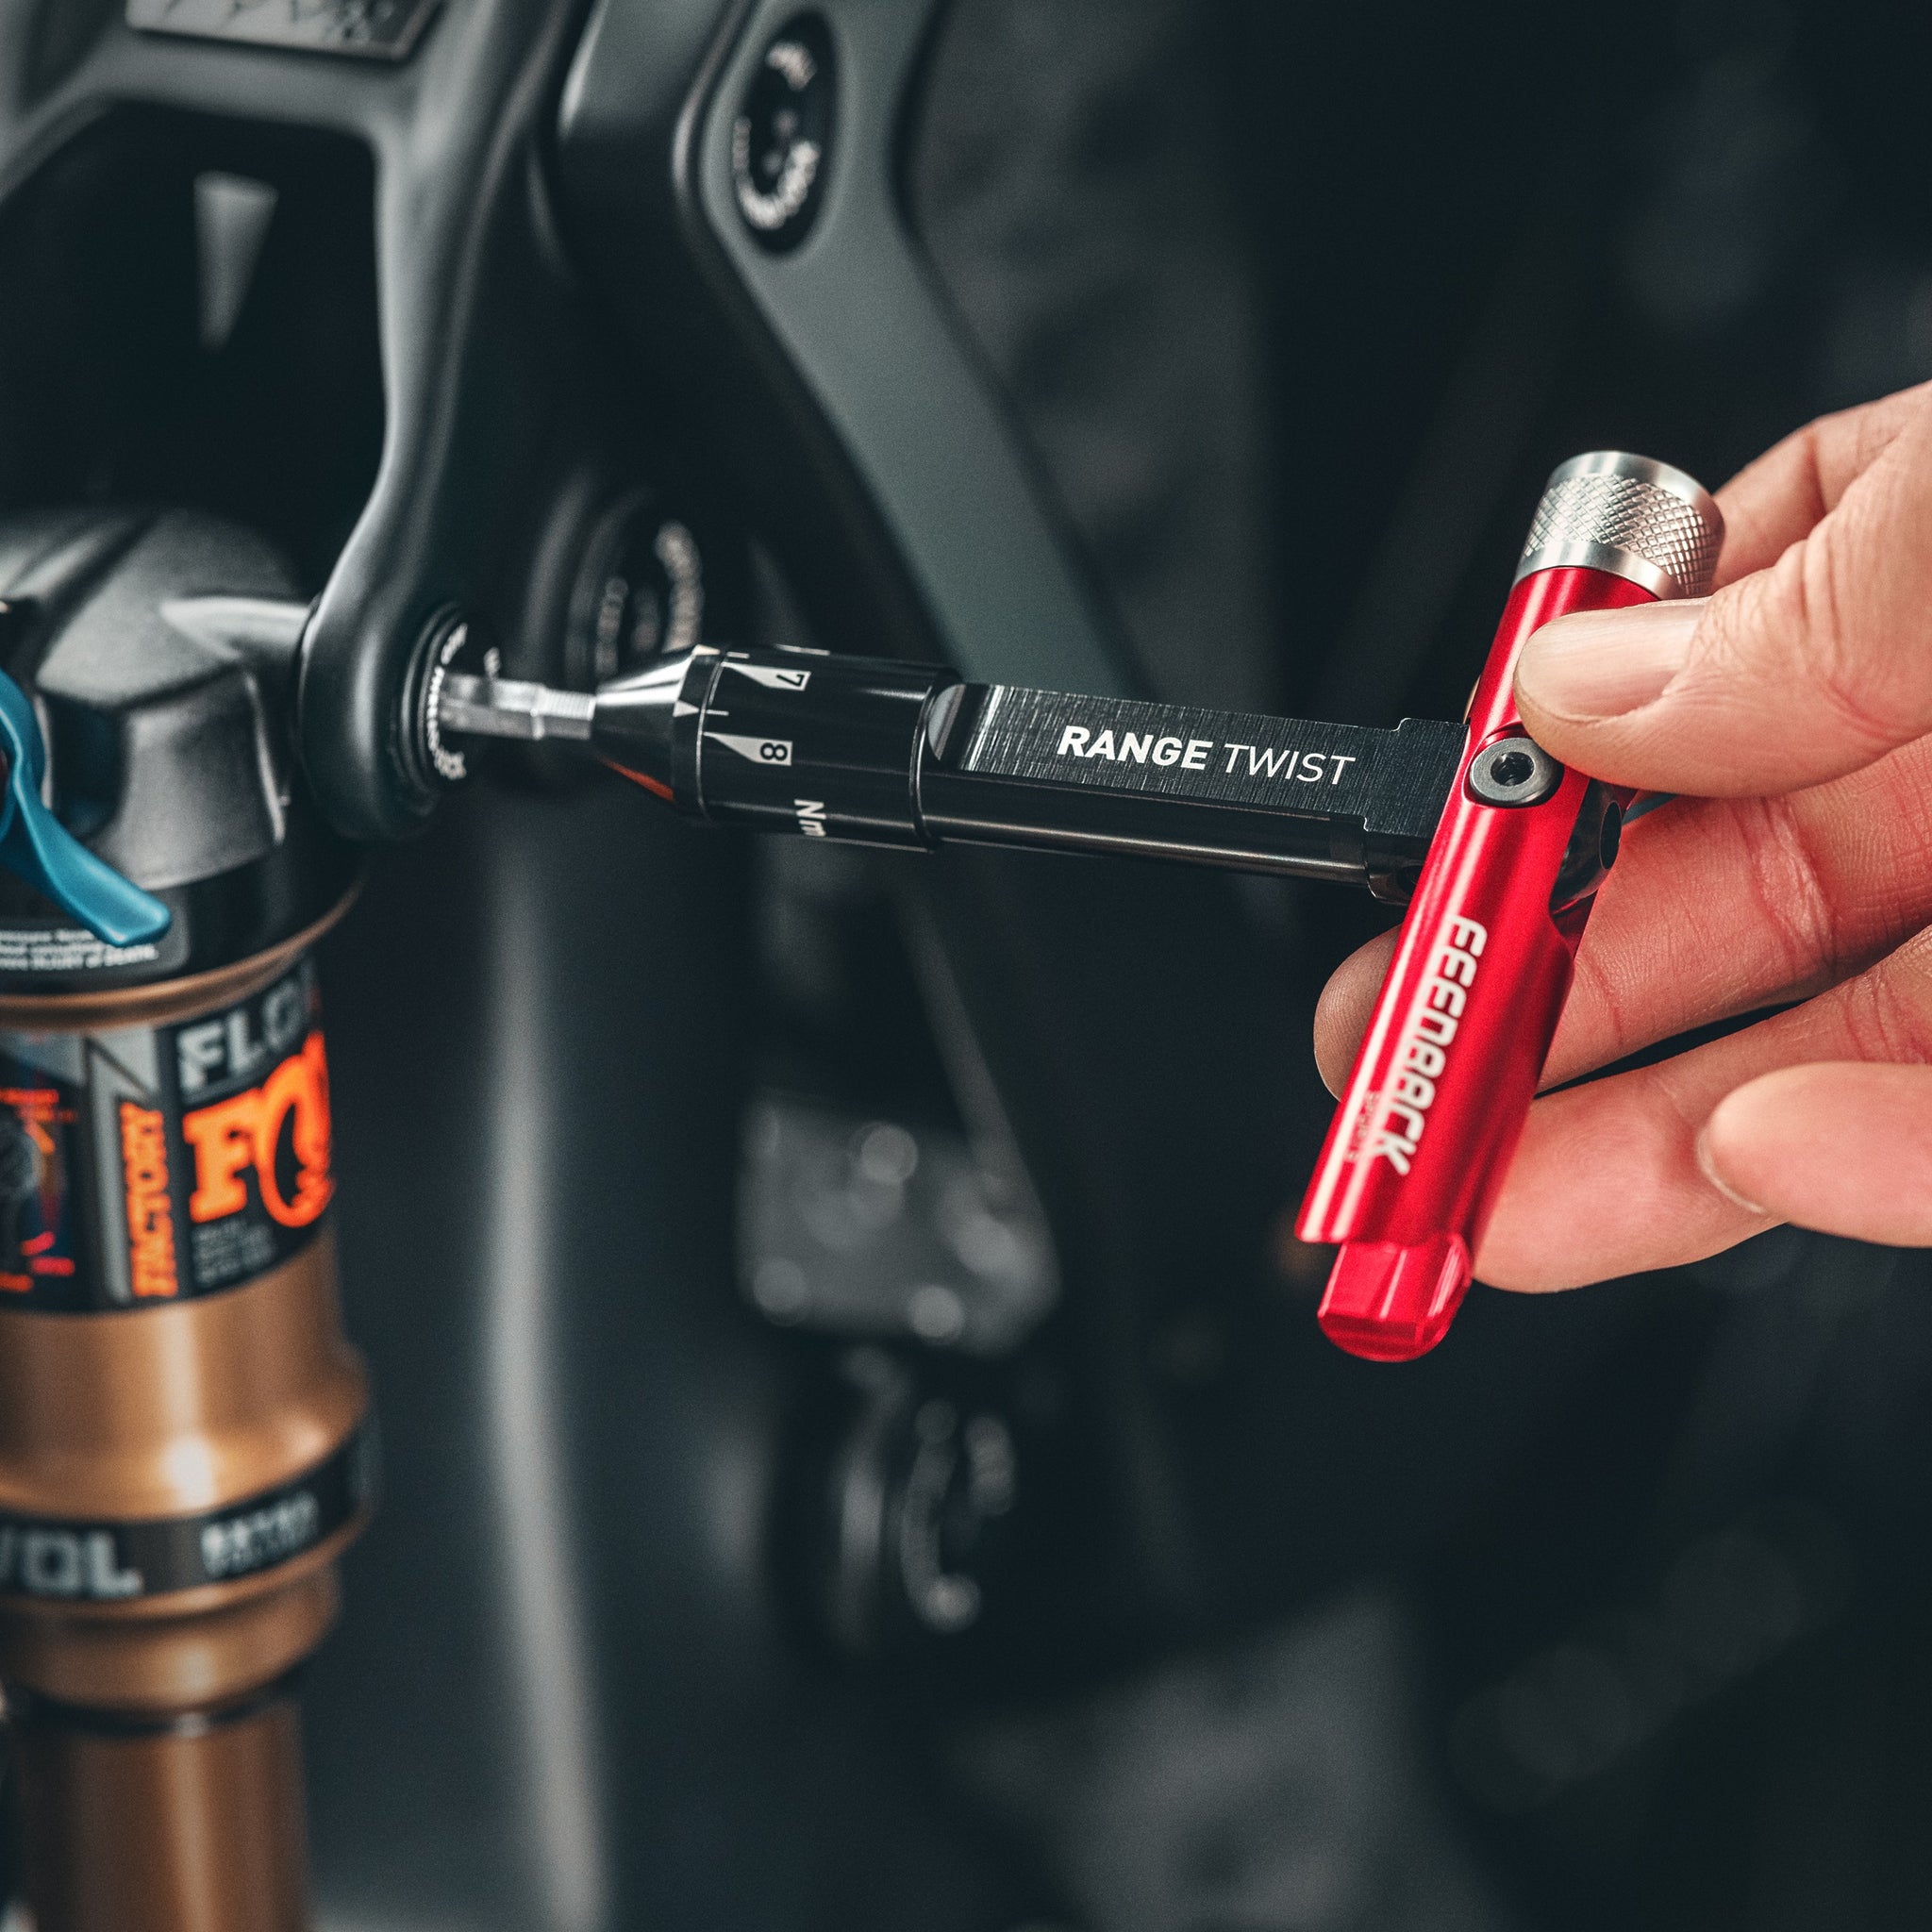
| Torque wrench (optional but recommended) | 1 | Adjustable to 5-7 Nm for precise tightening |
| New mountain bike seat | 1 | Compatible with your bike’s rails (e.g., chromoly or titanium); choose based on width (140-160mm for MTB) and padding for trail comfort |
| Seat post (if replacing) | 1 (optional) | Aluminum or carbon fiber, 27.2mm or 31.6mm diameter matching your frame |
| Bike grease or lubricant | Small tube | Waterproof type to prevent corrosion on bolts |
| Clean rag or microfiber cloth | 1-2 | For wiping down the seat post and rails |
| Bike stand (optional) | 1 | Wall-mounted or freestanding to hold the bike steady |
Pro Tip: If your bike has a quick-release seat post clamp, you might not need Allen wrenches at all—just ensure the replacement seat has standard rails for compatibility. Budget around $50-150 for a quality mountain bike seat, depending on features like cutouts for pressure relief or gel padding for off-road durability.
Preparation Steps and Safety Considerations
Proper preparation is key to avoiding damage to your bike or injury to yourself. Start by working in a well-lit, flat area like your garage or driveway. Park your mountain bike on a stable surface, and if possible, use a bike stand to elevate the rear wheel—this makes accessing the seat easier and reduces strain on your back.
Safety First: Key Precautions
- Wear protective gear: Even for a simple task like changing your mountain bike seat, gloves prevent slips on greasy bolts, and eye protection guards against flying debris if a bolt is stubborn.
- Disconnect the battery if electric-assisted: For e-MTBs, turn off and remove the battery to avoid accidental power surges.
- Check for compatibility: Measure your current seat post diameter (common sizes: 27.2mm, 30.9mm, or 31.6mm) using calipers. Mismatched parts can lead to instability on trails.
- Warning: Never ride with a loose seat— it can cause accidents. Torque all bolts to the manufacturer’s specs (typically 5-7 Nm) to prevent the seat from shifting during rides.
Important: If your bike is under warranty, consult the manual or manufacturer before modifications, as improper installation could void coverage. Allow 10-15 minutes for prep to ensure everything’s ready.
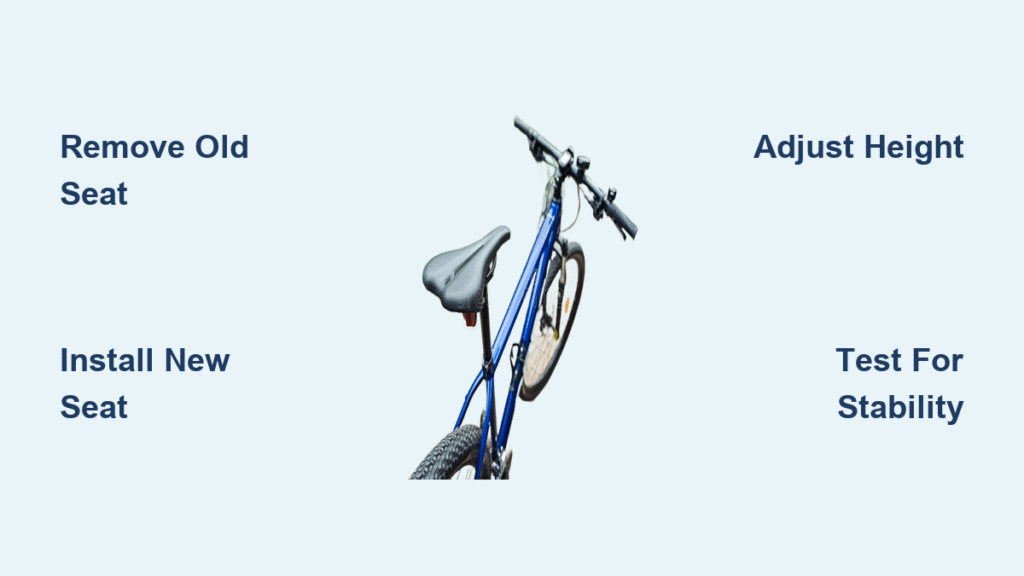
Step-by-Step Process to Change Your Mountain Bike Seat
Now, let’s get to the heart of how to change your mountain bike seat. We’ll break this into logical phases: removal, installation, and adjustment. This method works for most mountain bikes, including popular models like Trek Marlin, Specialized Rockhopper, or Giant Talon. The entire process should take 20-40 minutes, depending on your experience level.
Phase 1: Removing the Old Seat
Start here to safely detach the worn seat without scratching your frame.
- Position the bike: Flip the bike upside down or secure it in a stand with the saddle facing up. This prevents the handlebars from getting damaged.
- Loosen the seat clamp: Locate the seat post clamp at the top of the post (where the seat attaches). Use a 5mm or 6mm Allen wrench to loosen the bolt counterclockwise. If it’s a quick-release lever, simply flip it to the open position.
- Slide out the seat: Gently pull the seat upward while wiggling it side to side if it’s stuck. Clean the seat post with a rag to remove dirt or old grease—this prevents grime buildup in the new setup.
- Inspect the post: Check for wear or corrosion. If the post is damaged, replace it now to avoid future issues.
Troubleshooting Tip: If the bolt is seized (common on older bikes), apply penetrating oil like WD-40 and wait 5 minutes before trying again. Avoid forcing it, as this could strip the threads.
Phase 2: Preparing the New Seat
A little prep ensures your new seat fits perfectly and lasts longer on rugged mountain trails.
- Unpack and inspect: Remove the new seat from its packaging. Verify the rails are straight and undamaged—most mountain bike seats have two parallel rails that slide into the clamp.
- Apply lubricant: Dab a small amount of bike grease on the rails and the inside of the seat clamp. This reduces friction and prevents squeaks over time.
- Align the seat: If your seat has a specific front/rear orientation (marked by a nose or logo), note it. For MTB seats, position it slightly nose-down (about 5-10 degrees) for better pedaling ergonomics.
Time Estimate: 5 minutes. Variation Note: Carbon fiber seats require special clamps to avoid crushing the rails—use one if applicable.
Phase 3: Installing and Securing the New Seat
This is where you attach the new seat securely.
- Insert the rails: Slide the new seat’s rails into the seat clamp from the rear, centering it so the post goes through the middle.
- Tighten the clamp: Use the Allen wrench to tighten the bolt clockwise. If using a torque wrench, aim for 5-7 Nm—overtightening can damage lightweight components.
- Set the height and angle: Adjust the seat post height so your leg is almost fully extended at the bottom of the pedal stroke (heel on pedal method: your heel should just touch the pedal with a straight leg). Tilt the seat level or slightly forward for comfort.
- Final torque check: Double-check tightness by giving the seat a firm shake—it shouldn’t wobble.
Warning: On dropper posts (common on modern MTBs), ensure the new seat doesn’t interfere with the mechanism. Test the drop function after installation.
Phase 4: Post-Installation Testing and Adjustments
Don’t skip this—proper testing ensures safety on your next ride.
- Initial ride test: Take a short, flat spin around your neighborhood (5-10 minutes). Pay attention to any creaks or shifts.
- Fine-tune position: Readjust height or angle if needed. For mountain biking, a fore-aft position where your knee aligns over the pedal spindle is ideal—use a plumb line from your kneecap.
- Trail simulation: If possible, test on light off-road terrain to mimic real conditions. Listen for rattles and re-grease if necessary.
- Troubleshooting common issues: If the seat slips, re-torque the clamp. For numbness or discomfort, consider a wider seat with more padding next time.
Time Estimate: 10 minutes. If adjustments don’t resolve issues, refer to the troubleshooting section below.
Pro Tips for Optimal Mountain Bike Seat Replacement

To elevate your DIY skills and get the most from changing your mountain bike seat, here are some expert insights:
- Choose the right seat type: For aggressive trail riding, opt for a short-nose seat like the WTB Volt; for endurance, go with something padded like the Bontrager Aeolus. Measure your sit bone width (using a fit shop tool) for the best match—aim for 10-20mm wider than your bones.
- Common mistake to avoid: Ignoring frame clearance—on full-suspension MTBs, ensure the new seat doesn’t hit the frame during suspension compression.
- Optimize for performance: After installation, mark your ideal seat height with tape on the post for quick re-adjustments after maintenance.
- Maintenance recommendation: Every 3-6 months, remove and clean the seat rails to prevent corrosion, especially if you ride in wet conditions.
- Upgrade opportunity: While you’re at it, consider a dropper post if your bike doesn’t have one—it makes seat height changes effortless on technical descents.
- Eco-friendly choice: Look for sustainable seats made from recycled materials, like those from SDG or Fizik, to reduce your trail footprint.
- Personalization hack: Add bar tape or chamois cream under the seat cover for extra comfort on long rides.
These tips can save you time and money while making your bike feel like an extension of yourself.
When to Call in Professional Help
While changing your mountain bike seat is DIY-friendly for most, some situations warrant a pro. Signs include: persistent slipping after torquing, damaged frame threads, or if you’re dealing with a high-end carbon frame where precision is critical (e.g., on a Santa Cruz or Yeti model).
Look for a reputable bike shop certified by brands like Shimano or SRAM—they should have tools like digital torque wrenches. Expect costs of $20-50 for a basic seat swap, plus parts. Always check your bike’s warranty; many cover installation if done by authorized dealers. If unsure, a quick shop visit can prevent costly mistakes.
FAQ
Q: How do I know if my mountain bike seat needs changing?
A: Look for signs like cracks in the padding, excessive wobbling, discomfort during rides, or visible wear from trail abuse. If it’s been over 2-3 years or 1,000+ miles, consider an upgrade for better ergonomics and durability.
Q: Can I change the seat on any mountain bike model?
A: Yes, the process is similar across brands like Cannondale, Scott, or Norco, but check your seat post diameter and clamp type. Older rigid frames might use different bolts—consult your owner’s manual.
Q: What’s the best seat height for mountain biking?
A: Set it so your leg is 80-90% extended at the bottom pedal position. A general rule: stand over the bike with shoes on; the frame should clear your crotch by 1-2 inches. Fine-tune based on your riding style—higher for climbing, lower for descending.
Q: Will changing the seat affect my bike’s warranty?
A: Usually not, as seats are user-replaceable parts. However, if you modify the post or clamp, it could void suspension warranties. Stick to OEM-compatible parts to stay safe.
Q: How often should I check the seat tightness after installation?
A: Weekly for the first month, then monthly. Mountain biking’s vibrations loosen bolts quickly—use a torque wrench for consistency.
Q: Are there gender-specific seats for mountain bikes?
A: Yes, women’s seats like the Specialized Mimic are wider in the rear with central cutouts to relieve pressure. Measure your needs regardless of gender for the best fit.
Q: What if my new seat doesn’t fit the old clamp?
A: Most modern seats use universal 7mm round rails, but if incompatible, buy an adapter clamp ($10-20). For micro-adjust seats, ensure the mechanism aligns.
Alternative Solutions for Mountain Bike Seat Issues
If a full seat change feels overkill or doesn’t solve your comfort woes, consider these options. They’re great for minor tweaks or budget constraints.
| Solution | Pros | Cons | Best For |
|---|---|---|---|
| Seat cover or pad addition | Quick install (under 5 min), adds cushioning cheaply ($10-20) | Doesn’t fix structural issues, may wear out fast on rough trails | Temporary relief for padded discomfort |
| Professional bike fit session | Custom positioning for optimal ergonomics, includes seat tweaks | Costs $100-200, requires shop visit | Riders with ongoing pain or performance goals |
| Adjustable seat post upgrade (e.g., dropper) | Allows on-the-fly height changes for varied terrain | Higher cost ($150-400), more complex install | Technical trail riders needing versatility |
| Foam padding DIY mod | Inexpensive, customizable comfort using EVA foam | Can look unprofessional, may shift over time | Budget-conscious tinkerers avoiding full replacement |
Compare these to a full seat change: the latter offers the most comprehensive fix but requires more effort. If your issue is just height, a dropper post might be a smarter long-term investment.
Enjoy Your Upgraded Mountain Bike Ride
With this guide, you’ve got all the tools to successfully change your mountain bike seat and transform your riding experience:
– Essential tools and materials for a hassle-free swap
– Detailed removal, installation, and testing phases
– Pro tips and alternatives for customization
Following these steps ensures a secure, comfortable fit that handles the demands of mountain trails without a hitch. Take action today—grab your Allen wrench and get that new seat on. Your legs (and butt) will thank you on your next adventure.
Have you changed your mountain bike seat before? Share your tips or challenges in the comments below to help fellow riders!


