
Riding your dirt bike through muddy trails or dusty tracks is exhilarating, but it leaves your seat covered in grime, sweat, and stains that can make every ride uncomfortable and potentially damage the material over time. If you’re dealing with a dingy dirt bike seat that’s lost its grip and appeal, you’re not alone—many riders struggle with this after just a few outings. The good news is that dirt bike seat cleaning doesn’t have to be a hassle; a quick fix like wiping it down with a mild soap solution can restore it in under 15 minutes for immediate relief before your next ride.
In this comprehensive guide, we’ll go beyond the basics to equip you with everything you need for thorough dirt bike seat cleaning. You’ll learn why maintenance matters, how often to do it, a step-by-step process tailored for different seat materials like vinyl or foam-covered grips, and pro tips to prevent future buildup. By the end, you’ll have the confidence to keep your seat spotless, extending its lifespan and ensuring a safer, more comfortable ride—no more slipping on a dirty surface mid-jump.
Why Regular Dirt Bike Seat Cleaning is Essential
Your dirt bike seat isn’t just for comfort—it’s a critical component that affects your control, safety, and overall riding experience. Dirt, mud, and sweat can accumulate quickly, leading to slippery surfaces that increase the risk of losing grip during turns or jumps. Over time, neglected grime can degrade the seat’s material, causing cracks, fading, or even bacterial growth from sweat and moisture, which might lead to skin irritation or odors that permeate your gear.
Regular cleaning also preserves the seat’s grip texture, especially on models with ribbed or diamond-patterned covers designed for off-road traction. According to dirt bike maintenance experts from sources like the Motorcycle Safety Foundation, a clean seat reduces wear on the foam padding underneath, potentially saving you hundreds on replacements. Plus, a well-maintained seat keeps your bike looking sharp, boosting resale value if you ever upgrade. Skipping this step? You could be shortening your seat’s life from years to months, turning a fun hobby into an expensive chore.
Recommended Frequency and Timing for Dirt Bike Seat Cleaning
How often you clean your dirt bike seat depends on your riding conditions—frequent mud exposure calls for more attention than dry trail rides. As a general rule, aim to clean after every major ride or when you notice visible dirt buildup. This prevents deep-set stains and maintains hygiene, especially if you’re riding in hot, sweaty conditions.
Here’s a simple maintenance schedule to follow, based on recommendations from off-road enthusiasts and manufacturers like Honda and Yamaha:
| Frequency | Task | Duration |
|---|---|---|
| After every ride (or weekly for light use) | Quick wipe-down with mild soap and water | 10-15 minutes |
| Bi-weekly (or after muddy/wet rides) | Full deep clean, including disassembly if possible | 30-45 minutes |
| Monthly | Condition the seat material with a protectant spray | 5-10 minutes |
| Seasonally (e.g., end of riding season) | Thorough inspection and professional-grade clean for storage | 1 hour |
Important: Always clean in a shaded area to avoid direct sunlight drying out cleaners too quickly, which can cause streaks. If you’re prepping for a race or long trip, time your deep clean 24 hours before to ensure everything dries completely.
Complete Dirt Bike Seat Cleaning Process

Cleaning your dirt bike seat is straightforward but requires the right approach to avoid damaging the vinyl, leatherette, or foam materials common in models like the Kawasaki KX or Yamaha YZ series. We’ll break it into major steps, with safety precautions and tools noted. Expect the full process to take 30-60 minutes, depending on how dirty it is. Gather your supplies first: mild dish soap, warm water, soft-bristle brush, microfiber cloths, bucket, and optionally a seat protectant like 303 Aerospace Protectant.
Step 1: Preparation and Safety Setup
Before diving in, prepare your workspace and protect yourself to ensure a safe, efficient clean. Park your dirt bike on a stable, level surface away from traffic or flammable areas—garage floors work best.
- Remove the seat if possible: Most dirt bikes have seats secured by clips or bolts under the rear fender. Consult your owner’s manual (e.g., for a Suzuki RM-Z, it’s usually two bolts). Lifting the seat exposes the underside for better cleaning but takes 5 minutes. If it’s fixed, work around it carefully.
- Safety precautions: Wear gloves to protect your hands from chemicals, and eye protection if using sprays. Warning: Avoid power washers, as high pressure can force water into seams and cause foam swelling or electrical issues if near wiring.
- Tool setup: Fill a bucket with warm water and a few drops of mild soap (no harsh detergents like bleach, which can dry out materials). Test the solution on a small, hidden area to check for discoloration.
This phase sets you up for success and prevents accidents—rushing here often leads to incomplete cleans.
Step 2: Initial Dirt Removal
Start by knocking off loose debris to avoid grinding it into the material during scrubbing. This quick step takes about 5 minutes and makes the rest easier.
- Use a soft brush or compressed air to gently sweep away mud, sand, or leaves from the seat’s surface and crevices. For stubborn dry dirt, a plastic scraper (not metal, to avoid scratches) works well.
- Vacuum if you have access to a shop vac with a brush attachment—ideal for textured seats on bikes like the Honda CRF.
- Pro tip within step: If the seat is heavily caked, let it sit with a damp cloth for 2-3 minutes to loosen buildup without soaking.
By removing loose particles first, you’ll reduce scrubbing effort and minimize wear on the grip layer.
Step 3: Deep Cleaning and Scrubbing
Now tackle the stains with a thorough wash. This is the core of dirt bike seat cleaning, taking 15-20 minutes, and focuses on sweat, oil, and embedded grime.
- Dip your soft-bristle brush into the soapy water and gently scrub in circular motions, starting from the top and working down. Pay extra attention to high-wear areas like the center groove where you sit.
- For vinyl seats (common on entry-level bikes), the soap solution is sufficient. If it’s a grippier material like Gripper or suede-like covers on pro models, use a dedicated motorcycle seat cleaner to avoid stripping the texture.
- Rinse with clean water using a sponge or low-pressure hose—never submerge the seat unless it’s removable and you’re okay drying it fully.
- H4: Handling Stains: For tough spots like oil marks, apply a bit of baking soda paste (baking soda + water), let it sit for 5 minutes, then scrub and rinse. Test first!
Warning: Don’t use abrasive pads or solvents like acetone, as they can crack the material. If water beads up unevenly after rinsing, you’ve got residue—repeat the rinse.
Step 4: Drying and Conditioning
Proper drying is crucial to prevent mold or material warping, especially in humid climates. Allow 20-30 minutes for air drying, or up to 24 hours for full moisture evaporation.
- Wipe excess water with a clean microfiber cloth, then let it air dry in a well-ventilated area away from direct heat sources (no hairdryers, which can warp foam).
- Once dry, apply a conditioner: Spray a thin layer of UV protectant evenly and buff with a cloth. This restores water resistance and prevents cracking from sun exposure.
- Reinstall the seat securely and test for stability—give it a shake to ensure no loose parts.
If it still feels sticky post-dry, you’ve used too much soap; wipe with a vinegar-water mix (1:1 ratio) and dry again.
Step 5: Post-Cleaning Inspection and Testing
After everything’s dry, inspect for missed spots and test the seat’s functionality to confirm your dirt bike seat cleaning was effective.
- Check for even color, no lingering odors, and restored grip—sit on it and shift to feel traction.
- If you notice tears or foam compression, note it for future repairs.
- Test ride briefly (low speed) to ensure no slippage from residue.
This final check catches issues early, saving you from on-trail surprises.
Pro Tips for Expert-Level Dirt Bike Seat Cleaning
To elevate your maintenance game and avoid common pitfalls, here are 7 pro tips from seasoned riders and mechanics:
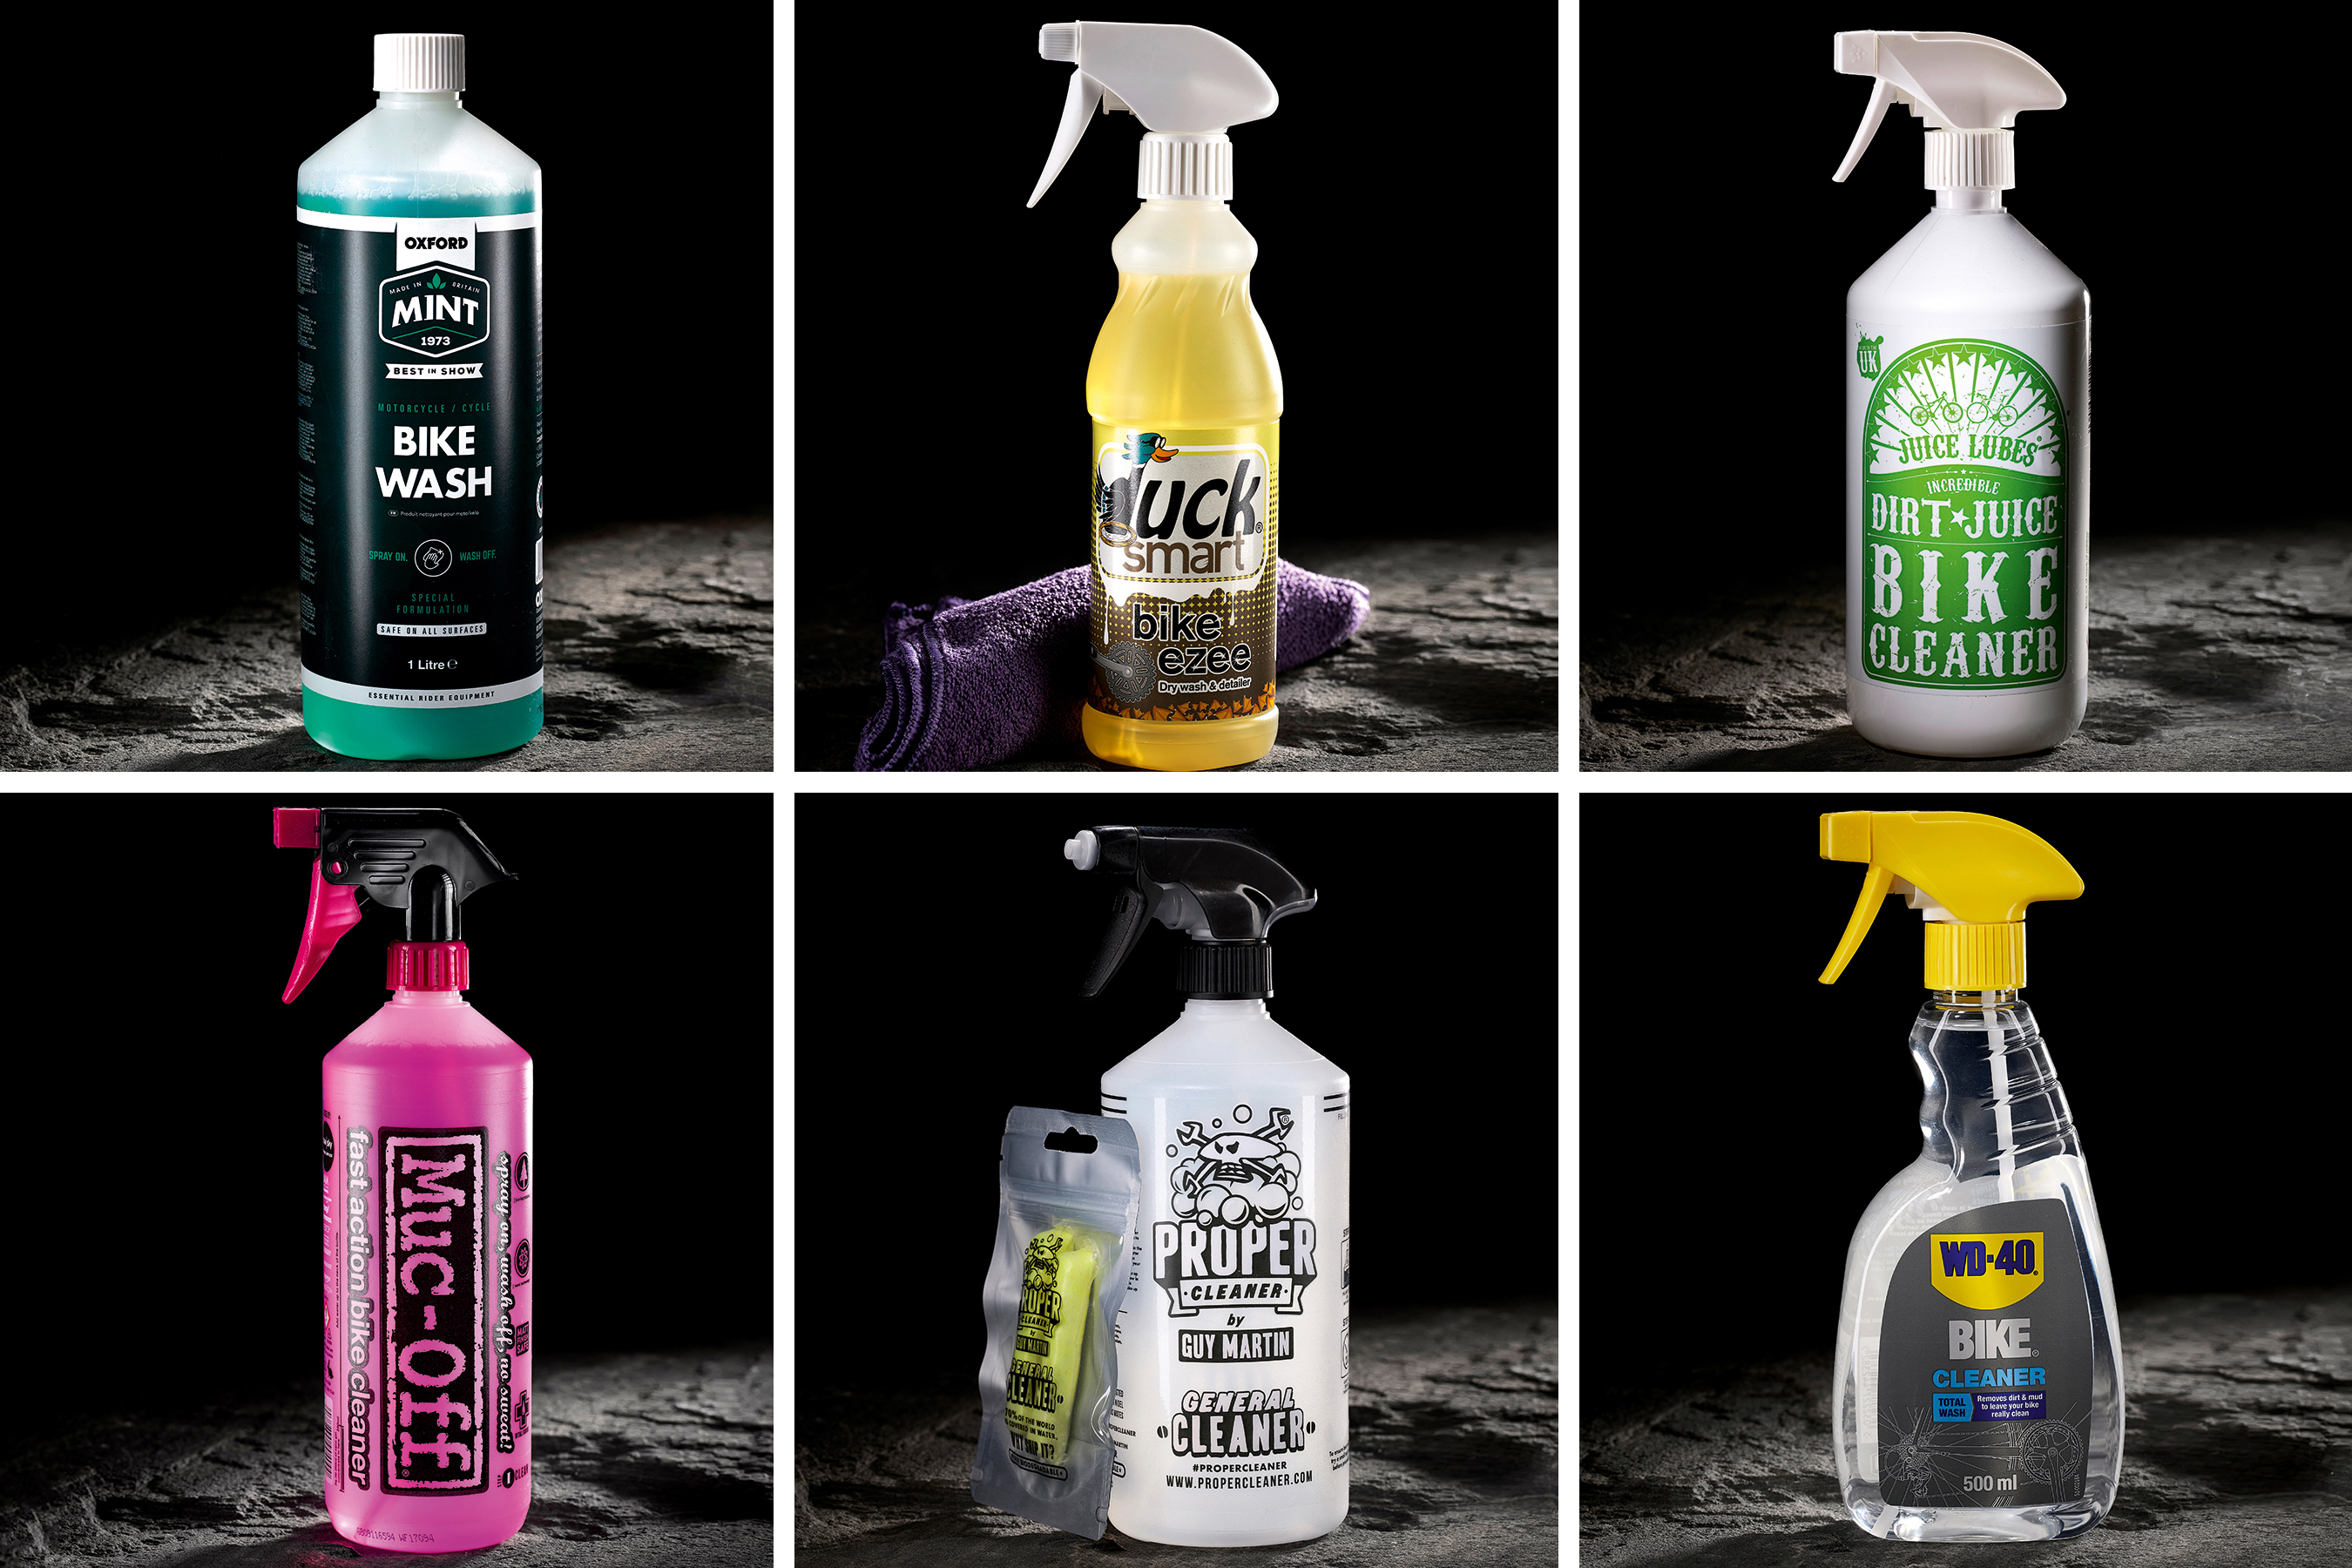
- Use specialized products: Opt for moto-specific cleaners like Muc-Off Bike Cleaner or Seat Shampoo over household items—they’re pH-balanced for synthetics and won’t degrade grip.
- Avoid common mistakes: Never clean with the bike running or in direct sun; it leads to uneven drying and faded colors. Also, skip pressure washing—it’s a top cause of water damage per forums like ThumperTalk.
- Optimize for your riding style: Trail riders might need anti-mud treatments, while desert riders focus on dust-proofing with silicone sprays.
- Eco-friendly twist: Mix your own solution with castile soap and water for a biodegradable option that doesn’t harm the environment after rinsing.
- Storage savvy: If storing your bike, cover the clean seat with a breathable tarp to shield from dust—prevents pre-ride cleans.
- Enhance longevity: After cleaning, apply a leather conditioner quarterly if your seat has any real leather accents (rare but found on custom seats).
- Track your progress: Keep a riding log to note cleaning dates; apps like Bike Doctor can remind you based on mileage.
These tips can cut your cleaning time in half over time and keep your seat looking factory-fresh.
When to Seek Professional Help for Dirt Bike Seat Issues
While most dirt bike seat cleaning is DIY, some signs indicate it’s time for pros—especially if damage goes beyond surface grime.
- Red flags: Deep tears in the cover, exposed foam that’s crumbling, persistent odors despite cleaning, or water damage causing delamination. If scrubbing reveals mold inside seams, stop and call in experts to avoid health risks.
- What to look for in a service provider: Choose certified motorcycle shops or upholstery specialists affiliated with brands like KTM or Beta. Read reviews on sites like Yelp for off-road expertise, and ask about eco-friendly methods.
- Typical costs: A basic pro clean runs $50-100, while reupholstering a damaged seat can cost $150-300, depending on model and materials. Factor in travel fees for mobile services.
- Warranty considerations: Check your bike’s manual—many manufacturers void warranties for improper cleaning, so document your DIY efforts with photos. Pros often provide certificates for claims.
If DIY feels overwhelming, a quick shop visit can save headaches.
FAQ
Q: Can I use a pressure washer for dirt bike seat cleaning?
A: No, it’s not recommended. High-pressure water can force moisture into the foam or seams, leading to mold, swelling, or weakened structure. Stick to manual methods like brushes and low-flow rinsing for safe, effective results. If you’re tempted, use the lowest setting from 2 feet away, but test on a small area first.
Q: What if my dirt bike seat is made of leather—how does cleaning differ?
A: Leather seats (less common but on some vintage or custom bikes) require gentler care. Use a leather-specific saddle soap instead of dish soap, and condition immediately after drying with products like Lexol. Avoid soaking; wipe with a damp cloth and air dry. Over-cleaning can dry out leather, so limit to monthly.
Q: How do I remove sweat stains from my dirt bike seat?
A: Sweat stains are acidic, so mix equal parts white vinegar and water, apply with a cloth, let sit 5 minutes, then scrub gently. Rinse thoroughly and dry. For stubborn marks, a baking soda paste works wonders. Prevent future stains by wiping down after sweaty rides.
Q: Is it safe to clean the seat while it’s still on the bike?
A: Yes, for quick cleans, but removing it allows better access to undersides and crevices. If leaving it on, protect surrounding areas with towels to avoid water dripping onto electronics or paint. Always disconnect the battery if working near wiring.
Q: What household items can I use for dirt bike seat cleaning if I don’t have moto products?
A: Mild dish soap (like Dawn) for washing, white vinegar for disinfecting, and baking soda for stains are great starters. Microfiber cloths and a soft toothbrush substitute for brushes. Avoid ammonia-based cleaners, as they can discolor vinyl.
Q: How long should I wait before riding after cleaning my seat?
A: At least 1-2 hours for surface dry, but ideally 24 hours for full evaporation, especially in humid areas. Test by pressing a dry cloth on the seat—if it picks up moisture, wait longer. Riding on a damp seat risks slippage and material damage.
Q: Can harsh chemicals like bleach be used on dirt bike seats?
A: Absolutely not—bleach strips dyes, weakens materials, and can cause cracking. It’s a common mistake that leads to costly replacements. Stick to pH-neutral soaps; if you accidentally use something strong, rinse immediately and apply conditioner.
Q: My seat has a gripper cover—will cleaning ruin the texture?
A: Not if done right. Use a soft brush and avoid abrasive cleaners; gripper materials like those on Fox or Pro Grip seats are durable but can lose tackiness with harsh soaps. After cleaning, a light silicone spray restores grip without residue.
Alternative Cleaning Methods for Dirt Bike Seats
If the standard soapy water method doesn’t suit your setup or seat type, consider these alternatives. They’re great for quick fixes or specialized needs, but always test first.
| Solution | Pros | Cons | Best For |
|---|---|---|---|
| Steam Cleaning (using a handheld steamer) | Deep sanitizes without chemicals; kills bacteria effectively | Requires equipment ($20-50 tool); risk of over-wetting if not careful | Heavily soiled or odorous seats on removable models |
| Dry Cleaning Wipes (pre-moistened moto wipes) | No water mess; portable for trackside use | Less effective on heavy mud; can leave residue if overused | Quick post-ride touch-ups during events |
| Enzyme-Based Cleaners (like Nature’s Miracle for organics) | Breaks down sweat/protein stains naturally | Slower acting (needs 10-15 min soak); more expensive | Seats with persistent bio-stains from long rides |
| Professional Upholstery Foam | Thorough for tough grime; restores like new | Costly ($10-20 per can); strong fumes require ventilation | Annual deep cleans on high-end custom seats |
Choose based on your bike’s material—steam for vinyl, wipes for emergencies. If none work, it might signal deeper damage needing pro repair.
Keep Your Dirt Bike Seat in Top Condition
With this guide, you’ve got all the tools to master dirt bike seat cleaning and keep your ride comfortable and reliable:
- Essential steps from preparation to conditioning for a thorough clean
- A tailored schedule to fit your riding habits
- Pro tips and alternatives to handle any scenario
Following these methods will extend your seat’s lifespan, improve grip for safer rides, and save you money on replacements. Don’t wait for the next muddy adventure to test your skills—grab your supplies and clean today for that fresh-out-of-the-box feel.
Have you tackled a tough dirt bike seat clean? Share your tips or challenges in the comments below to help fellow riders! If issues persist, describe your setup for more personalized advice.


