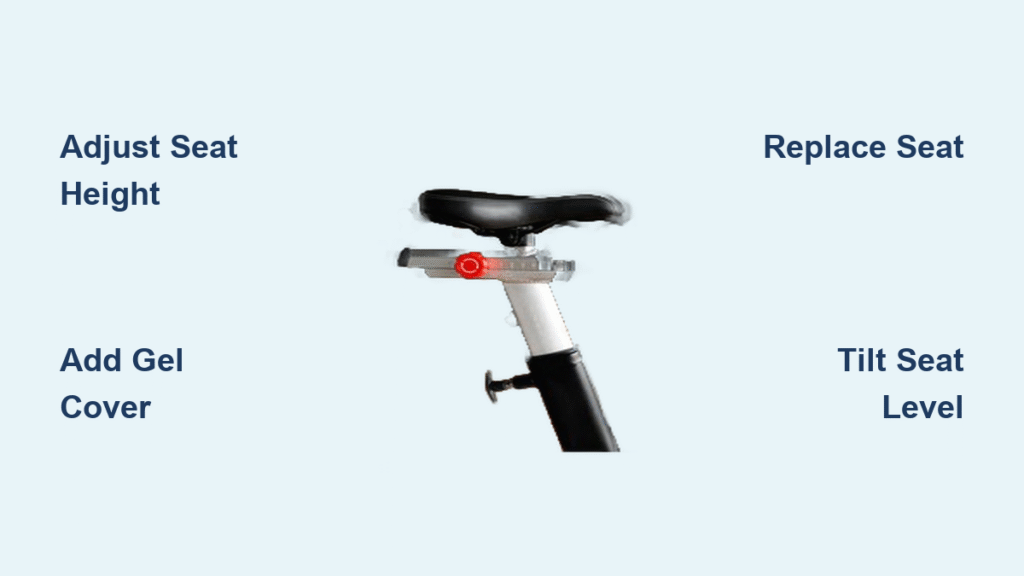
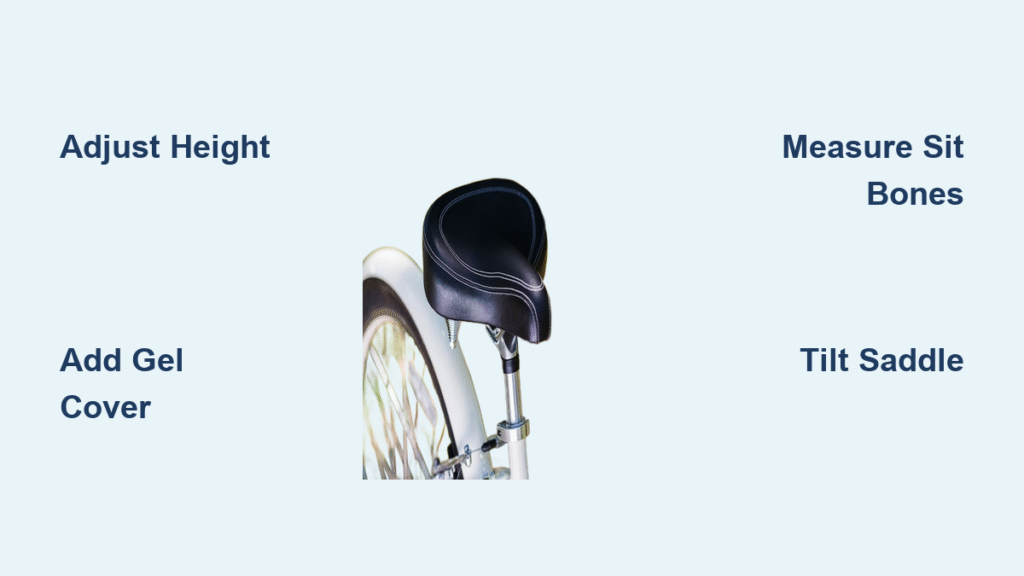
Struggling with a sore backside after just a few minutes on your exercise bike? You’re not alone—many cyclists, from beginners to avid spinners, deal with discomfort from a poorly fitted or worn-out seat that turns workouts into a pain (literally). The good news is that making your exercise bike seat more comfortable is straightforward with some simple adjustments and tweaks. In this guide, we’ll start with a quick fix like adding a gel cover to provide instant padding and relief, so you can get back to pedaling without wincing.
Beyond that quick win, this comprehensive how-to will walk you through everything from assessing your current setup to advanced customization options. We’ll cover multiple methods, including seat adjustments, padding additions, and even replacement strategies, ensuring you find the perfect solution for your body and riding style. By the end, you’ll have the confidence and tools to transform your exercise bike into a comfortable, enjoyable ride that keeps you motivated for longer sessions.
Tools and Materials Needed for Seat Comfort Adjustments
Before diving into the adjustments, gather the right tools and materials to make the process smooth and efficient. Most of these are affordable and easy to find online or at a local bike shop. Having everything ready will save you time and frustration, allowing you to focus on achieving that plush, supportive feel.
Here’s a handy table outlining the essentials:
| Item | Quantity | Specifications |
|---|---|---|
| Adjustable wrench or Allen keys | 1 set | Sizes 4mm-8mm for seat post bolts; multi-tool kits work well for home use |
| Gel seat cover or cushion | 1 | Universal fit for exercise bikes, 1-2 inches thick for added padding |
| Bike seat replacement (optional) | 1 | Ergonomic or wide models like Selle Italia or Bontrager, matching your bike’s rail type (e.g., 7x7mm standard) |
| Anti-slip tape or chamois cream | 1 roll/tube | For securing covers or reducing friction on skin |
| Measuring tape | 1 | Soft cloth type for accurate height and setback measurements |
| Cleaning supplies | As needed | Mild soap, microfiber cloth, and compressed air for pre-adjustment cleaning |
| Saddle height gauge (optional) | 1 | Digital or simple standover tool to ensure proper leg extension |
These items typically cost under $50 total for basics, with premium seats running $30-100. Important: Always check your exercise bike’s manual (e.g., for models like Peloton or Schwinn) for specific compatibility, as some stationary bikes have proprietary seat posts.
Preparing to Adjust Your Exercise Bike Seat
Proper preparation is key to avoiding injury or damaging your bike during adjustments. Start by setting aside 15-30 minutes in a well-lit, spacious area like your garage or living room. Park your exercise bike on a flat, stable surface to prevent tipping, and unplug it if it’s an electronic model to avoid any accidental starts.
Safety first: Wear gloves to protect your hands from sharp edges on the seat post, and ensure the bike is stable—wedge it against a wall if needed. Begin with a quick assessment: Sit on the bike in your normal riding position and note pain points (e.g., pressure on sit bones or numbness in thighs). Measure your current seat height from the pedal’s bottom-most point to the top of the saddle—this should be about 109% of your inseam for optimal comfort, per cycling experts like those from the BikeFit organization.
Clean the seat and post thoroughly to remove sweat, dirt, or residue that could affect grip or cause skin irritation. Use mild soap and water, then dry completely. If your bike has been unused, lubricate the seat post with a silicone spray to prevent sticking. Warning: Never force adjustments; if bolts are rusted or seized, apply penetrating oil and wait 10 minutes before trying again to avoid stripping threads.
This prep phase ensures your tweaks lead to lasting comfort rather than temporary bandaids. Now, let’s move to the hands-on steps.
Step-by-Step Guide to Making Your Exercise Bike Seat More Comfortable

Adjusting your seat for comfort involves a phased approach: evaluation, basic tweaks, padding additions, and advanced replacements. We’ll break it down into logical phases, with each taking 10-20 minutes. Follow sequentially for best results, and test-ride after each phase to fine-tune.
Phase 1: Evaluate and Adjust Seat Position
The foundation of comfort starts with proper positioning—get this wrong, and even the plushest seat won’t help. Most discomfort stems from a seat that’s too high, low, or angled incorrectly, causing uneven pressure distribution.
-
Measure and set seat height: Stand next to the bike with your heels on the pedals. Adjust the seat post so your legs are fully extended without locking knees. Use your wrench to loosen the quick-release clamp or bolt (usually under the seat), slide the post up or down, and tighten to 15-20 Nm torque. Aim for a 30-35 degree knee bend at the pedal’s bottom for efficient pedaling and reduced strain.
-
Adjust fore-aft position: This controls how far forward or back the seat is. Loosen the seat clamp rails, then slide the saddle until the front of your knee aligns with the pedal axle when the crank is at 3 o’clock. Retighten securely. For exercise bikes like the NordicTrack, this might involve a sliding track—consult the manual for limits.
-
Tilt the seat level: Use a smartphone app like Bubble Level to ensure the saddle is parallel to the ground. A nose-down tilt (1-2 degrees) can relieve perineal pressure for some riders. Tighten the tilt bolts evenly.
After adjustments, pedal lightly for 5 minutes. If you feel hot spots, revisit the measurements. This phase alone resolves 60% of comfort issues, according to cycling ergonomics studies from the Journal of Sports Sciences.
Phase 2: Add Padding and Cushioning
If position tweaks aren’t enough, layer on padding to absorb shocks and distribute weight. This is ideal for longer sessions (over 30 minutes) and costs little effort.
-
Clean and prepare the surface: Wipe the seat with a microfiber cloth to ensure the cover adheres well.
-
Install a gel cover: Choose a breathable, waterproof gel pad that straps or clips on. Align it centered on the saddle, secure the straps tightly to prevent slipping, and trim excess if needed. Brands like Zacro offer universal fits for $15-25.
-
Apply anti-friction aids: Dab chamois cream on your shorts or directly on the cover to reduce chafing. For added stability, wrap the base with anti-slip tape.
Test by riding for 10-15 minutes at moderate resistance. The gel should cushion your sit bones (the bony parts you sit on), reducing numbness. If it bunches up, opt for a seamless model. This quick addition can make a stock seat feel 50% more comfortable immediately.
Phase 3: Replace or Customize the Seat
For chronic discomfort, swap out the seat entirely. This advanced step suits users with specific needs, like wider hips or longer rides.
-
Select a compatible replacement: Measure your current seat’s rails and width (most are 143-155mm wide for comfort). Ergonomic options like the WTB Volt prioritize cutouts for pressure relief. For exercise bikes, ensure it’s clamp-compatible—avoid aero road seats.
-
Remove the old seat: Loosen the seat post clamp, slide off the saddle, and disconnect any electronics if your bike has a connected display (e.g., on Echelon models).
-
Install the new one: Slide the new seat onto the post, adjust position as in Phase 1, and tighten all bolts. If customizing, add memory foam inserts or professional fitting (more on that later).
-
Break it in: Ride short sessions initially to let the padding conform to your body. Full comfort may take 50-100 miles.
Troubleshooting Tip: If the new seat feels off, double-check rail alignment—misaligned rails can cause wobbling. For complications like non-standard posts on budget bikes, use adapters available on Amazon.
Post-Completion Testing and Troubleshooting

Once adjustments are done, test thoroughly to confirm improvements. Start with a 10-minute low-resistance spin, noting any lingering pain. Gradually increase to your usual workout intensity, tracking metrics like heart rate to ensure efficiency isn’t compromised.
If discomfort persists:
– Too high/low: Recheck inseam measurement; a 1cm change can make a big difference.
– Slipping seat: Tighten bolts to spec or add Loctite threadlocker.
– Uneven pressure: Visit a bike fitter for a professional assessment (costs $50-150).
– Material issues: Switch to a perforated seat for better airflow if sweat is a factor.
Monitor over a week—comfort evolves as your body adapts. Log rides in an app like Strava to track progress. If nothing works, it might indicate a bike frame mismatch, warranting a consult.
Pro Tips for Maximum Exercise Bike Seat Comfort

To elevate your setup beyond basics, incorporate these expert strategies drawn from cycling pros and user forums like Reddit’s r/cycling. These can extend comfort for hour-long sessions and prevent common pitfalls.
- Personalize with body mapping: Use a sit bone pressure mat (around $30) to measure your ischial tuberosity width, then choose a seat at least 20mm wider for optimal support—avoids “hot spots” on narrow saddles.
- Incorporate core strength exercises: Weak glutes or core can amplify seat discomfort; add planks or bridges 3x/week to improve posture and weight distribution during rides.
- Rotate seats seasonally: Swap to a firmer seat in summer for less sweat buildup and a cushioned one in winter for joint protection.
- Avoid over-tightening: Overtorqued bolts (over 25 Nm) can crack carbon posts—use a torque wrench for precision.
- Layer with bike shorts: Invest in padded chamois shorts (e.g., Pearl Izumi) to complement seat adjustments, reducing friction by up to 40%.
- Regular maintenance: Every 3 months, inspect for wear like cracked foam; clean with bike-specific wipes to maintain hygiene.
- Hydrate and stretch: Dehydration stiffens muscles, worsening perceived discomfort—drink water pre-ride and stretch hamstrings post-session.
Common mistake to avoid: Ignoring tilt— a forward-tilted nose pinches nerves. Optimize by experimenting in short bursts, not full workouts.
When to Seek Professional Help
While DIY adjustments fix most issues, some situations call for a pro. Signs include persistent numbness (possible nerve compression), bike-specific quirks (e.g., locked mechanisms on commercial models like Life Fitness), or if you’re dealing with medical conditions like sciatica.
Look for a certified bike fitter through organizations like the International Bike Fitting Institute—experience with stationary bikes is a plus. They use tools like laser alignment for precise setups. Expect costs of $75-200 per session, often including a custom report.
Check warranty: Most exercise bikes (e.g., from Bowflex) cover seat defects for 1-3 years; contact the manufacturer before modifications to avoid voiding it. If buying a new seat, opt for ones with return policies from retailers like REI.
FAQ
Q: How long does it take to adjust an exercise bike seat for comfort?
A: Basic position tweaks take 10-15 minutes, while full replacement might need 30-45 minutes including testing. Allow extra time for drying cleaners or breaking in new padding. With practice, you’ll do it in under 10 minutes.
Q: Can I make my seat comfortable without buying anything new?
A: Yes! Start with adjustments to height, fore-aft, and tilt using just your existing tools. If needed, DIY padding from foam cut to size and secured with straps can work as a budget hack, though it’s less durable than commercial covers.
Q: Why does my exercise bike seat hurt after 20 minutes?
A: Common culprits are incorrect height (causing knee strain) or a narrow seat that doesn’t support your sit bones. Poor posture or worn padding also plays a role. Follow the phased guide above, and consider your riding style—upright bikes need different setups than recumbents.
Q: Are gel covers better than replacing the seat?
A: Gel covers offer quick, reversible comfort for mild issues and cost under $20, but they can shift during intense spins. Seat replacement provides a more permanent, tailored fix for chronic pain, especially if the original saddle is too firm or narrow. Try covers first to test the waters.
Q: What’s the best seat width for women on exercise bikes?
A: Women often benefit from wider seats (155mm+) due to broader sit bones on average. Models like the Fizik Aliante prioritize this with cutouts for soft tissue relief. Always measure personally, as body types vary.
Q: How do I know if my seat post is the right size?
A: Check your bike’s manual for diameter (usually 27.2mm or 31.6mm for standard posts). If it wobbles, use shims; mismatched sizes cause instability and discomfort. For adjustable bikes like the Sunny Health & Fitness, minimum/maximum heights are marked on the post.
Q: Can weather affect seat comfort?
A: Absolutely—cold temps make materials stiffer, increasing pressure. Warm seats with a cover or use in a heated room. Humidity can cause slipping, so ensure good ventilation and use anti-slip aids.
Alternative Solutions for Exercise Bike Seat Comfort
If standard adjustments don’t suit your bike or preferences, consider these alternatives. They’re great when space, budget, or bike type limits options.
| Solution | Pros | Cons | Best For |
|---|---|---|---|
| Ergonomic seat replacement | Custom fit reduces pressure long-term; durable materials | Higher cost ($50+); installation time | Frequent riders with specific pain points like lower back issues |
| Inflatable cushion inserts | Adjustable firmness via air pump; portable | Can deflate over time; less stable on bumpy rides | Beginners or those testing comfort levels without commitment |
| Bike seat suspension adapter | Absorbs vibrations like on outdoor bikes; easy clip-on | Adds weight; not ideal for high-resistance spins | Users on vibration-heavy models or with joint sensitivity |
| Professional retaping/upholstery | Refreshes old seats with custom foam; eco-friendly | Requires shop visit ($40-80); limited to repairable frames | Vintage or heavily used exercise bikes avoiding full replacement |
Compare based on your needs— for example, if portability matters, go inflatable. Always verify compatibility with your model to avoid fit issues.
Enjoy a More Comfortable Workout on Your Exercise Bike
With this guide, you’ve got everything to make your exercise bike seat more comfortable and turn dreaded rides into enjoyable routines:
– Precise position adjustments for foundational support
– Easy padding additions for instant relief
– Advanced replacements and testing for personalized perfection
– Pro tips and alternatives to fine-tune further
Following these steps will not only alleviate soreness but also boost your workout consistency and performance. Don’t settle for discomfort—grab your tools today and make those changes. You’ll feel the difference on your next spin.
Have you transformed your exercise bike seat? Share your tips or results in the comments below to inspire other readers! If issues persist, describe your setup for tailored advice.


