Riding your bike should be a joy, not a pain—literally. If you’ve ever finished a ride with a sore backside, numb legs, or general discomfort, you’re not alone. Many cyclists struggle with the wrong bike seat, which can turn even a short commute into a dreaded chore. The good news? Learning how to choose a bike seat that’s right for you can transform your rides. In this guide, we’ll start with a quick tip: measure your sit bone width and match it to a seat with adequate padding for immediate relief on your next outing.
But don’t stop there—this comprehensive guide goes way beyond basics. We’ll dive into key factors like fit, types of seats, and real-world testing, plus pro tips and common pitfalls to avoid. By the end, you’ll have the confidence to select a bike seat that enhances comfort, boosts performance, and keeps you pedaling longer without issues. Whether you’re a casual rider or a serious enthusiast, these actionable steps will help you make an informed choice and say goodbye to discomfort for good.
Key Factors to Consider When Choosing a Bike Seat
Selecting the perfect bike seat—also known as a saddle—starts with understanding what makes one comfortable for you and your riding style. Not all seats are created equal; the wrong one can lead to pressure points, chafing, or even long-term health issues like nerve compression. We’ll break down the most important factors below, so you can evaluate options systematically.
Comfort and Padding
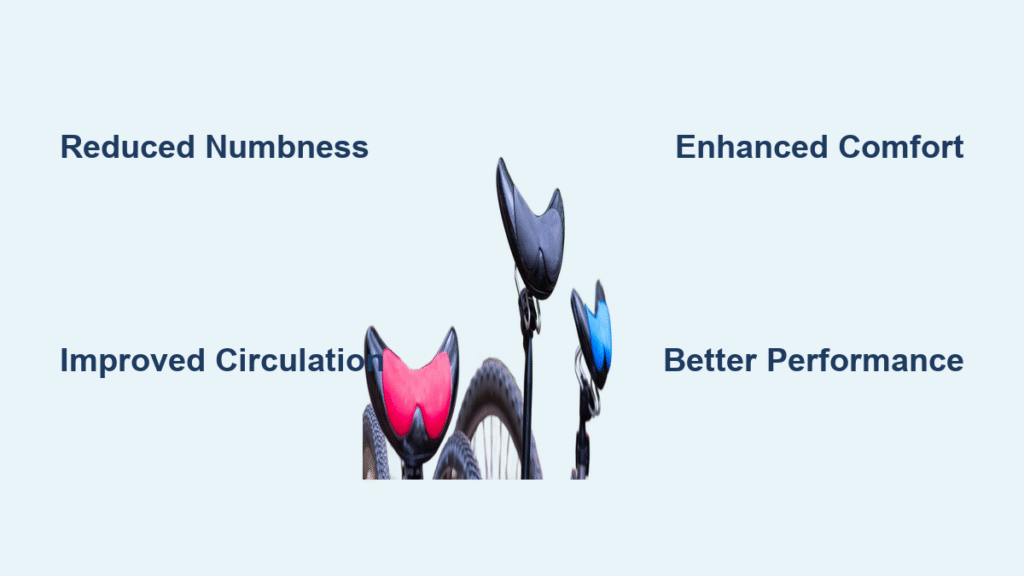
Comfort is king when learning how to choose a bike seat. Look for seats with gel or foam padding that cushions your weight without being too squishy, as excessive padding can cause instability. For example, seats with cutouts or channels in the middle relieve pressure on sensitive areas like the perineum, reducing numbness during longer rides.
Consider your body weight and riding duration: lighter riders might prefer firmer seats for better power transfer, while heavier folks or those on bumpy terrain need more cushioning. Test seats in a bike shop by sitting on them in your riding position—aim for even weight distribution across your sit bones (the bony parts of your pelvis).
Fit and Sizing
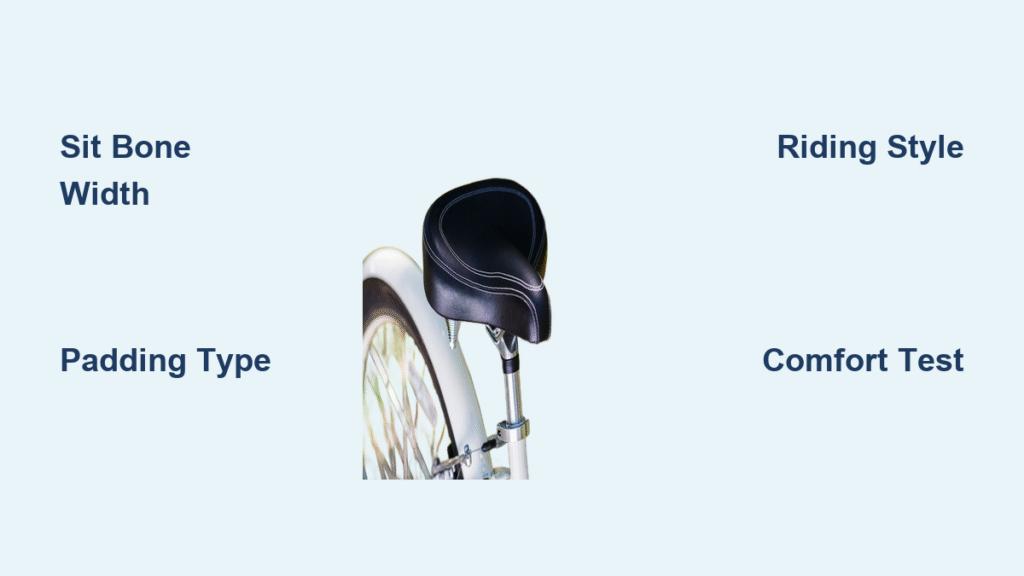
A poorly fitting bike seat is a recipe for discomfort. The key measurement is your sit bone width, which determines the seat’s width. Most bike shops offer a sit bone measurement tool: sit on a piece of foil or a specialized pad, and it imprints your bone spacing. Add about 20-30mm to that measurement for the ideal seat width—too narrow, and your bones dig into the sides; too wide, and you rub the inner thighs.
Height matters too: your seat should allow a slight bend in your knee at the bottom of the pedal stroke (about 30-35 degrees). For height, measure your inseam and use the formula: inseam length x 0.883 for road bikes, or adjust for mountain bikes. Variations exist by bike type—road seats are narrower for aerodynamics, while cruiser seats are wider for upright postures.
Riding Style and Terrain
Your bike seat choice hinges on how and where you ride. Road cyclists need sleek, narrow seats for efficiency and speed, often with minimal padding to reduce weight. Mountain bikers, on the other hand, benefit from seats with more padding and a slight curve to handle rough trails without sliding.
For commuters or hybrid riders, opt for versatile seats with moderate width and weather-resistant covers. Touring seats are longer and more padded for all-day comfort on multi-hour trips. Always factor in gender: women’s seats often have a shorter nose and wider rear for pelvic differences, while men’s are more elongated. If you’re unsure, start with a unisex model and adjust.
Material and Durability
Durability ensures your bike seat lasts through seasons of use. Leather seats, like those from Brooks, mold to your body over time and are water-resistant but require occasional conditioning to prevent cracking. Synthetic materials like vinyl or gel-infused foam are affordable, lightweight, and low-maintenance but may wear faster in harsh weather.
Carbon fiber rails offer stiffness for performance riding, while steel or titanium provides flex for comfort. Check for UV resistance if you ride outdoors often. Budget-wise, expect to pay $20-50 for basic seats, $50-100 for mid-range, and $100+ for premium options—invest in quality to avoid frequent replacements.
Price and Brand Reputation
When figuring out how to choose a bike seat, balance cost with reliability. Brands like Specialized, Selle Italia, and Bontrager are trusted for their ergonomic designs backed by research. Read reviews on sites like REI or Amazon, focusing on user feedback for your body type and bike.
Don’t skimp: a cheap seat might save money upfront but lead to discomfort and extra costs later. Look for warranties—many cover defects for 1-2 years. Pro tip: sales or outlet stores can offer deals on high-end models without sacrificing quality.
Types of Bike Seats: Which One Is Right for You?

Understanding bike seat types helps narrow your options. Here’s a breakdown of popular categories, complete with pros, cons, and ideal uses. Use this as a starting point to match your needs.
| Type | Pros | Cons | Best For |
|---|---|---|---|
| Road Racing Seat | Lightweight, aerodynamic shape; minimal padding for efficiency. | Can be uncomfortable for long rides; narrow fit not for everyone. | Competitive road cyclists seeking speed. |
| Mountain Bike Seat | Padded for shocks; often with suspension-like features. | Bulkier and heavier; less aero. | Off-road trails and rough terrain. |
| Cruiser/Comfort Seat | Wide, plush padding; upright design for relaxed posture. | Not ideal for high-speed or intense pedaling. | Casual city rides or beach cruisers. |
| Touring Seat | Extra long and cushioned; durable for heavy loads. | Heavier; may cause thigh rub on fast rides. | Long-distance tours or bikepacking. |
| Gel or Memory Foam Seat | Molds to body; excellent pressure relief. | Can compress over time; higher price. | Beginners or those with sensitivity issues. |
| Women’s Specific Seat | Shorter nose, wider rear; angled for female anatomy. | May not suit all body types. | Female cyclists for better perineal support. |
Each type varies by width (130-170mm typically) and shape (flat, curved, or nosed). For example, a flat seat promotes rocking motion for climbs, while a curved one keeps you stable on flats. If you’re between types, hybrid seats combine features for versatility.
Step-by-Step Process for Selecting and Testing Your Bike Seat
Now that you know the factors and types, follow this structured process to choose a bike seat confidently. This method takes about 1-2 hours in a shop or online with measurements, plus test rides.
Step 1: Assess Your Needs and Measure Up
Start by evaluating your riding habits: how far do you go weekly? What’s your bike type? Jot this down.
Next, measure sit bones: Visit a bike shop for a free fitting (many offer this service). At home, use cardboard and foil—sit in cycling position, stand, and measure the indentations. Note your height, weight, and inseam for height adjustments.
Important: If you have any medical conditions like sciatica, consult a doctor before choosing—certain seats can exacerbate issues.
Step 2: Research and Narrow Options
Use online tools like BikeFit or manufacturer size charts. Search for seats matching your measurements, e.g., “150mm wide road bike seat.”
Compare 3-5 options based on the table above. Read reviews from similar riders—focus on comfort after 20+ miles. Budget $50-150 for a solid pick.
Step 3: Shop and Try Before You Buy
Head to a local bike shop for hands-on testing. Sit on demo seats in your riding position (on a trainer bike if available). Bounce a bit to feel padding response— it should feel supportive, not mushy.
If online, check return policies (e.g., 30 days from REI). Many brands like Fizik offer 30-day comfort guarantees.
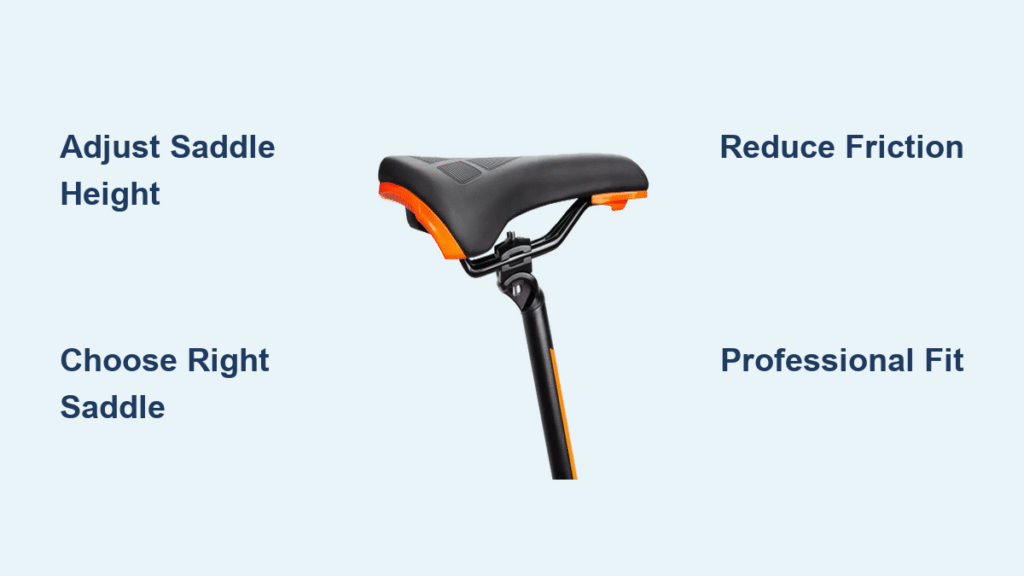
Step 4: Install and Initial Test Ride
Once purchased, install: Loosen seat post clamp, slide in rails, and tighten to 5-6Nm torque (use a bike tool). Adjust height and fore/aft position—your knee should align over the pedal spindle.
Take a 10-20 minute test ride on varied terrain. Note any hot spots or numbness. Fine-tune: tilt slightly nose-down (1-2 degrees) if pressure builds forward.
Step 5: Break-In and Long-Term Evaluation
New seats need 50-100 miles to break in, especially leather ones. Ride gradually longer distances. If discomfort persists after two weeks, swap it out—most shops allow exchanges.
Warning: Never ignore persistent pain; it could indicate a fit issue beyond the seat, like cleat position.
Pro Tips for Bike Seat Selection
Elevate your choice with these expert insights to ensure long-term satisfaction:
- Prioritize Adjustability: Choose seats with micro-adjust rails for easy tweaking. Tools like a bike multi-tool make on-the-fly changes simple.
- Consider Weatherproofing: For rainy climates, opt for seats with hydrophobic coatings to prevent waterlogging and mildew.
- Avoid Common Mistakes: Don’t pick based on looks alone—flashy colors won’t help if it’s uncomfortable. Also, skip extra-wide seats unless measured; they can cause chafing.
- Optimize for Performance: For racing, go narrower to improve pedaling efficiency by 5-10% (per cycling studies from the Journal of Sports Sciences).
- Layer for Comfort: Pair your seat with padded shorts; chamois cream reduces friction during initial rides.
- Eco-Friendly Options: Brands like Brooks use sustainable leather—great for durability and the planet.
- Track Your Rides: Use apps like Strava to log comfort levels post-seat change and refine choices.
These tips can shave discomfort and extend your riding sessions by hours.
When to Seek Professional Help

Sometimes, how to choose a bike seat requires more than DIY—especially if you’re experiencing chronic pain or have a custom bike setup. Signs you need pro help include numbness lasting hours after rides, saddle sores, or if self-adjustments don’t help.
Look for a certified bike fitter (check the BikeFit website for pros). They use pressure mapping tech to analyze your fit, often costing $100-200 but worth it for serious riders. Choose providers with experience in your discipline (e.g., triathlon vs. MTB).
Costs for professional seat selection: $50 for a basic consult, up to $300 for full bike fit including seat swap. Check warranties—many seats cover manufacturing defects, but custom fits may void them if altered improperly.
FAQ
Q: How do I know if my current bike seat is the wrong size?
A: Measure your sit bones and compare to the seat width (printed on the underside). If your bones overhang or you feel thigh rubbing, it’s likely too narrow or wide. Test by riding 30 minutes—if you shift constantly for relief, resize it.
Q: Are expensive bike seats worth the money?
A: Yes, for frequent riders. Premium seats like the Specialized Power ($130+) use body-scan data for better ergonomics, lasting 2-3x longer than $30 basics. Budget options work for casual use but wear out faster.
Q: Can I choose a bike seat for both road and mountain biking?
A: Hybrid seats bridge the gap, offering moderate padding and width. However, for optimal performance, dedicate one per bike—switching compromises fit and comfort.
Q: What’s the best bike seat for overweight cyclists?
A: Wider seats (155mm+) with extra gel padding, like the Planet Bike Comfort Gel ($40). Focus on hammock-style designs for even weight distribution to avoid pressure points.
Q: How often should I replace my bike seat?
A: Every 3-5 years with regular use, or sooner if padding flattens or cover tears. Inspect for cracks annually—UV exposure accelerates wear.
Q: Do women’s bike seats make a big difference?
A: Absolutely; they address wider pelvic angles, reducing perineal pressure by up to 20% (per women’s cycling research). Brands like Terry or Liv specialize in these.
Q: Can a bad bike seat cause back pain?
A: Yes, if height or tilt is off, it misaligns your posture. Adjust fore/aft so your hips don’t rock—consult a fitter if pain persists.
Alternative Solutions If Standard Seats Don’t Work
If off-the-shelf bike seats fall short, consider these options. Custom seats from Cobb or personalized via 3D scanning (e.g., Gebiomized service) mold exactly to you but cost $200+.
| Solution | Pros | Cons | Best For |
|---|---|---|---|
| Custom-Made Seat | Perfect fit; relieves specific pain points. | Expensive ($150-400); long lead time. | Riders with unique anatomy or injuries. |
| Seat Cover/Pad | Adds padding to existing seat cheaply ($10-20). | Temporary fix; can bunch up. | Budget testing before buying new. |
| Suspension Seatpost | Absorbs shocks without changing seat. | Adds weight; not a full comfort solution. | Gravel or bumpy road riders. |
| Ergonomic Bike Shorts | Enhances any seat with built-in cushioning. | Doesn’t solve core fit issues. | All riders as a complementary add-on. |
Compare these to standard seats: customs excel in personalization but lack the affordability of covers for quick trials.
Ride in Comfort with Your Perfect Bike Seat
Armed with this guide on how to choose a bike seat, you’re set to upgrade your rides for better comfort and enjoyment:
– Key factors like fit, type, and materials for informed decisions
– Step-by-step selection and testing process
– Pro tips and alternatives for tricky cases
Following these steps ensures you avoid common pitfalls and find a seat that feels like an extension of your body. Don’t settle for discomfort—head to your local shop or order online today, measure accurately, and hit the road with renewed energy.
Have you found the ideal bike seat using these tips? Share your experience and recommendations in the comments below to help fellow cyclists!