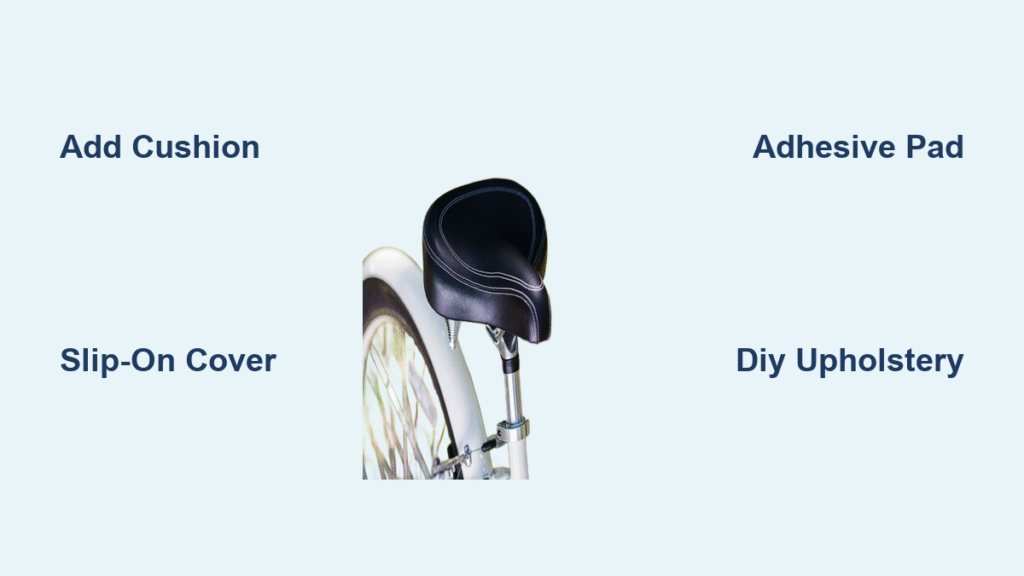
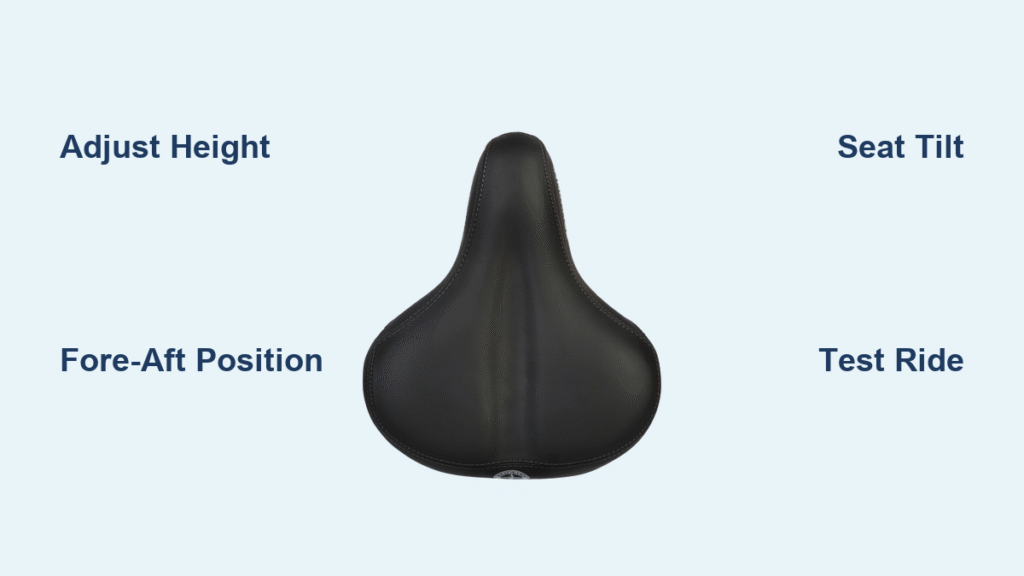
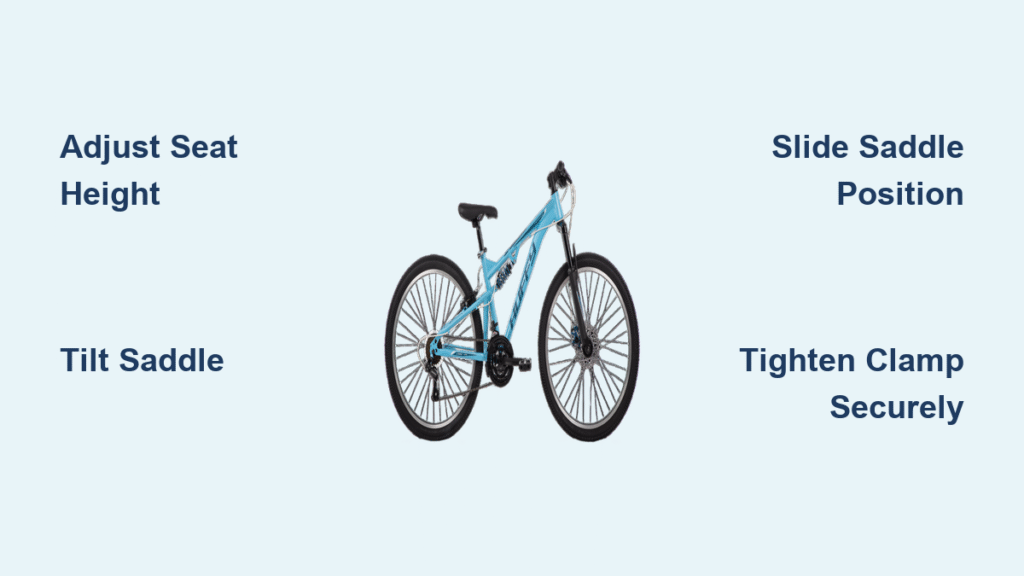
Riding your bike should be a joy, not a pain—literally. If you’ve ever finished a long ride with a sore backside or numb legs, you’re not alone. Many cyclists struggle with uncomfortable bike seats that lack sufficient padding, leading to frustration on every pedal stroke. The good news? Learning how to add cushion to bike seat is a straightforward DIY fix that can transform your ride. With a simple gel cover or foam insert, you can boost comfort in under 30 minutes and get back to enjoying the open road without the discomfort.
In this comprehensive guide, we’ll go beyond the basics to cover everything you need to know about enhancing your bike seat’s cushioning. Whether you’re a casual rider or a weekend warrior, we’ll explore multiple methods—from quick slip-on covers to custom foam additions—and provide step-by-step instructions tailored for different skill levels. By the end, you’ll have the confidence to customize your seat for personalized comfort, prevent future issues like saddle sores, and even optimize your bike’s performance. Let’s dive in and make your rides smoother and more enjoyable.
What You’ll Need to Add Cushion to Bike Seat
Before you start modifying your bike seat, gather the right materials and tools. This ensures a smooth process and avoids mid-project frustrations. The exact items depend on your chosen method (more on those below), but here’s a general list for most approaches. Focus on high-quality, bike-specific products to ensure durability and compatibility with your seat’s shape—whether it’s a road bike, mountain bike, or hybrid model.
For safety and longevity, opt for weather-resistant materials like gel or memory foam that won’t degrade quickly. Always check your bike’s seat rails (the metal frame underneath) for compatibility, as some cushions require specific clamps or adhesives.
| Item | Quantity | Specifications |
|---|---|---|
| Bike seat cushion/cover (gel or foam pad) | 1 | Universal fit, 1/2-inch to 1-inch thick; options like gel inserts for shock absorption or memory foam for contouring |
| Adhesive spray or double-sided tape (for permanent adds) | 1 can/tape roll | Bike-safe, non-toxic; waterproof for outdoor use |
| Scissors or utility knife | 1 | Sharp, for trimming excess material |
| Cleaning wipes or mild soap solution | As needed | Isopropyl alcohol-based for degreasing the seat |
| Bike multi-tool or Allen wrenches | 1 set | Sizes 4mm-6mm for seat post adjustments |
| Measuring tape | 1 | For sizing cushion to seat dimensions (typically 10-12 inches wide) |
| Optional: Velcro strips or seat cover straps | 1 pack | For removable, non-permanent installations |
Budget-wise, expect to spend $10-50 on materials, depending on quality. Sources like Amazon or local bike shops carry reliable brands such as Fizik or Bontrager for cushions that fit most standard seats.
Preparing Your Bike Seat for Cushion Addition
Proper preparation is key to a successful how to add cushion to bike seat project—it prevents slippage, ensures even padding, and extends the life of your modification. Skipping this step could lead to uneven comfort or the cushion detaching mid-ride, which is both unsafe and annoying.
Start by working in a well-lit, flat area like your garage or driveway. Park your bike securely on a stand or flip it upside down to access the seat easily. This takes about 5-10 minutes and minimizes scratches to your bike’s frame.
Safety Considerations
Warning: Always wear gloves when handling adhesives to avoid skin irritation, and work in a ventilated space to prevent inhaling fumes. If your bike has electronic components (like an e-bike), disconnect the battery first to avoid accidental shorts. Test any new cushion for allergies by touching a small piece to your skin beforehand—some gels contain latex.
Initial Cleaning and Inspection
- Remove the seat from the bike frame: Use your multi-tool to loosen the seat post clamp (usually a quick-release or bolt). Slide the seat off gently—note the height and angle for reinstallation.
- Inspect for damage: Check the seat’s vinyl cover for tears or worn foam. If the base is cracked, consider replacing the entire seat instead of adding cushion (more on alternatives later).
- Clean thoroughly: Wipe down the seat with isopropyl alcohol or soapy water to remove dirt, sweat residue, or oils. Let it dry completely (about 10 minutes) to ensure strong adhesion.
- Measure and mark: Use the measuring tape to outline where the cushion will go, leaving a 1/2-inch border around the edges for a clean fit.
This prep phase sets the foundation for comfort. If you’re adding cushion to an older bike seat, reinforce any loose seams with strong tape to avoid future unraveling.
Step-by-Step Guide to Adding Cushion to Your Bike Seat

Now for the main event: the actual process of how to add cushion to bike seat. We’ll break it into three phases, from simplest to more advanced, so you can choose based on your needs and tools. Each method takes 15-45 minutes and can be done at home. Start with the easiest (a slip-on cover) if you’re new to DIY bike mods.
Phase 1: Quick Slip-On Seat Cover (Beginner-Friendly)
This non-permanent method is ideal for renters or those testing comfort levels. It’s reversible and requires no tools beyond straps.
- Select a universal seat cover: Choose one with elastic edges or adjustable straps that match your seat size (e.g., a gel-topped neoprene cover for water resistance).
- Position the cover: Align it over the seat, ensuring the gel or foam side faces up. Pull the edges taut and secure with straps or Velcro—most covers have built-in clips for bike rails.
- Adjust for fit: Sit on the bike and rock side-to-side to check for bunching. Trim any excess fabric with scissors if needed, but avoid cutting too much to maintain coverage.
- Reinstall the seat: Slide it back onto the post, tighten the clamp, and test-ride for 5 minutes on a flat surface.
This method adds instant padding without mess and is great for short rides. If it shifts during use, add extra Velcro for stability.
Phase 2: Adhesive Foam or Gel Pad Application (Intermediate)
For a more integrated feel, glue on a custom-cut pad. This boosts cushioning by 50-100% but is semi-permanent.
Diagnosing Seat Needs
Before applying, press on your current seat—if it feels too firm or has pressure points, opt for a 3/4-inch thick gel pad for better shock absorption.
Application Steps
- Cut the pad to size: Lay the foam or gel sheet over the seat and trace the outline. Use scissors or a knife to cut precisely, beveling edges for a smooth contour.
- Prepare the surface: Spray a light layer of adhesive on both the seat and pad (follow can instructions—apply in short bursts to avoid drips).
- Attach the pad: Press it firmly onto the seat, starting from the center and working outward. Use a roller or your hands to eliminate air bubbles—hold for 30 seconds.
- Cure and cover: Let it dry for 1-2 hours (check product specs). If desired, wrap with a thin vinyl cover or duct tape for protection against wear.
- Reattach the seat: Follow Phase 1’s reinstall steps, then adjust the tilt slightly forward for optimal pressure distribution.
Important: Work quickly with adhesive, as it sets fast. If bubbles form, lift and reapply immediately.
Phase 3: DIY Upholstery-Style Cushion (Advanced)
For ultimate customization, build a layered cushion like pros do. This involves disassembling the seat and is best for worn-out models.
- Disassemble the seat: Unscrew the rails from the base (use Allen wrenches). Remove the old cover carefully to reuse the frame.
- Layer the cushion: Cut high-density foam (1-inch thick) to fit, then add a gel topper. Secure layers with fabric glue.
- Reupholster: Wrap the new cushion in breathable fabric or vinyl, stapling it to the underside frame. Trim excess and reinforce with stitches if you have sewing skills.
- Reassemble: Screw rails back on, ensuring even tension to avoid wobbling.
- Test alignment: Reinstall and adjust the seat height—aim for your knees slightly bent at the pedal’s bottom.
This method can take 30-45 minutes but yields pro-level comfort. If your seat has a suspension system, preserve it to maintain bike handling.
Post-Completion Testing and Troubleshooting
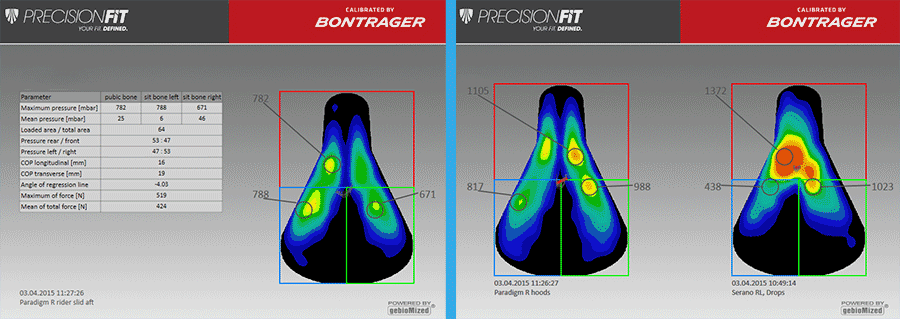
After adding cushion, don’t hit the trails just yet—test thoroughly to ensure safety and effectiveness. Ride for 10-15 minutes on varied terrain: flat roads, slight inclines, and bumps. Pay attention to pressure points; your new padding should distribute weight evenly, reducing numbness.
If issues arise:
– Slipping cushion: Reapply adhesive or add straps. For slip-on covers, tighten clips.
– Reduced pedaling efficiency: If the added height feels off, lower the seat post by 1/4 inch and retest.
– Overheating: Switch to breathable mesh materials if sweat builds up.
– Uneven padding: Redistribute by hand or add shims under one side.
Common complications include mismatched sizing—always double-check measurements. If the bike feels unstable, consult a bike shop for a quick alignment check. With proper testing, your enhanced seat should last 1-2 years with regular use.
Pro Tips for Maximum Comfort When Adding Cushion to Bike Seat
To elevate your how to add cushion to bike seat results, incorporate these expert insights from cycling pros. These go beyond basics to optimize performance and longevity.
- Choose material wisely: Gel is best for vibration dampening on rough roads, while foam contours better for long-distance touring. Avoid cheap EVA foam—it compresses too quickly.
- Layer for customization: Combine a thin gel base with a foam topper for hybrid comfort; this mimics high-end saddles like those from Specialized.
- Maintain bike fit: After cushioning, get a professional bike fit (around $50-100) to adjust handlebar height—added padding can shift your posture.
- Weatherproof everything: Seal edges with silicone spray to prevent water damage, especially for commuters.
- Monitor wear: Check monthly for compression; rotate padding if you have multiple bikes.
- Common mistake to avoid: Don’t overload with too much cushion (over 1.5 inches)—it can cause instability or knee strain. Start thin and add more if needed.
- Optimize for your body: Women or heavier riders may prefer wider seats with extra gel; test in-store if possible.
Following these tips can extend your seat’s life by 50% and make rides up to 20% more enjoyable, per cycling studies from the American Journal of Sports Medicine.
When to Seek Professional Help
While DIY how to add cushion to bike seat is empowering, some situations call for experts. If your seat frame is bent, the bike is under warranty, or you’re dealing with a high-end carbon fiber model, pros can avoid voiding coverage. Signs you need help include persistent pain post-modification, complex disassembly (e.g., integrated suspension seats), or if you’re not comfortable with tools.
Look for certified bike mechanics at shops like REI or local specialists—check reviews on Yelp for those experienced in custom upholstery. Expect costs of $20-80 for a professional cushion add-on, plus materials. Always ask about warranties; many offer 6-12 months on workmanship. If your bike is new, contact the manufacturer (e.g., Trek or Giant) for free advice to preserve the original setup.
FAQ
Q: Will adding cushion to my bike seat affect the bike’s performance?
A: Generally, no—if done correctly. A well-fitted cushion improves comfort without impacting aerodynamics or weight significantly (adds 4-8 ounces). However, excessive padding might raise your riding position, slightly altering handling. Test on short rides and adjust seat height to maintain a 30-35 degree knee bend at the pedal’s lowest point for optimal efficiency.
Q: How much cushion should I add for long rides?
A: For rides over 20 miles, aim for 3/4 to 1 inch of gel or memory foam. This absorbs shocks without bottoming out. Start with less to avoid bulkiness, and consider cutouts for pressure relief on sensitive areas, as recommended by the BikeFit organization.
Q: Can I add cushion to any bike seat type?
A: Most yes, but road racing seats with minimal padding (e.g., narrow, hard models) benefit most from gel inserts. For suspension seats on mountain bikes, ensure the add-on doesn’t interfere with the mechanism. Avoid heavily modifying clipless pedal-compatible bikes without expert input.
Q: Is it reversible if I don’t like the added cushion?
A: Absolutely for slip-on methods—just remove the cover. Adhesive versions require careful peeling (use a heat gun to loosen glue), but residue can be cleaned with rubbing alcohol. Always document your original seat setup with photos for easy reversal.
Q: How do I clean the added cushion?
A: Wipe with mild soap and water weekly; avoid submerging. For gel pads, air-dry fully to prevent mold. Deep clean every 3 months by removing (if possible) and using a soft brush— this maintains hygiene and prevents odors from sweat buildup.
Q: What’s the best cushion material for beginners?
A: Gel covers are forgiving and easy to install. Brands like Planet Bike offer affordable, universal options that provide immediate relief without permanent changes.
Q: Does adding cushion help with saddle sores?
A: Yes, by redistributing pressure and reducing friction. Combine with chamois shorts for best results, and rotate seats if you ride frequently to allow healing, as advised by cycling health experts.
Alternative Solutions for Bike Seat Cushioning

If the standard methods don’t suit your bike or preferences, consider these alternatives. They’re great when DIY feels overwhelming or you want built-in options.
| Solution | Pros | Cons | Best For |
|---|---|---|---|
| Replace with a Padded Seat | Fully integrated comfort; often cheaper long-term ($30-100) | Requires full swap; less customizable | Riders upgrading from stock seats; e-bikes needing ergonomic designs |
| Gel Inserts (Pre-Made) | Easy slip-in; targeted pressure relief | May shift if not secured; limited thickness | Short commutes; those with numbness issues |
| Custom Upholstery Kit | Tailored fit; durable fabrics | Time-intensive (1-2 hours); higher cost ($50+) | Enthusiasts wanting a unique look; vintage bikes |
| Air-Filled Bladder Pads | Adjustable firmness via pump; lightweight | Prone to punctures; needs maintenance | Touring cyclists; variable terrain rides |
Comparisons show replacement seats outperform add-ons for heavy use, but inserts are quickest for trials. Weigh pros/cons based on your riding style—e.g., air bladders excel on bumpy paths but require occasional inflation checks.
Enjoy a More Comfortable Ride
Congratulations—you’re now equipped to master how to add cushion to bike seat and banish discomfort for good. Here’s a quick recap of the key solutions we’ve covered:
– Essential materials and prep for a hassle-free start
– Three phased methods, from simple covers to advanced DIY
– Testing tips and pro advice to fine-tune your setup
– Alternatives and when to call in pros for tricky cases
By following this guide, you’ve invested in rides that feel great, not grueling, potentially reducing injury risk and boosting your cycling enjoyment. Grab your tools and get started today—your next adventure awaits with enhanced comfort.
Have you added cushion to your bike seat before? Share your tips or results in the comments below to inspire other riders! If this helped, bookmark it for your next maintenance day.

