If you’ve just hopped on your new Peloton bike and are already wincing from seat discomfort, you’re not alone—many riders wonder how long to get used to Peloton bike seat issues right from the start. That initial soreness or numbness can make your workouts feel like a chore, but the good news is there’s a quick fix: proper bike adjustments and a short break-in period. Most users report noticeable improvement within the first 1-2 weeks of consistent riding, often by tweaking your position and incorporating some simple stretches.
In this comprehensive guide, we’ll dive deeper than just quick adjustments. You’ll learn the typical timeline for adaptation, common causes of discomfort, multiple strategies to speed up the process, and long-term prevention tips. By the end, you’ll have the confidence to ride pain-free, turning your Peloton into the enjoyable fitness tool it was meant to be. Whether you’re a beginner or a seasoned cyclist, these actionable steps will help you conquer that seat and get back to crushing your classes.
Common Causes of Peloton Bike Seat Discomfort
Understanding why the Peloton bike seat feels uncomfortable is the first step to figuring out how long to get used to Peloton bike seat challenges. The seat is designed for efficiency and stability, but it can take time for your body to adapt, especially if you’re new to indoor cycling. Below, we’ll break down the most frequent culprits using detailed explanations to help you identify your specific issue.
Improper Bike Fit and Adjustment
One of the top reasons for seat soreness is simply not having the bike fitted correctly to your body. The Peloton bike’s seat height and fore-aft position might not match your height, leg length, or riding style out of the box. For instance, if the seat is too high, it can cause excessive pressure on your sit bones (the bony parts of your pelvis that bear weight while cycling). Riders under 5’4″ or over 6’2″ often face this issue more acutely. According to Peloton’s official setup guide, improper fit can lead to discomfort that persists for weeks if unaddressed, but adjusting it can cut adaptation time in half.
Lack of Padding or Personal Anatomy Mismatch
The standard Peloton seat is relatively firm with minimal padding to mimic road bike ergonomics, which prioritizes power transfer over plush comfort. If you have sensitive skin, wider hips, or a larger build, this firmness can cause chafing or numbness. Studies from cycling organizations like the International Journal of Sports Physical Therapy note that about 60% of new cyclists experience perineal pressure due to anatomical mismatches, making the question of how long to get used to Peloton bike seat even more relevant for diverse body types.
New Rider Inexperience and Muscle Adaptation
If you’re transitioning from casual exercise to intense Peloton classes, your glutes, hamstrings, and core might not yet be conditioned for prolonged seated pedaling. This leads to shifting around on the seat, increasing friction and pressure points. Beginners often report the worst discomfort in the first few rides, with adaptation varying based on ride frequency—daily short sessions (20-30 minutes) build tolerance faster than sporadic long ones.
Underlying Health or Posture Issues
Pre-existing conditions like sciatica, poor posture, or even tight hip flexors can amplify seat discomfort. Slouching during rides shifts weight unevenly, putting extra strain on the tailbone. Peloton instructors frequently emphasize form in classes, but if you’re ignoring cues like engaging your core, it can prolong the break-in period significantly.
How to Speed Up Getting Used to Your Peloton Bike Seat

Now that we’ve covered the causes, let’s tackle solutions. Adaptation time for how long to get used to Peloton bike seat typically ranges from 3-7 days for mild cases to 2-4 weeks for more persistent ones, but these methods can accelerate it. We’ll outline three progressive approaches, from simple tweaks to advanced techniques, with step-by-step instructions. Start with the basics and escalate as needed.
Method 1: Optimize Your Bike Setup (Quickest Initial Relief, 10-15 Minutes)
This foundational fix addresses fit issues and can provide relief in your very next ride. Most users see improvement within 2-3 sessions.
Diagnosing the Issue
Sit on the bike in your riding position (shoes clipped in if using SPD pedals). Pedal slowly and note any pinching, numbness, or rocking. Use Peloton’s app or website for a virtual fit quiz based on your height and inseam.
Adjustment Steps
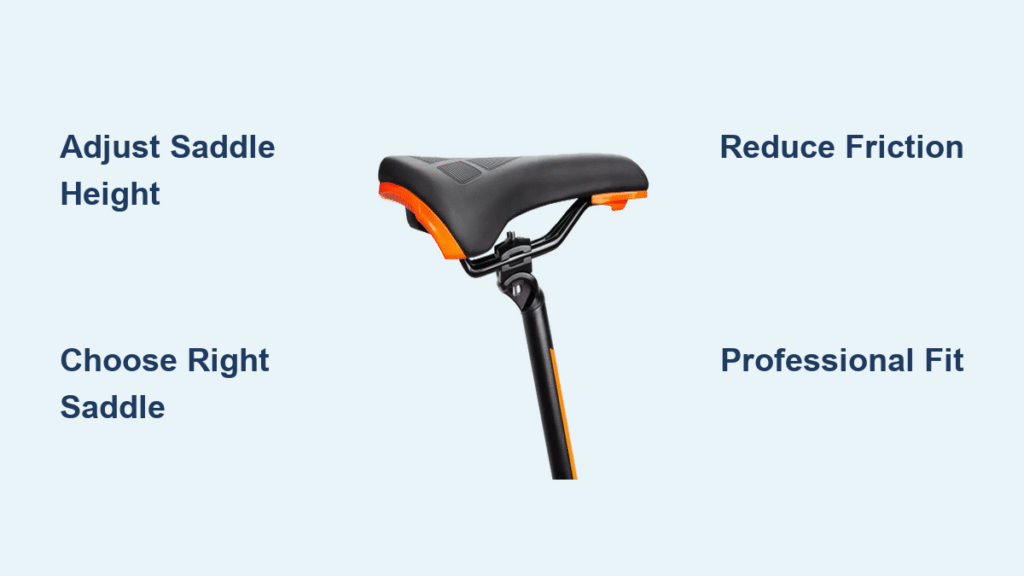
- Set Seat Height: Stand next to the bike with your heel on the pedal at the bottom of the stroke—your leg should be straight. Adjust the seat post so your knee is slightly bent (about 25-35 degrees) when the pedal is at 3 o’clock. This prevents overextension, which causes seat rocking.
- Adjust Fore-Aft Position: With the pedal at 3 o’clock, your forward knee should align with the ball of your foot. Loosen the seat clamp and slide it forward or back accordingly. Aim for a neutral hip angle to distribute weight evenly.
- Handlebar Height: If available (on Bike+ models), raise or lower for upright posture. Test ride for 5 minutes and readjust if needed.
Testing the Fix
Ride a 10-minute low-resistance class. If discomfort drops by 50%, you’re on track. Revisit after a few rides as your body settles.
Important: Always power off the bike before adjustments to avoid accidental starts. If you’re unsure, watch Peloton’s official setup video on their support site for visual guidance.
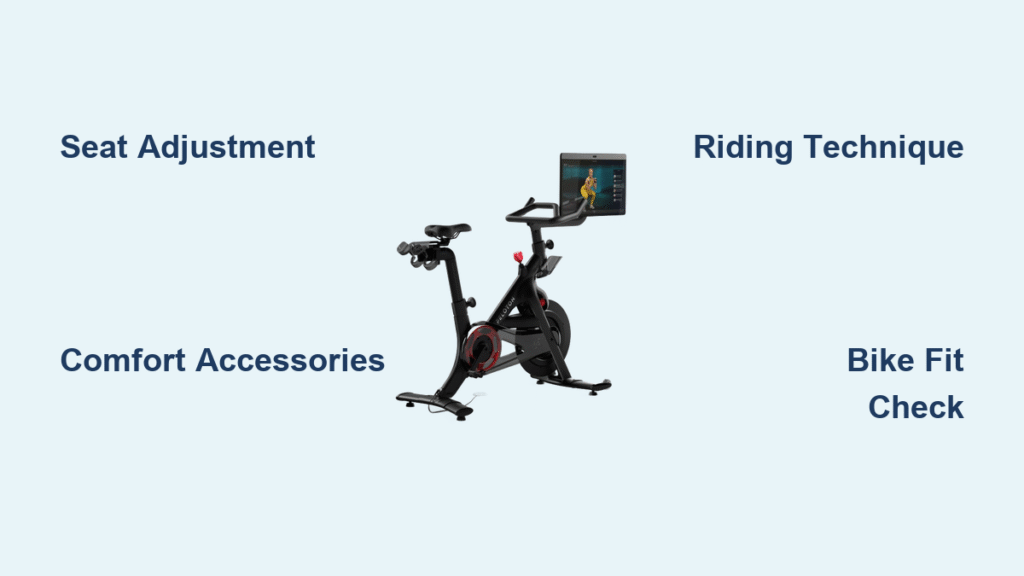
Method 2: Incorporate Comfort Accessories and Riding Techniques (Builds Tolerance Over 1-2 Weeks)
For those needing more than adjustments, add-ons and habits can reduce pressure points. This method suits riders with anatomical mismatches and typically shortens adaptation to 7-10 days.
Selecting Accessories
Consider a seat cover like the Gel Super Cushi (compatible with Peloton) for extra padding—it’s about $20 and adds 1/4-inch cushion without affecting pedaling efficiency. Avoid overly thick ones, as they can cause instability.
Riding Technique Steps
- Warm-Up Routine: Start every session with 5 minutes of easy pedaling and off-bike stretches: child’s pose for hips and pigeon pose for glutes (hold 30 seconds each side). This loosens muscles before pressure builds.
- Posture Focus: Keep your core engaged and weight centered over the saddle. Shift slightly every 5-10 minutes to prevent numbness—Peloton classes often cue this.
- Ride Frequency: Aim for 20-30 minute sessions 4-5 days a week. Consistency is key; overdoing it (e.g., 45+ minutes daily) can worsen soreness.
Testing Progress
Track discomfort on a 1-10 scale post-ride. If it decreases weekly, continue; if not, proceed to advanced methods.
Warning: If you feel sharp pain (not just soreness), stop riding and consult a doctor to rule out injury.
Method 3: Advanced Body Conditioning and Professional Fitting (For Persistent Issues, 2-4 Weeks)

If basic fixes fall short, this involves strengthening and expert input. Ideal for chronic discomfort, it can fully resolve adaptation in 3-4 weeks.
Conditioning Exercises
Incorporate off-bike workouts 2-3 times weekly:
1. Glute bridges: 3 sets of 15 reps to build posterior chain strength.
2. Hip flexor stretches: Lunge holds for 20 seconds per side.
3. Core planks: 30-60 seconds to improve stability.
Seeking a Pro Fit
Book a virtual or in-person bike fit via Peloton’s partner services or local cycling shops (costs $50-150). They’ll use tools like laser alignment for precise measurements.
Monitoring and Adjusting
After fitting, log rides in the Peloton app and note improvements. Combine with chamois cream (cycling-specific lubricant) for friction reduction.
These methods, when layered, address how long to get used to Peloton bike seat holistically, with most riders reporting full comfort by week four.
Prevention Tips for Long-Term Seat Comfort
Once adapted, maintaining comfort prevents setbacks. Follow these to extend your pain-free riding:
- Regular Bike Checks: Monthly, verify seat bolts are tight and clean the saddle with a damp cloth to remove sweat buildup, which causes irritation.
- Hydration and Nutrition: Drink plenty during rides and eat anti-inflammatory foods like berries to aid muscle recovery.
- Gradual Progression: Increase ride duration by 10% weekly to avoid overload.
- Seasonal Adjustments: In hot weather, use breathable shorts; in cold, add padded liners.
- Rest Days: Schedule 1-2 off days per week for tissue recovery, as overuse can reset your adaptation clock.
Pro Tips for Mastering Peloton Seat Comfort
Go beyond the basics with these expert insights to optimize your experience and avoid pitfalls:
- Customize Your Playlist: Shorter, high-energy classes (under 30 minutes) help build tolerance without overwhelming new riders—try Peloton’s beginner series.
- Avoid Common Mistakes: Don’t bounce on the seat during climbs; this increases pressure. Also, skip generic bike shorts—opt for cycling-specific ones with chamois padding.
- Optimize Performance: Once comfortable, experiment with resistance levels to engage more muscles, reducing seat reliance.
- Maintenance Hack: Apply a seat protector spray monthly to prevent material wear, extending the saddle’s life up to 5 years.
- Track with Tech: Use apps like Strava alongside Peloton to monitor ride data and correlate with comfort levels.
- Body Awareness: Practice mindfulness during rides—focusing on breath can make minor discomforts fade faster.
- Upgrade Wisely: If needed, Peloton’s One-Touch Resistance Bike+ has a more adjustable seat post for easier tweaks.
When to Seek Professional Help
While most can self-resolve how long to get used to Peloton bike seat queries, some signs warrant expert intervention:
- Persistent numbness or pain lasting over 4 weeks despite adjustments.
- Radiating discomfort to legs/back, suggesting nerve issues.
- Visible saddle damage or inability to maintain form.
Look for certified bike fitters through the USAC (USA Cycling) directory or Peloton-authorized technicians. Expect $75-200 for services, with many offering virtual options. Check your Peloton warranty (1 year standard) for free adjustments if under coverage. Prioritize providers with reviews mentioning Peloton-specific experience to ensure compatibility.
FAQ
Q: How long does it really take to get used to the Peloton bike seat on average?
A: For most riders, it takes 1-2 weeks of consistent short rides to feel comfortable, but factors like fitness level and adjustments can shorten it to 3-5 days or extend to 4 weeks. Start with 20-minute sessions to build tolerance gradually.
Q: Is the Peloton seat uncomfortable for everyone at first?
A: Yes, nearly all new users experience some discomfort due to its firm design, but women and those with narrower sit bones often adapt faster (within a week) compared to broader builds.
Q: Can I replace the Peloton bike seat with a softer one?
A: Absolutely—compatible aftermarket seats like the WTB Volt are popular. Installation takes 5 minutes with basic tools, but test ride first to ensure it doesn’t affect pedaling dynamics.
Q: What if I’m still sore after adjusting the seat height?
A: Soreness might stem from tight muscles; add daily stretches and chamois cream. If it persists, a professional fit can identify subtle issues like cleat misalignment.
Q: Does riding frequency affect adaptation time?
A: Yes—daily rides (even short ones) speed up the process by conditioning tissues, while infrequent use (e.g., twice weekly) can make it feel longer, up to a month.
Q: Are there exercises to help with Peloton seat numbness?
A: Target hip openers like foam rolling your IT bands and butterfly stretches. Do them post-ride for 10 minutes to improve blood flow and reduce pressure points.
Q: Is the Bike+ seat more comfortable than the original?
A: The Bike+ has similar ergonomics but better adjustability, which helps customization. Comfort is subjective, but many report easier adaptation due to the auto-resistance features reducing strain.
Alternative Solutions for Peloton Seat Discomfort

If standard adaptation isn’t cutting it, consider these options. The table below compares them for quick reference.
| Solution | Pros | Cons | Best For |
|---|---|---|---|
| Gel Seat Cover (e.g., Zefal) | Adds instant padding; affordable ($15-25); easy install | May feel unstable at high speeds; wears out faster | Beginners needing quick relief without permanent changes |
| Full Seat Replacement (e.g., Selle Italia) | Custom fit for body type; long-lasting | $50-100 cost; requires tools for swap; warranty void risk | Riders with chronic pain seeking a tailored upgrade |
| Off-Bike Cycling Simulator Apps | Builds tolerance without seat pressure; free trials available | Less immersive than Peloton; no hardware integration | Those with severe discomfort wanting a break from the bike |
| Physical Therapy Sessions | Addresses root causes like posture; personalized plans | $100+ per session; time-intensive | Users with underlying health issues beyond seat fit |
For non-Peloton alternatives, apps like Zwift on a compatible trainer offer similar classes with more seat options.
Ride Comfortably on Your Peloton Bike
You’ve now got a full roadmap to answer how long to get used to Peloton bike seat—from quick adjustments that bring relief in days to conditioning routines for lasting comfort. Key takeaways include:
– Identifying causes like poor fit or inexperience.
– Layered solutions from setup tweaks to pro fittings.
– Prevention through maintenance and gradual progression.
Following this guide will transform your rides from uncomfortable slogs to empowering workouts, helping you hit those PRs without distraction. Take action today: Adjust your bike, grab some chamois cream, and schedule your next class—you’ll be pedaling pain-free in no time.
Have you figured out your adaptation timeline? Share your tips or challenges in the comments below to help fellow Peloton riders!