Riding a bike with a high seat can feel intimidating at first, especially if you’re not used to the extra height that puts your feet just barely touching the ground—or not at all when you’re stopped. Whether you’ve got a road bike, a mountain bike, or even a cruiser with an unusually tall saddle, that high seat might lead to wobbly starts, knee strain, or even a scary tip-over if you’re not prepared. But don’t worry; the good news is there’s a quick fix to build your confidence: simply adjust your technique by scooting forward on the seat during stops and using your core for balance. This simple shift can get you riding smoothly in minutes without any tools.
In this comprehensive guide, we’ll go way beyond that quick adjustment to cover everything you need to know about how to ride a bike with a high seat. You’ll learn the common reasons for a high seat setup, step-by-step instructions for safe riding techniques, essential tools for seat adjustments if needed, and pro tips to prevent discomfort or accidents. By the end, you’ll have the skills and knowledge to handle that lofty saddle like a pro, turning potential frustration into an enjoyable ride every time.
Why a High Seat on Your Bike?
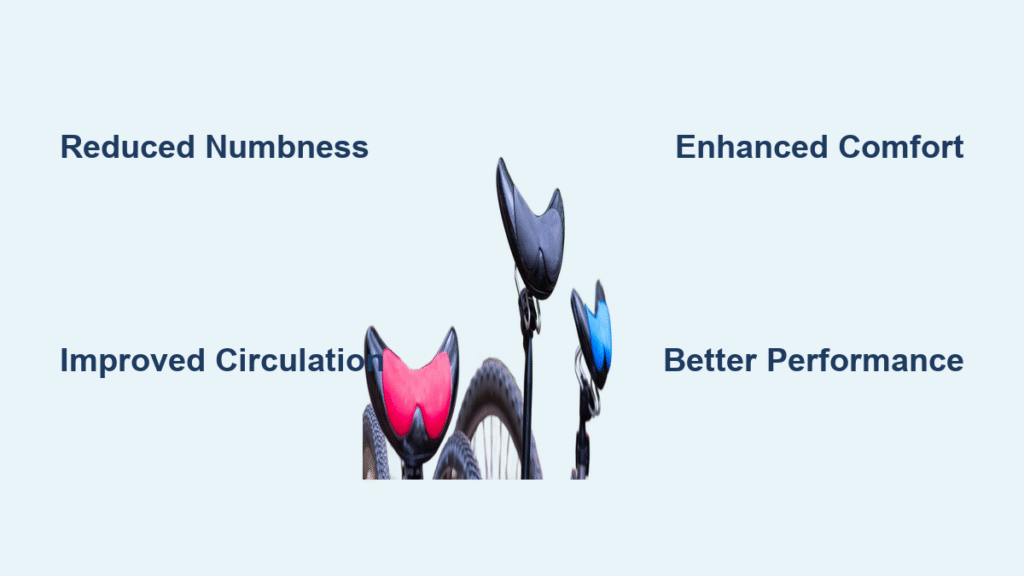
A high seat isn’t always a design flaw—it’s often intentional for better pedaling efficiency, especially on performance bikes. Understanding the reasons behind it can help you approach riding with the right mindset. For instance, on road bikes or racing models, the seat height is set so your leg is almost fully extended at the bottom of the pedal stroke, maximizing power without straining your hips. This setup, known as the “proper saddle height,” follows guidelines from cycling experts like those at the International Journal of Sports Physiology and Performance, which recommend a seat height of about 0.883 times your inseam measurement for optimal biomechanics.
However, if your bike’s seat feels too high due to a previous owner’s setup or a factory default, it could lead to issues like reduced control at low speeds or discomfort in your lower back. Common scenarios include borrowing a bike from a taller rider, upgrading to a drop-bar road bike, or even customizing a hybrid for longer tours. Recognizing these factors is the first step in safely adapting your riding style. If the height causes persistent pain, it might signal the need for a quick adjustment, which we’ll cover next.
Tools and Materials Needed for Riding and Adjusting a High Seat

Before diving into riding techniques, you might want to tweak your bike’s seat height for better comfort. Even if you’re keeping the high seat, having the right tools ensures you can make minor adjustments on the fly. Below is a table of essential items—most are basic and inexpensive, available at any bike shop or online retailer like REI or Amazon.
| Item | Quantity | Specifications |
|---|---|---|
| Allen wrench set | 1 set | Sizes 4mm to 6mm for seat post clamps; multi-tool versions like Topeak’s are ideal for portability. |
| Bike multi-tool | 1 | Includes hex keys, screwdrivers, and chain tools; compact for roadside fixes (e.g., Park Tool IB-3). |
| Measuring tape or inseam ruler | 1 | Soft fabric tape for accurate leg measurements; aim for 25-35 inches depending on your height. |
| Saddle adjustment shims | 2-4 | Plastic or metal spacers (1-2cm thick) to lower the seat if needed; available in packs from Shimano. |
| Bike stand or repair mat | 1 | Optional for stability during adjustments; a basic kickstand works for solo tweaks. |
| Lubricant spray | 1 can | WD-40 Specialist Bike Chain Lube to prevent rust on seat post after adjustments. |
These tools will take about 10-15 minutes to use for any setup changes. Remember, if you’re unsure about permanent alterations, consult a professional bike fitter to avoid voiding warranties on models like Trek or Specialized bikes.
Preparing for Safe Riding with a High Seat

Safety comes first when learning how to ride a bike with a high seat—rushing into it without preparation can lead to falls or injuries. Start by assessing your environment: choose a flat, open area like an empty parking lot or quiet street to practice, away from traffic. Wear a properly fitted helmet (certified by CPSC standards), padded cycling shorts to cushion your sit bones, and closed-toe shoes with good grip to prevent slips off the pedals.
Next, check your bike’s overall condition. Ensure brakes are responsive—test them by squeezing the levers firmly—and tires are inflated to the recommended PSI (usually 80-100 for road bikes, per the sidewall markings). Warning: Never ride with worn brake pads or loose components, as a high seat reduces your ability to plant both feet quickly in an emergency. Measure your ideal seat height using the LeMond method: Stand on a step with your heels together, measure from floor to crotch, then multiply by 0.883 and subtract 2-3 cm for shoe cleats if applicable. This ensures your leg extension is about 30-35 degrees of knee bend at the pedal’s lowest point, reducing strain.
Mentally prepare by visualizing the ride: focus on balance over speed. If you’re new to high seats, practice mounting and dismounting off the bike first. Hold the handlebars, swing your leg over like mounting a horse, and position yourself centered on the saddle. This prep phase should take 5-10 minutes and builds the foundation for confident riding.
Step-by-Step Guide to Riding a Bike with a High Seat
Now, let’s break down the actual riding process into manageable phases. We’ll start simple and build up to full rides. This guide assumes a standard pedal bike; for e-bikes or clipless pedals, add extra caution as dismounting differs. Each phase includes time estimates and troubleshooting for common hitches.
Phase 1: Mounting and Starting from a Stop
Getting on and off is the trickiest part with a high seat, but with practice, it’ll feel natural in under 20 minutes.
- Position the bike: Straddle the bike while standing beside it, with the seat between your legs. Grip the handlebars firmly with both hands.
- Lift and swing: Place your left foot on the left pedal (at the 2 o’clock position for leverage), then push down while swinging your right leg over the seat. Keep your weight centered.
- Balance and pedal: As you settle, use your core and arms to stay upright. If your feet don’t reach, scoot forward on the saddle slightly and push off with the ground toe if needed. Pedal smoothly to gain momentum—aim for 10-15 RPM initially.
Troubleshooting: If you wobble, stop pedaling and coast to a halt, then plant one foot while holding the brakes. Practice 5-10 times until it feels stable. For very high seats (over 100cm), consider a step-through frame alternative temporarily.
Phase 2: Maintaining Balance and Pedaling Technique
Once moving, focus on efficient pedaling to avoid fatigue. This phase takes about 15-30 minutes of practice.
- Adjust posture: Sit tall with your hips level, not rocking side-to-side. Keep elbows slightly bent and shoulders relaxed to absorb bumps.
- Pedal in circles: Push through the ball of your foot, pulling up on the backstroke with ankle flexion. Maintain a cadence of 70-90 RPM for comfort—use a bike computer app like Strava to track.
- Handle turns and stops: For turns, lean the bike while looking where you want to go. To stop, slow by pedaling backward or braking gradually, then dismount by swinging the leg over while coasting.
Important: If your knees hurt, the seat might be 2-5cm too high—lower it temporarily using the Allen wrench on the seat post clamp (loosen, adjust, retighten to 5-7 Nm torque). Test by riding a short loop; discomfort should ease within 100 meters.
Phase 3: Building Speed and Handling Hills
For longer rides, incorporate speed and inclines. Practice in sessions of 10-20 minutes, gradually increasing distance.
- Shift gears early: On multi-speed bikes, downshift before hills to keep pedaling easy. For a high seat, this maintains leg extension without overreaching.
- Climb efficiently: Stand out of the saddle for steep parts, using body weight to rock the bike. Descend by feathering brakes and keeping weight back.
- Cool down: After 5-10 minutes of varied terrain, stop and stretch your hamstrings and quads to prevent soreness.
Troubleshooting Variations: On mountain bikes with high seats for off-road, add suspension checks—bounce the bike to ensure forks compress. If riding in groups, communicate with hand signals to avoid close calls during dismounts.
Pro Tips for Riding with a High Seat
To elevate your experience beyond the basics, here are 7 expert tips from cycling coaches and mechanics:
- Core strengthening exercises: Do planks or yoga daily (10 minutes) to improve balance—riders with strong cores handle high seats 20% better, per studies from the British Journal of Sports Medicine.
- Avoid common mistakes: Don’t lock your knees during pedaling; always keep a slight bend to absorb shocks and prevent joint stress.
- Optimize for your body type: Taller riders (over 6ft) thrive with high seats, but shorter ones can add a shorter stem for reach—test at a bike shop fitting session.
- Weather adaptations: In rain, use wider tires for stability and dismount more cautiously to avoid slips.
- Maintenance hacks: Clean and lube the seat post monthly to prevent creaks; check for seat tilt (level with a smartphone app) to avoid numbness.
- Tech upgrades: Install a bike computer for real-time seat height monitoring via apps like BikeFit.
- Pacing strategy: Start with 10-minute rides, building to 30+; track progress in a journal to note improvements in confidence.
These tips can reduce adjustment time by half and enhance overall enjoyment.
When to Seek Professional Help
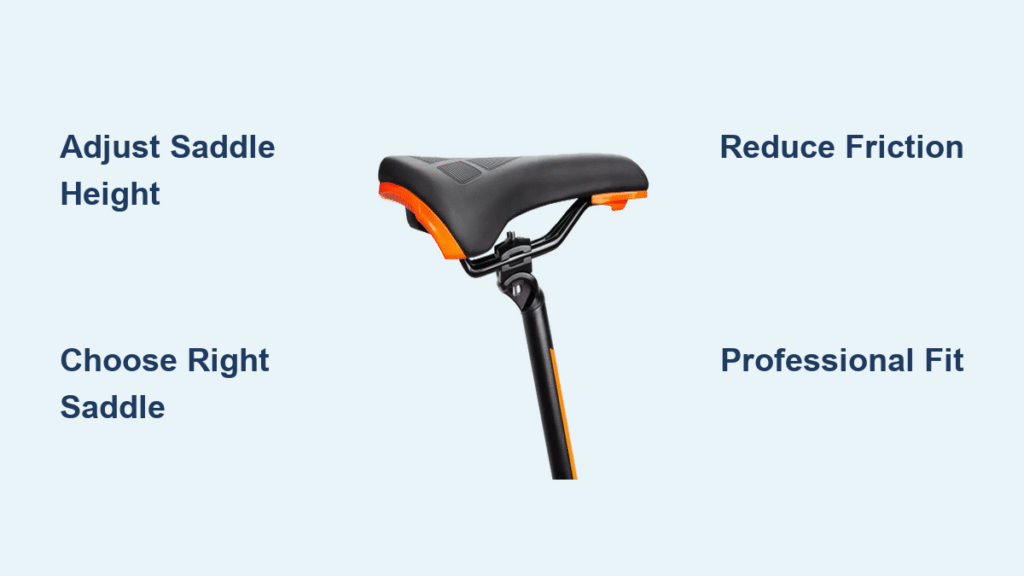
While DIY adjustments work for most, some situations call for a pro. Signs include persistent pain in your hips or IT band, inability to touch the ground with both feet even after lowering the seat by 5cm, or if your bike model (e.g., Cannondale Synapse) has specialized geometry. A bike fitter can use tools like laser alignment for precise setup, costing $50-150 per session.
Look for certified technicians at local shops affiliated with the National Bicycle Dealers Association (NBDA)—check reviews on Yelp for reliability. Expect costs for full adjustments around $20-50, plus parts. If under warranty (common for new Giant or Scott bikes), free service might apply; always bring your receipt. Professional help ensures long-term safety, especially for competitive riding.
FAQ
Q: Is it safe to ride a bike with a high seat if I’m a beginner?
A: Yes, with proper technique, but beginners should start in a controlled area and consider lowering the seat initially by 2-3cm using an Allen wrench. Focus on balance drills; if you can’t flat-foot 50% of your inseam height, it’s too high per USA Cycling guidelines. Practice mounting 10 times before full rides to build safety.
Q: How do I lower my bike seat temporarily without tools?
A: For quick fixes, loosen the quick-release lever (if equipped) or use pliers on the clamp nut. Drop it 2-5cm, but retighten securely before riding to avoid slippage. This takes 1-2 minutes and is ideal for shared bikes.
Q: Why does my back hurt when riding with a high seat?
A: It could be from overextension—ensure your knee bend is 25-35 degrees at the bottom pedal. Stretch before rides and check handlebar reach; if pain persists after 5km, visit a fitter. Hydration and core work help too.
Q: Can I ride a high seat bike on trails or rough terrain?
A: Absolutely, but opt for full-suspension models. Keep speed low (under 15mph) and stand for bumps. Add bar ends for varied hand positions to reduce fatigue during 20-30 minute sessions.
Q: What’s the best way to dismount quickly with a high seat?
A: Coast to a stop, brake gently, then swing your leg back over while leaning the bike toward you. Practice in slow motion; for emergencies, drop the bike if needed, but prioritize controlled stops to avoid injury.
Q: How often should I readjust my seat height?
A: Every 3-6 months or after weight changes of 5-10lbs, as it affects fit. Use the heel-to-pedal method: Your heel should just touch the pedal with leg straight. Quick checks take 5 minutes.
Q: Are there accessories to make high seat riding easier?
A: Yes, like adjustable seat posts (e.g., RockShox Reverb, $200-400) for on-the-fly drops, or platform pedals with wide surfaces for better foot placement. These enhance control without permanent changes.
Alternative Solutions to High Seat Riding
If adapting to a high seat proves too challenging—say, due to mobility issues or short stature—consider these alternatives. They maintain the benefits of efficient pedaling while improving accessibility.
| Solution | Pros | Cons | Best For |
|---|---|---|---|
| Lower the seat permanently | Immediate comfort, easier starts/stops | May reduce pedaling efficiency on long rides | Beginners or urban commuters |
| Switch to a step-through frame bike | Easy mounting, stable at low speeds | Less aerodynamic for racing | Casual riders or those with joint concerns |
| Use pedal extenders or platforms | Increases foot reach without seat changes | Adds weight (0.5-1lb), potential wobble | Short riders on existing high-seat bikes |
| Electric assist bike with adjustable seat | Power helps with balance, customizable height | Higher cost ($500+), battery maintenance | Hill-heavy routes or older cyclists |
Compare these based on your needs; for example, a lower seat is a free DIY option, while e-bikes suit those avoiding physical strain.
Ride Confidently with Your High Seat
You’ve now got a complete roadmap to mastering how to ride a bike with a high seat, from quick mounting tricks to pro-level adjustments and safety checks:
– Essential tools and prep for hassle-free starts
– Detailed phases for balance, pedaling, and terrain handling
– Expert tips and alternatives to customize your setup
Following this guide empowers you to turn that intimidating high seat into an asset for smoother, more powerful rides—boosting your confidence and enjoyment on every outing. Don’t let height hold you back; grab your bike, practice in a safe spot, and hit the road today.
Have you conquered riding with a high seat? Share your tips or challenges in the comments below to inspire other cyclists! If this helped, bookmark it for your next adventure.