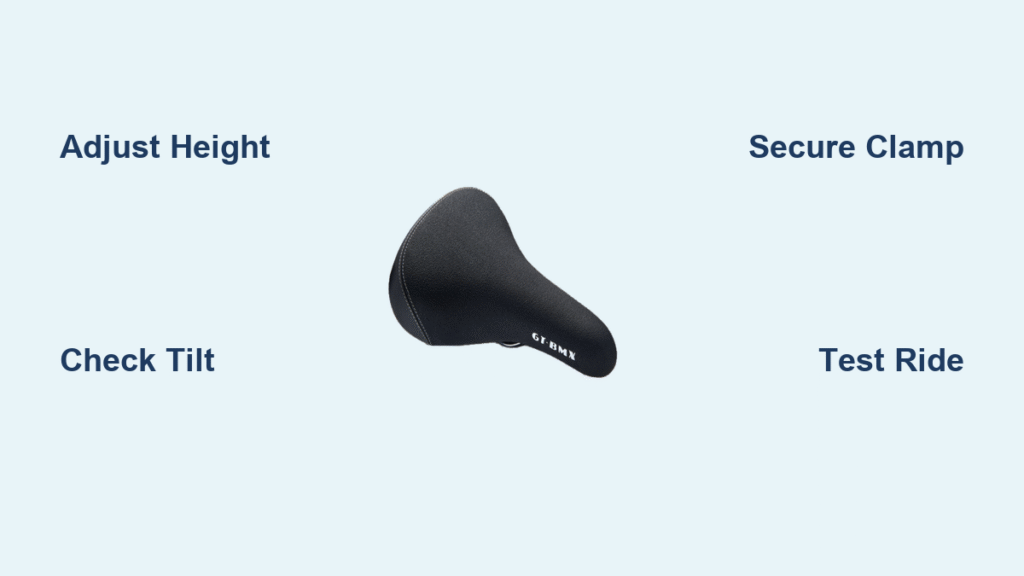
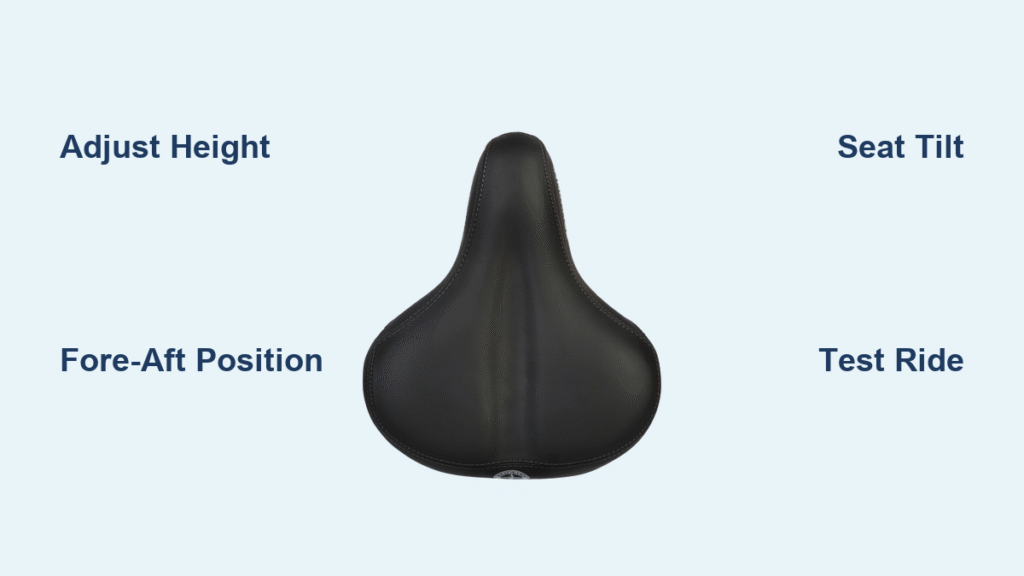
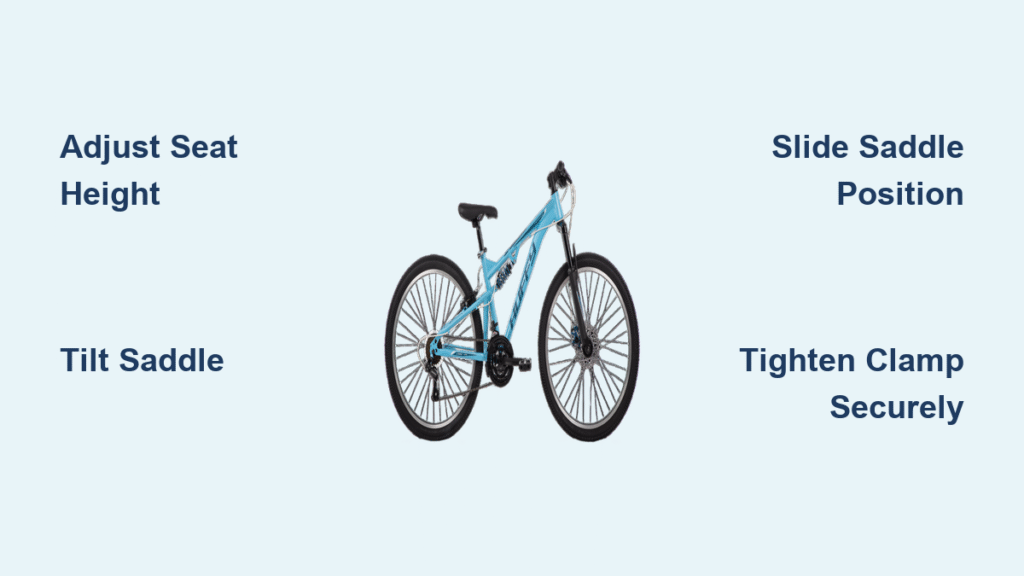
If you’ve been riding your BMX bike and feeling discomfort in your legs, back, or overall posture, it’s likely time for a BMX bike seat adjustment. Many riders ignore this simple tweak, leading to fatigue during tricks or long sessions, but the good news is there’s a quick fix: start by loosening the seat post clamp and raising or lowering the seat until your knee is slightly bent at the bottom of the pedal stroke. This basic adjustment can transform your ride in just minutes, reducing strain and boosting performance right away.
In this comprehensive guide, we’ll go beyond that quick fix to cover everything you need to know about BMX bike seat adjustment. From gathering the right tools to detailed step-by-step instructions, troubleshooting common issues, and pro tips for optimal setup, you’ll walk away confident in adjusting your seat for maximum comfort and control. Whether you’re a beginner hitting the skate park or a seasoned rider fine-tuning for competitions, by the end, your BMX will feel customized just for you—no more awkward pedaling or sore spots.
What You’ll Need for BMX Bike Seat Adjustment
Before diving into the adjustment process, it’s essential to have the right tools on hand. Most BMX bike seat adjustments can be done with basic items you might already have in your garage, but investing in quality tools ensures precision and prevents damage to your bike. Below is a table outlining the key materials and tools, including quantities and specifications for a standard BMX setup.
| Item | Quantity | Specifications |
|---|---|---|
| Allen wrench set | 1 set | Sizes 4mm, 5mm, and 6mm for seat post clamps and bolts; hex-style for better grip. |
| Adjustable wrench or torque wrench | 1 | 8-10 inch for tightening; torque wrench optional for precise 5-7 Nm torque to avoid over-tightening. |
| Bike stand or repair stand | 1 | Optional but recommended; wall-mounted or freestanding to hold the bike stable. |
| Clean rag or microfiber cloth | 1-2 | Lint-free for wiping down the seat post and frame; helps prevent dirt buildup. |
| Bike grease or lubricant | 1 small tube | Anti-seize compound for seat post to prevent corrosion and sticking. |
| Measuring tape or ruler | 1 | 12-inch flexible tape for accurate height measurements from crank to seat top. |
| Level tool (optional) | 1 | Bubble level for checking seat angle; app-based alternatives work too. |
These items should cost under $50 if you’re starting from scratch, and they’re reusable for all future maintenance. Pro tip: Always wear gloves to keep grease off your hands and protect the bike’s finish.
Preparing Your BMX Bike for Seat Adjustment
Proper preparation is key to a smooth BMX bike seat adjustment process. Rushing in without checking basics can lead to misalignment or even safety issues, like a wobbly seat during a jump. Start by flipping your bike upside down or securing it in a stand—this takes about 5 minutes and gives you easy access to the seat post.
Safety Considerations
Warning: Before any adjustment, ensure your bike is stable to avoid drops or pinches. If your BMX has been ridden in wet conditions, dry the frame to prevent slippery hands. Also, check for wear: inspect the seat post for cracks or bends, as damaged parts could fail under pressure. If you’re unsure, consult your bike’s manual—most BMX models like the Haro or Redline specify compatible post diameters (usually 25.4mm or 27.2mm).
Initial Inspection Steps
- Clean the area: Wipe down the seat post, clamp, and surrounding frame with a rag to remove dirt or old grease. This ensures a secure fit and prevents grime from causing slippage.
- Measure your current setup: Note the existing seat height (from the center of the bottom bracket to the top of the seat) and angle. Use your measuring tape for accuracy—this baseline helps you track changes.
- Test ride briefly: If possible, do a short spin around a flat area to feel discomfort points. Is the seat too high, causing knee hyperextension? Too low, making pedaling inefficient? Jot these down.
Preparation typically takes 10-15 minutes and sets you up for success. Remember, BMX bikes are built for agility, so adjustments should prioritize a slightly lower seat than road bikes for better maneuverability during tricks.
Step-by-Step BMX Bike Seat Adjustment Process

Now for the core of our guide: the detailed BMX bike seat adjustment process. We’ll break it into logical phases, from height tweaks to angle and fore-aft positioning. This method works for most 20-inch BMX bikes, but adjust for your model—e.g., freestyle bikes like the GT Performer might need a lower setup than racing ones. The entire process should take 20-45 minutes, depending on your experience.
Phase 1: Adjusting Seat Height
Seat height is the most critical aspect of BMX bike seat adjustment, as it affects pedaling efficiency and leg comfort. Aim for a height where your leg is almost fully extended at the bottom of the pedal stroke, with a slight bend in the knee (about 25-35 degrees).
- Loosen the seat post clamp: Use the appropriate Allen wrench (usually 5mm) to loosen the bolt on the seat clamp. Turn counterclockwise until the post moves freely—don’t remove it entirely.
- Slide the seat post up or down: Raise it gradually while checking the measurement. A general rule for BMX riders is 28-32 inches from the center of the crank to the seat top, but personalize it: stand over the bike with shoes on, and the seat should be about 1-2 inches below your crotch for dismount safety.
- Secure the clamp: Tighten the bolt to 5-7 Nm (snug but not over-tight—use your torque wrench if available). Apply a thin layer of bike grease to the post first to prevent seizing.
- Test the fit: Sit on the bike and pedal slowly. Your heel should just touch the pedal at the bottom with the ball of your foot on it. If it’s off, repeat steps 1-3.
Important: Never raise the post above the manufacturer’s minimum insertion mark (usually etched on the post) to avoid weakening the frame.
Phase 2: Setting Seat Angle and Tilt

Once height is dialed in, adjust the tilt for balanced weight distribution. BMX seats are often flat or slightly angled up for stability during jumps, but a neutral or slight forward tilt (5-10 degrees) prevents sliding forward.
Tools and Setup
Use your Allen wrench and level tool here. Flip the bike if needed for better access.
- Loosen the seat rails: At the base of the seat, there’s typically a clamp or saddle clamp bolt (4mm or 6mm Allen). Loosen it enough to pivot the seat.
- Level the seat: Place the bubble level on the seat top. Adjust until it’s parallel to the ground for a level ride, or tilt slightly forward if you prefer more rear weight for tricks.
- Tighten securely: Re-tighten to spec (around 4-5 Nm) and wiggle the seat to ensure no play.
- Quick check: Bounce on the pedals—if the seat rocks, loosen and retry.
This phase takes about 10 minutes and can make a huge difference in comfort during aggressive riding.
Phase 3: Fore-Aft Positioning
Fore-aft adjustment fine-tunes where your knees track over the pedals, reducing strain. For BMX, position the seat so the knee (just below the kneecap) aligns with the pedal axle when the crank is horizontal.
- Loosen the seat clamp again: Access the fore-aft slider on the seat post (if your model has one; many BMX posts are fixed, so this might involve micro-adjustments via the clamp).
- Slide forward or back: Use your measuring tape to set the “Knee Over Pedal Spindle” (KOPS) rule—aim for the knee to be directly above the pedal axle.
- Secure and test: Tighten everything, then do a short stationary pedal test. Adjust in 5mm increments if needed.
If your BMX has a micro-adjust seat post (like on higher-end models), this is easier; otherwise, it might require a compatible aftermarket post.
Post-Completion Testing and Troubleshooting

After adjusting, it’s time to verify everything. Take your bike for a 5-10 minute test ride on varied terrain—flat pavement, a small ramp, or your local park. Pedal at different cadences and attempt basic maneuvers. You should feel efficient power transfer without pain; if the seat slips, re-grease and tighten.
Common Troubleshooting
- Seat slips down: Cause: Insufficient torque or worn clamp. Solution: Clean and reapply grease; replace the clamp if damaged (costs $5-10).
- Knee pain persists: Cause: Incorrect height. Solution: Lower by 1cm and retest; consider your riding style—freestyle riders often prefer lower seats.
- Wobbling during jumps: Cause: Loose bolts. Solution: Double-check all fasteners with a torque wrench.
- Post won’t budge: Cause: Corrosion. Solution: Soak with penetrating oil like WD-40, wait 10 minutes, then twist gently.
If issues linger after two attempts, note your bike model (e.g., Odyssey or S&M) and search for model-specific forums like BMXmuseum.com for tailored advice. Always recheck after 10-20 rides, as vibrations can loosen things.
Pro Tips for Optimal BMX Bike Seat Adjustment
To elevate your BMX bike seat adjustment from good to great, here are 5-7 expert tips based on pro rider insights and bike mechanics:
- Personalize for your style: Freestyle BMXers (e.g., for barspins) benefit from a lower, more centered seat, while racers might go higher for speed. Measure against your inseam: multiply by 0.883 for a starting height.
- Avoid common mistakes: Don’t over-tighten clamps, as this strips threads—use the “finger-tight plus quarter-turn” rule. Also, skip adjustments right after a muddy ride; clean first to avoid pushing grime inside.
- Optimize for growth: If you’re a teen rider, mark your current height on the post and recheck monthly, as growth spurts demand frequent tweaks.
- Enhance comfort: Pair adjustments with padded shorts or a gel seat cover for longer sessions. For carbon posts (rare on BMX), use specific torque specs to prevent cracking.
- Seasonal maintenance: In humid areas, apply grease quarterly to fight rust; in dry climates, focus on dust prevention with regular wipes.
- Tech integration: Use apps like Bike Fast Fit for virtual measurements via your phone’s camera—saves time and ensures accuracy.
- Upgrade wisely: If stock seats feel off, consider pivoting to brands like Animal or ODI for better adjustability, but test compatibility first.
These tips can extend your bike’s life and improve your skills—many pros swear by quarterly full adjustments.
When to Seek Professional Help
While BMX bike seat adjustment is DIY-friendly, some situations call for a pro. Signs include persistent slippage despite tightening, frame damage near the post, or if your bike is under warranty (tampering might void it). For custom fits, especially on high-end BMX like the Eastern or Fit models, a bike shop can use laser alignment tools for precision.
Look for shops certified by the BMX community (e.g., via USA BMX affiliations) with good reviews on Yelp or Google. Expect costs of $20-50 for a basic adjustment, or $100+ if parts are needed. Always ask about warranty coverage—most brands like SE Bikes offer 1-2 years on components. If you’re racing, pros can optimize for biomechanics, potentially shaving seconds off your times.
FAQ
Q: How often should I perform a BMX bike seat adjustment?
A: For casual riders, check and adjust every 1-2 months or after 50-100 hours of use. Competitive riders should do it bi-weekly, as jumps and crashes can shift the setup. Always inspect post-ride if you notice discomfort.
Q: What’s the ideal seat height for a 5’6″ BMX rider?
A: Start with 28-30 inches from the bottom bracket center to seat top, but fine-tune based on leg extension. Use the heel-to-pedal method: with the pedal at bottom dead center, your heel should rest flat without stretching.
Q: Can I adjust the seat on a fixed-gear BMX?
A: Yes, the process is similar, but focus on height for efficient coasting. Fixed-gear models like those from State Bicycle Co. might need a shorter post to maintain balance during no-pedal tricks.
Q: Why does my seat post keep rusting after adjustment?
A: Exposure to sweat and weather causes corrosion. Solution: Apply anti-seize grease liberally during installation and store your bike indoors. If severe, replace with an aluminum or stainless post ($15-30).
Q: Is there a difference in adjustment for kids’ BMX bikes?
A: Absolutely—kids’ models (e.g., 16-18 inch wheels) use smaller posts (22.2mm diameter). Keep heights lower (24-27 inches) for safety, and involve an adult for all steps to prevent over-tightening.
Q: What if my seat angle feels wrong for tricks?
A: Experiment with 0-5 degrees forward tilt for better control in manuals. Test incrementally; if unsure, reference videos from pros like Ryan Nyquist on YouTube for visual demos.
Q: Does seat adjustment affect bike warranty?
A: Minor adjustments won’t void it, but major mods (e.g., cutting the post) might. Check your manual—brands like GT recommend authorized service for structural changes.
Alternative Solutions for BMX Bike Seat Adjustment
If traditional adjustment isn’t cutting it—say, due to a seized post or unique frame—consider these alternatives. They’re great backups when DIY hits a wall.
| Solution | Pros | Cons | Best For |
|---|---|---|---|
| Aftermarket Adjustable Seat Post (e.g., Thomson Elite) | Quick height changes without tools; lightweight alloy build. | Higher cost ($50-100); may require frame compatibility check. | Frequent riders needing on-the-fly tweaks during sessions. |
| Professional Bike Fit Service | Expert analysis with motion capture; customized for your body. | Expensive ($75-150); time-consuming (1-hour appointment). | Competitive racers or those with chronic pain issues. |
| Seat Post Extension Shim | Adds height affordably; easy install with shims. | Limited to 1-2 inches; can add weight. | Short riders upgrading older BMX frames without buying new parts. |
| Full Seat Replacement (e.g., Pivotal System) | Integrated design for BMX-specific stability; better padding options. | Involves more disassembly; $20-60 price tag. | Freestyle enthusiasts wanting a modern, trick-friendly setup. |
Compare these to your needs: for budget-conscious fixes, start with shims; for performance, go pro.
Ride Comfortably with Your Adjusted BMX Seat
You’ve now mastered BMX bike seat adjustment with our step-by-step guide, from tools and prep to testing and pro tweaks. Key takeaways include:
– Prioritizing height for leg efficiency and using the KOPS method for positioning.
– Incorporating safety checks like torque specs to prevent slips.
– Leveraging alternatives and FAQs for personalized solutions.
Following these instructions will not only eliminate discomfort but also enhance your control and enjoyment on the bike—imagine nailing that perfect 180 without wobbling. Take action today: grab your tools and make those adjustments, then hit the trails.
Have you adjusted your BMX seat before? Share your tips or challenges in the comments below to help fellow riders! If issues persist, describe your setup for more tailored advice. Your optimized ride awaits—pedal on!


