If you’ve ever hopped on your bike for a ride only to be sidelined by nagging knee pain, you’re not alone. Bike seat position and knee pain is a common issue for cyclists of all levels, from casual riders to serious enthusiasts. That sharp ache or dull throb in your knees can turn a fun outing into a frustrating ordeal, often stemming from something as simple as a misadjusted saddle. The good news? A quick fix like raising or lowering your seat height by just a centimeter or two can provide immediate relief, helping you pedal pain-free without overhauling your entire setup.
In this comprehensive guide, we’ll go far beyond that initial tweak to explore the full science of bike fitting. You’ll learn the root causes of knee pain related to seat position, step-by-step adjustments tailored to your body, and advanced techniques for long-term prevention. By the end, you’ll have the confidence and tools to dial in the perfect setup, ensuring your rides are smooth, efficient, and enjoyable—no more wincing with every pedal stroke.
Understanding Bike Seat Position and Knee Pain
Knee pain during cycling often feels like an inevitable part of the sport, but it’s usually a red flag that your bike seat position and knee pain dynamics are out of sync. Your knees bear the brunt of the pedaling force, acting as hinges in a complex chain of motion involving your hips, quads, and calves. When the saddle is too high, too low, too far forward, or angled wrong, it forces your knees into unnatural angles, leading to strain on the patella (kneecap), IT band, or even the joint itself. According to cycling experts at the American College of Sports Medicine, improper saddle height alone contributes to up to 40% of overuse injuries in cyclists.
This misalignment doesn’t just hurt—it reduces power output and efficiency, making every mile harder. Factors like your bike type (road, mountain, or hybrid), riding style, and personal biomechanics play a role, but the core principle is simple: the ideal seat position aligns your body for a natural pedaling stroke, minimizing stress on the knees. We’ll break down the symptoms next to help you identify if this is your issue.
Common Symptoms of Knee Pain from Poor Seat Position
Recognizing the signs early can prevent minor discomfort from becoming a chronic problem. Here’s what to watch for:
- Front knee pain: Often a burning sensation around the kneecap, signaling the seat is too low or too far forward, causing excessive quad strain.
- Outer knee pain (IT band syndrome): A sharp pull on the side of the knee, typically from a saddle that’s too high, leading to lateral hip drop and band tightness.
- Back knee pain: Aching behind the knee, usually from a seat that’s too high, hyperextending the joint at the bottom of the pedal stroke.
- General swelling or clicking: Indicates overall misalignment, possibly compounded by cleat position or crank length, but seat height is a prime suspect.
If these sound familiar, don’t push through the pain—it’s your body’s way of saying “adjust me!” Moving on, let’s dive into the causes.
Common Causes of Bike Seat Position and Knee Pain
Misadjusted bike seats are the silent saboteur of many rides. Understanding these causes empowers you to diagnose and fix the problem yourself. We’ll cover the top culprits with explanations, so you can pinpoint what’s going wrong.
Saddle Height Issues
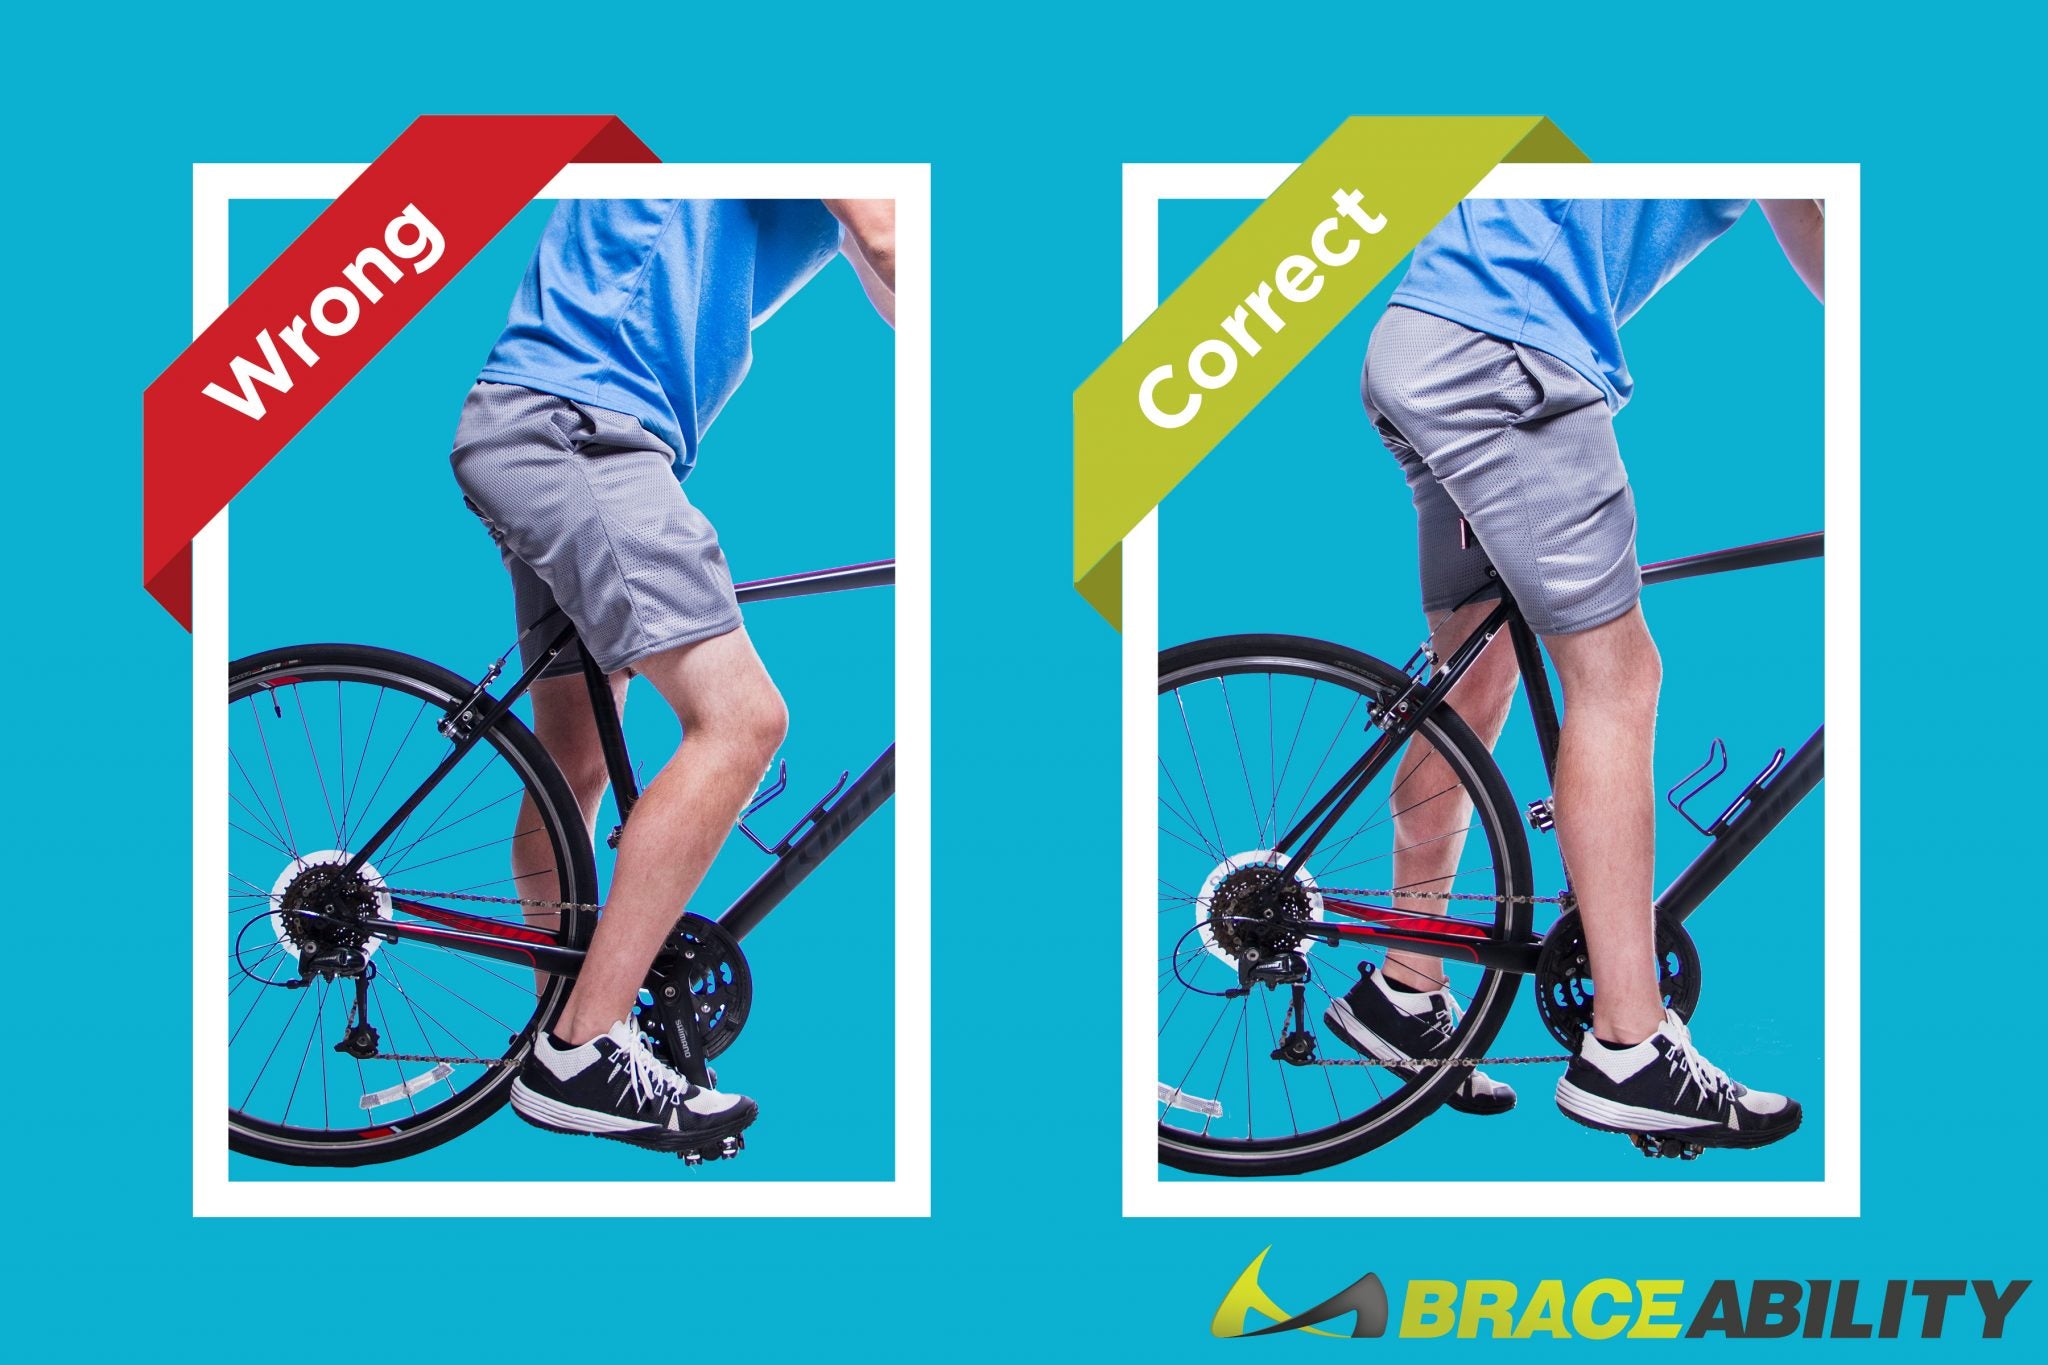
The most frequent offender in bike seat position and knee pain is incorrect saddle height. If your seat is too low, your knees bend excessively at the bottom of the pedal stroke (aim for about 30-35 degrees of flexion), overloading the quads and patellar tendon. Too high, and your hips rock side-to-side, straining the IT band and lower back. A study from the Journal of Orthopaedic & Sports Physical Therapy found that even a 4% deviation in saddle height can increase knee joint forces by 20-30%.
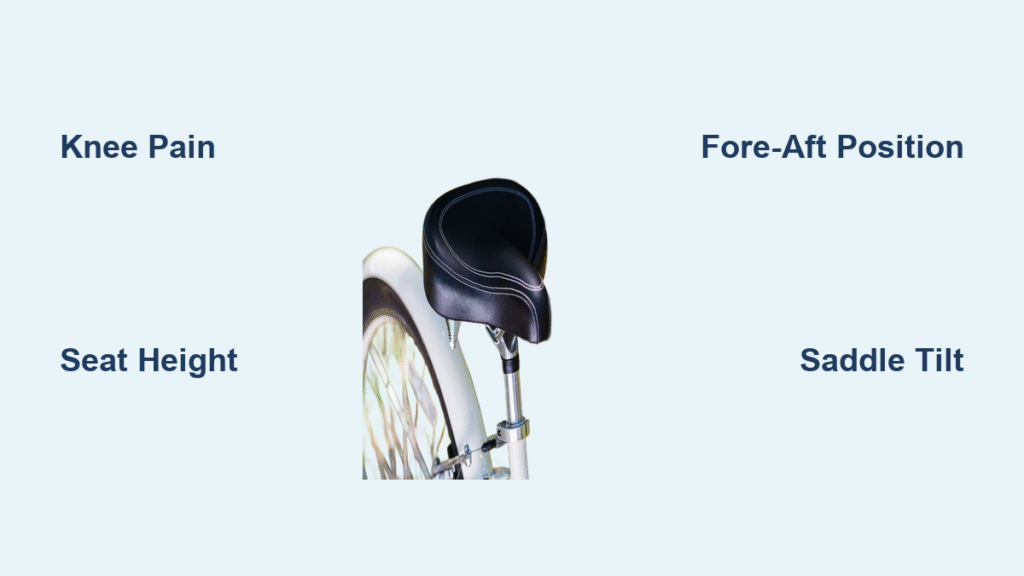
Fore-Aft Saddle Position Problems
Where your saddle sits front-to-back matters for knee alignment. A saddle too far forward shifts weight onto your hands and knees, compressing the front of the joint. Too far back, and it over-engages the hamstrings, pulling on the back of the knee. Proper fore-aft places the knee over the pedal spindle when the crank is at 3 o’clock, reducing shear forces on the joint.
Saddle Tilt and Width Mismatch
An upward-tilted saddle pressures the perineum but can also torque the pelvis, indirectly stressing the knees. Conversely, a downward tilt causes you to slide forward, mimicking a too-forward position. Width is key too—if the saddle is too narrow, your sit bones shift, altering leg angles and inviting pain. Bike fit pros recommend matching saddle width to your sit bone measurement (typically 110-150mm apart).
Other Contributing Factors
- Crank length and cleat alignment: Longer cranks amplify knee angles; misaligned cleats force unnatural foot positions.
- Bike type and terrain: Mountain bikes need slightly lower seats for control, while road bikes prioritize efficiency.
- Rider-specific issues: Previous injuries, flexibility, or leg length discrepancies can exacerbate seat-related pain.
Now that you’ve identified potential causes, it’s time for solutions. We’ll outline multiple methods, starting simple and progressing to advanced.
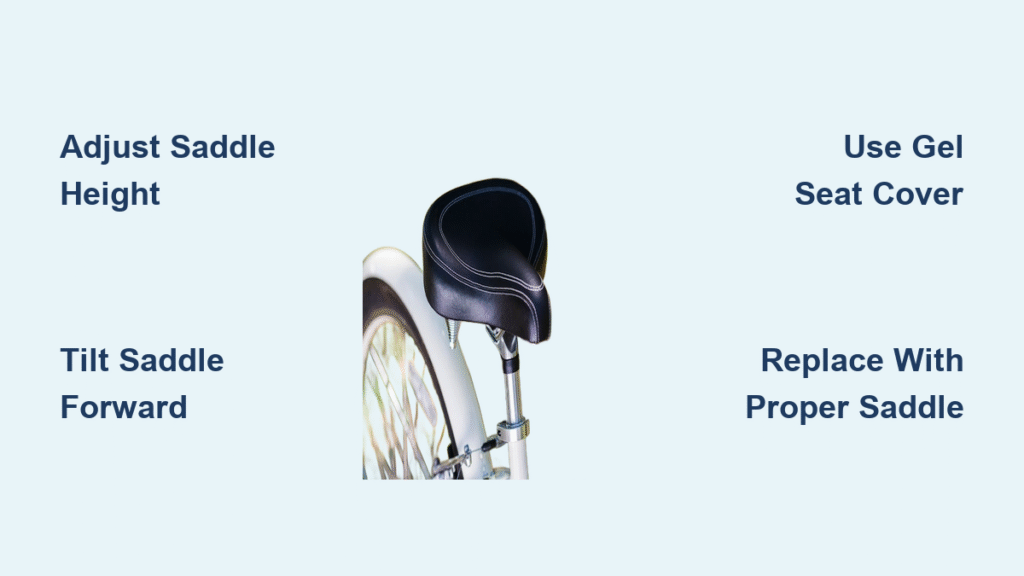
How to Adjust Your Bike Seat Position to Relieve Knee Pain
Fixing bike seat position and knee pain doesn’t require a pro bike fitter right away—you can start with these actionable methods. We’ll cover three approaches: a quick DIY check, precise measurement-based adjustments, and advanced tweaks. Each includes diagnosis, steps, and testing. Allow 15-30 minutes per method, and make changes incrementally (no more than 5mm at a time) to avoid overcompensation.
Method 1: Quick DIY Seat Height Adjustment
This is your go-to for immediate relief if height is the suspect. It’s based on the LeMond method, a reliable starting point for most riders.
Diagnosing the Issue
Stand next to your bike with shoes on (cycling-specific if possible). If your knee feels strained or your heel barely touches the pedal at the bottom of the stroke, height is off.
Adjustment Steps
- Measure your inseam: Stand barefoot against a wall, book between your legs (like a saddle), and measure from floor to book top. Multiply by 0.883 for road bikes (0.885 for MTB) to get saddle height from bottom bracket to top of saddle.
- Set the height: Loosen the seat post clamp (use an Allen key, typically 5-6mm). Raise or lower the saddle to your calculated height, ensuring it’s level.
- Test pedal: Sit on the bike, clip in (or place foot on pedal), and rotate to bottom dead center. Your heel should just graze the pedal without rocking hips.
- Fine-tune: Ride 5-10 minutes on flat ground. If pain persists, adjust 2-3mm and retest.
Testing for Success
Pedal at 80-90 RPM; your knee should track straight over the pedal without inward collapse (valgus). No pain after 20 minutes? You’re golden. If not, move to fore-aft.
Method 2: Fore-Aft and Tilt Optimization
Once height is set, refine position to balance knee load. This method uses the Knee Over Pedal Spindle (KOPS) rule.
Diagnosing the Issue
With the crank at 3 o’clock, drop a plumb line from your knee. If it falls behind the pedal axle, the saddle’s too far back; ahead, too forward.
Adjustment Steps
- Tools needed: Plumb bob or string with weight, Allen keys.
- Fore-aft tweak: Loosen saddle rails clamps. Slide forward/back until plumb line hits the axle. Retighten to 5-7 Nm torque (use a torque wrench if available).
- Tilt adjustment: Use a spirit level on the saddle. Aim for 0-2 degrees nose-down for road bikes (neutral for MTB). Tighten and check for sliding.
- Width check: Sit on a piece of foil or use a sit bone measurer; adjust saddle if needed (may require a new one).
Testing for Success
Do a 10-mile test ride. Monitor for even power distribution—no hot spots on knees. Apps like Bike Fast Fit can video-analyze your form.
Method 3: Advanced Bike Fit with Professional Measurements

For persistent pain, incorporate cleats and full biomechanics. This is ideal if you’re a frequent rider.
Diagnosing the Issue
Visit a bike shop for a Retül or similar fit system, or use a mirror setup at home to check for asymmetries.
Adjustment Steps
- Cleat positioning: Align cleats so toes point slightly inward (natural foot angle). Float (rotation) should be 6-9 degrees.
- Full stack measurement: From saddle top to handlebars—ensure it allows a 90-110 degree hip angle at bottom stroke.
- Iterate with data: Use a power meter or app to track cadence and power; adjust if knee torque exceeds 20% variance side-to-side.
- Incorporate stretches: Post-adjustment, do quad and IT band stretches to aid recovery.
Testing for Success
Track rides with a journal: Note pain levels pre/post. Aim for zero pain after 50 miles. If issues linger, consider crank shortening (e.g., from 175mm to 170mm).
Tools and Materials Needed for Bike Seat Adjustments
To make these fixes, gather these essentials. Most are household or bike shop basics.
| Item | Quantity | Specifications |
|---|---|---|
| Allen key set | 1 set | 4-8mm sizes for clamps |
| Torque wrench | 1 | 2-10 Nm range for precise tightening |
| Plumb bob or string | 1 | For KOPS alignment |
| Spirit level | 1 | Small, magnetic for saddle tilt |
| Inseam tape measure | 1 | Flexible, accurate to 1mm |
| Sit bone measurer | 1 | Foam pad or shop tool for width |
| Cycling shoes/cleats | Pair | Match your pedals (SPD, Look, etc.) |
Budget: $20-50 for basics; add $100+ for a torque wrench. Safety note: Always support the bike securely during adjustments to avoid tip-overs.
Preparation Steps and Safety Considerations
Before tweaking, prep your space and body. Park your bike on a stand or against a wall in a well-lit area. Wear cycling gear to simulate real conditions. Warning: Over-tightening clamps can strip threads—use torque specs. If you have pre-existing knee conditions, consult a doctor first, as adjustments won’t fix underlying issues like arthritis.
Warm up with 5 minutes of light pedaling post-adjustment to assess. Hydrate and stretch to prevent secondary strains.
Post-Adjustment Testing and Troubleshooting
After changes, test on varied terrain: flat, hills, 20-30 minutes. Use a heart rate monitor to ensure efficiency hasn’t dropped. If pain worsens:
- Troubleshoot height: Recheck inseam—shoes add 1-2cm.
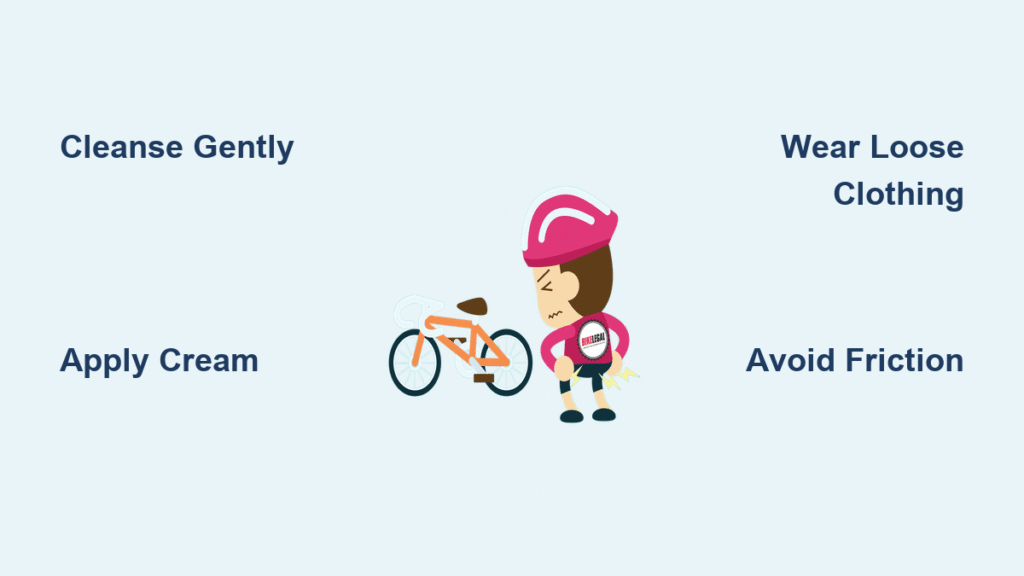
- Fore-aft issues: Ensure no forward slide; add chamois cream if needed.
- Persistent pain: Could be pedals or frame size; measure standover height (1-2 inches clearance).
Revisit adjustments every 500 miles or after weight changes.
Prevention Tips and Maintenance Advice
Keep knee pain at bay with these habits. Regular checks extend your bike’s (and knees’) life.
- Maintenance schedule:
| Frequency | Task | Duration |
|---|---|---|
| Weekly | Quick height/tilt check | 5 minutes |
| Monthly | Full fore-aft and cleat alignment | 15 minutes |
| Quarterly | Professional fit review | 1 hour |
| Annually | Saddle replacement if worn | Varies |
- Inspect for wear: Cracked saddles or loose bolts.
- Strengthen supporting muscles: Incorporate squats and lunges 2x/week.
- Vary rides: Mix intensities to avoid repetitive strain.
Pro Tips for Optimal Bike Seat Position
Go beyond basics with these expert insights to supercharge your setup and avoid common pitfalls.
- Personalize with tech: Use apps like TrainerRoad or a Garmin for real-time form feedback—adjust on the fly during rides.
- Avoid the “high saddle myth”: Don’t chase max leg extension; it leads to hip rock and pain. Stick to 80-90% of full extension.
- Match saddle to gender/body type: Women often need wider rears; cutouts reduce pressure for all.
- Incorporate core work: Weak abs force knee compensation—planks help maintain alignment.
- Seasonal tweaks: Colder weather stiffens muscles; lower seat slightly in winter.
- Common mistake to dodge: Ignoring handedness—left-leg dominant? Slight fore-aft bias left.
- Optimize for speed: Proper position boosts efficiency by 5-10%; track watts before/after.
These tips can shave minutes off your times while keeping knees happy.
When to Seek Professional Help
DIY fixes work for most, but call in a pro if pain persists after adjustments, you notice asymmetry (one knee worse), or you’re racing competitively. Signs include swelling, instability, or pain off the bike.
Look for certified fitters (e.g., via BikeFit or Retül) with reviews and video analysis tools. Expect $100-300 for a session. Costs vary: Basic shop fit $50-150; comprehensive $200+. Check warranty—many bikes cover fitting under service plans. Don’t delay; untreated issues can lead to tendonitis or worse.
FAQ
Q: How do I know if my bike seat is too high?
A: Signs include hip rocking, back-of-knee pain, or calf cramps. Measure: At bottom pedal, knee flexion should be 30-35 degrees. Use the heel method—if your heel doesn’t touch without straining, lower it 2-3mm and test ride.
Q: Can bike seat position cause both knee and back pain?
A: Yes, often linked. Too-high seats strain the lower back via hip tilt, while low seats overload knees and compress the spine. Adjust height first, then fore-aft for balance. If both persist, a full bike fit addresses the chain.
Q: What’s the best saddle height formula for beginners?
A: The LeMond method (inseam x 0.883) is foolproof for starters. For precision, add 10cm to your femur length (pubic bone to floor). Always verify with a ride—formulas are guides, not gospel.
Q: Does saddle type affect knee pain from position?
A: Absolutely. Stiff racing saddles transmit more force to knees if mispositioned; padded comfort ones forgive errors but reduce efficiency. Choose based on ride length—gel for long hauls, firm for sprints.
Q: How long does it take to adapt to a new seat position?
A: 1-2 weeks of shorter rides (under 20 miles). Muscles adapt, but listen to your body—if pain increases, revert and tweak gradually. Track with a pain scale (1-10) daily.
Q: Are there exercises to prevent knee pain alongside adjustments?
A: Yes! Focus on hip openers like pigeon pose and quad stretches. Strengthen with single-leg deadlifts. Aim for 10-15 minutes daily; studies show this reduces cycling injuries by 30%.
Q: What if my bike is a fixed-gear or older model?
A: Same principles apply, but older frames may have limited adjustability. For fixies, prioritize lower seats for control. Consult a mechanic for custom shims if post height is short.
Q: Can weight loss or gain affect seat position?
A: Definitely—every 10lbs changes leverage. Recheck measurements after fluctuations; heavier riders may need forward tweaks for stability.
Alternative Solutions If Adjustments Don’t Work
If seat tweaks fall short, consider these options. They address root causes like biomechanics or equipment limits.
| Solution | Pros | Cons | Best For |
|---|---|---|---|
| Shorter cranks (e.g., 165mm) | Reduces knee bend angle, eases joint stress | May feel less powerful initially; costs $100-200 | Riders over 6ft or with flexibility issues |
| Cleat wedges/shims | Corrects leg alignment (Q-angle) | Requires pro fitting; trial-and-error | Those with natural knock-knees or pronation |
| Professional orthotics | Custom insoles support foot-knee chain | Expensive ($200+); not always necessary | Cyclists with flat feet or prior injuries |
| Bike upgrade (e.g., to recumbent) | Ergo design minimizes knee load | High cost ($500+); less sporty | Chronic pain sufferers seeking low-impact riding |
Compare via a test ride; start with affordable shims before big spends.
Solve Your Bike Seat Position and Knee Pain Today
Armed with this guide, you’re equipped to banish bike seat position and knee pain for good:
– Diagnose causes like height or tilt mismatches
– Apply step-by-step adjustments from quick DIY to advanced fits
– Follow prevention schedules and pro tips for lasting results
– Know when to call in experts or explore alternatives
Following these methods will not only relieve your knees but enhance your overall cycling experience, making every ride more efficient and fun. Take action now—grab your tools, make that first adjustment, and hit the road with confidence.
Have you adjusted your bike seat and noticed less knee pain? Share your before-and-after story in the comments below to inspire fellow cyclists! If another bike issue is bugging you, let us know what to cover next.