Struggling with discomfort during your gym workouts because your exercise bike seat feels too high, too low, or just plain off? Adjusting your gym cycle seat is a common issue that many cyclists face, leading to pain in your knees, back, or hips that can derail your fitness routine. The good news is that a quick seat adjustment can provide immediate relief, ensuring better alignment and preventing injuries while maximizing your workout efficiency.
In this comprehensive guide, we’ll go beyond the basics to cover everything from understanding why proper seat height and position matter to detailed step-by-step instructions for different types of gym cycles. You’ll learn multiple adjustment methods, safety tips, and troubleshooting for common problems, so by the end, you’ll confidently tweak your setup for optimal comfort and performance—no more guessing games with your bike.
Why Proper Gym Cycle Seat Adjustment Matters
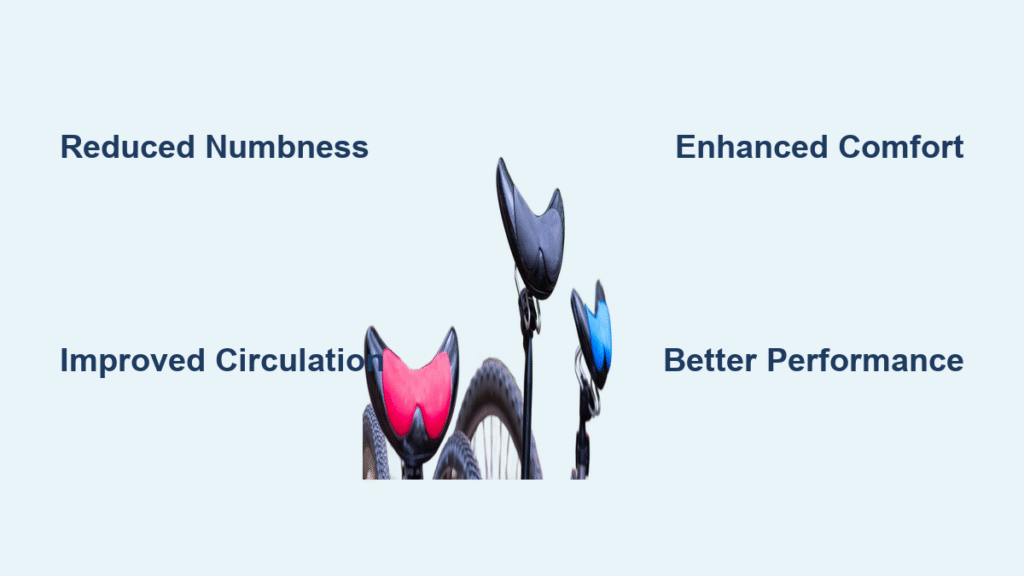
Before diving into the how-to, it’s essential to understand the impact of a well-adjusted gym cycle seat. An incorrect seat height or position can lead to inefficient pedaling, muscle strain, or even long-term injuries like knee pain or lower back issues. According to the American Council on Exercise, proper bike fit can improve power output by up to 20% and reduce injury risk significantly. For gym cycles—whether upright, recumbent, or spin bikes—a seat that’s too high forces you to overextend your legs, while one that’s too low can cause excessive knee bending, both disrupting your form.
Adjusting your gym cycle seat isn’t just about comfort; it’s about biomechanics. The ideal setup aligns your hips, knees, and ankles in a straight line during the pedal stroke, promoting even weight distribution and better cardiovascular benefits. This guide will help you achieve that, tailored to standard gym equipment like those from brands such as Life Fitness, Peloton, or Schwinn.
Tools and Materials Needed for Gym Cycle Seat Adjustment
Most gym cycle seat adjustments require minimal tools, as many modern bikes feature quick-release mechanisms. However, having the right items on hand ensures a smooth process. Below is a table outlining essentials—gather these before starting to save time.
| Item | Quantity | Specifications |
|---|---|---|
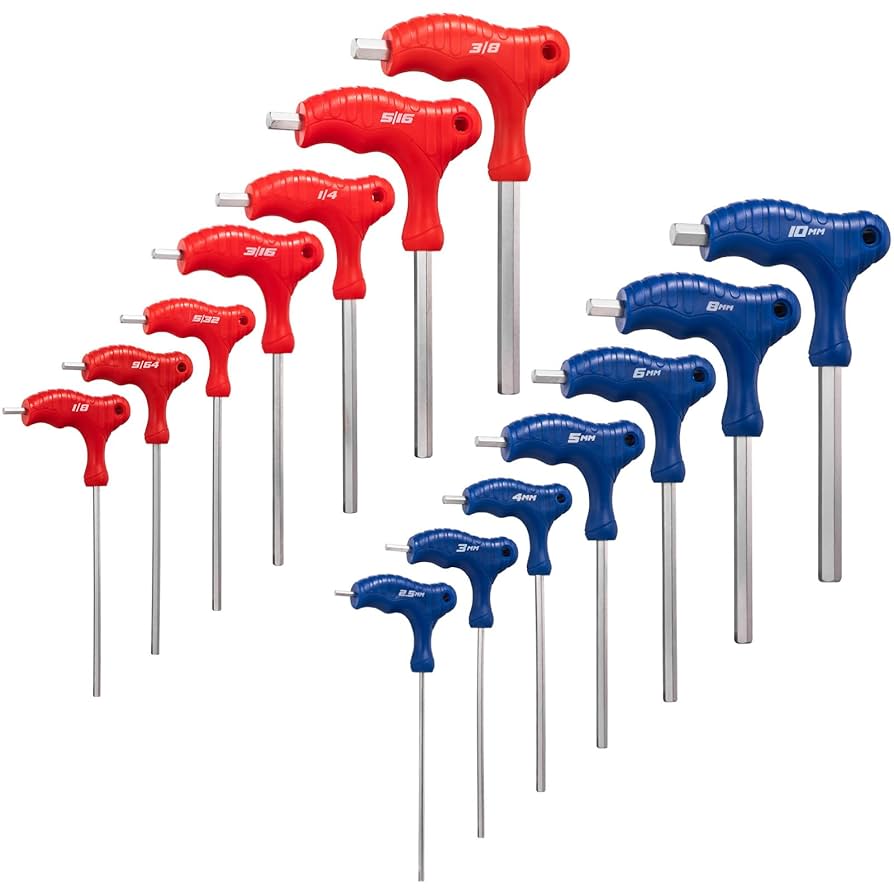
| Allen wrench set | 1 set | Sizes 4mm to 6mm for seat post clamps; multi-tool versions work for gym use |
| Adjustable wrench or socket set | 1 | For loosening stubborn bolts on older models; 13mm-15mm common |
| Ruler or measuring tape | 1 | Flexible type, at least 12 inches, for precise height measurements |
| Level tool (optional) | 1 | Bubble level app on your phone suffices for fore-aft alignment |
| Bike seat adjustment guide (optional) | 1 | Printed chart or app like Bike Fit Calculator for reference measurements |
| Cleaning cloth and lubricant | 1 each | Microfiber cloth and bike-specific lubricant to prevent rust on adjustments |
Important: If your gym cycle is shared equipment, check with gym staff for any specific tools or restrictions. For personal home gym cycles, ensure you’re working on a stable, flat surface.
Preparation Steps and Safety Considerations
Proper preparation sets the stage for a successful gym cycle seat adjustment and minimizes risks. Start by turning off any electronic features on the bike, like resistance settings, to avoid distractions. Park the bike on a non-slip mat in a well-lit area—gyms often have designated maintenance spots, but at home, use your garage or living room floor.
Safety first: Wear gloves to protect your hands from sharp edges on metal parts, and if the bike is heavy (many weigh 50-100 lbs), enlist a spotter for stability. Warning: Never adjust the seat while seated or pedaling, as this can cause falls or pinches. Also, inspect for wear—cracked seats or loose posts indicate the need for replacement, not just adjustment. If you’re new to this, watch a quick video tutorial from reputable sources like the National Cycling Federation for visual guidance.
Assess your body type and riding style: Upright bikes suit intense cardio, recumbent for low-impact, and spin bikes for high-resistance classes. Measure your inseam (from floor to crotch) beforehand—this is key for height calculations. Allow 15-30 minutes for the full process, depending on your bike’s complexity.
Step-by-Step Process to Adjust Your Gym Cycle Seat
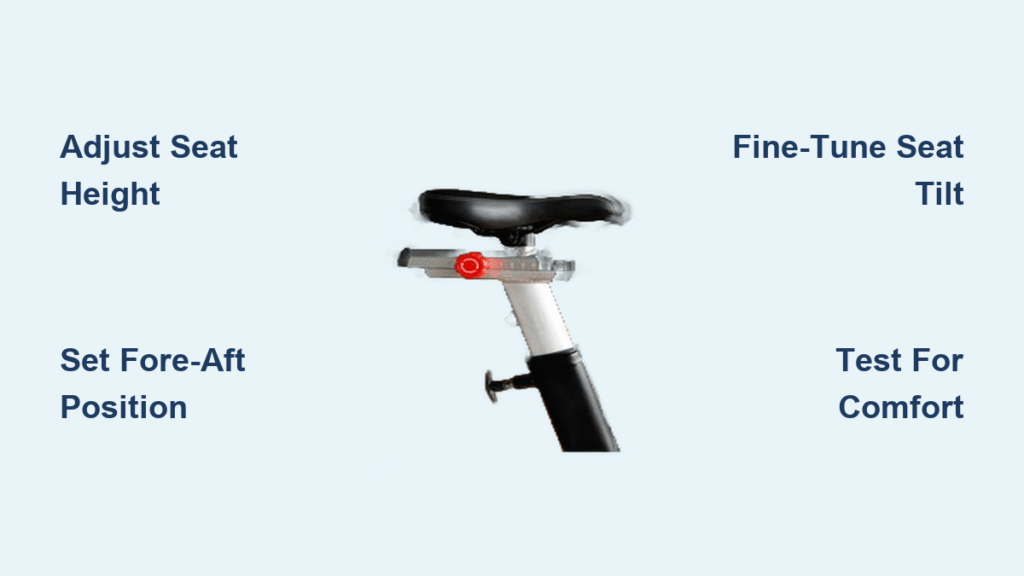
Adjusting the seat on a gym cycle involves three main phases: height adjustment for leg extension, fore-aft positioning for hip alignment, and tilt for balance. We’ll break it down logically, with variations for different bike types. Follow these steps sequentially, testing after each phase.
Phase 1: Adjusting Seat Height
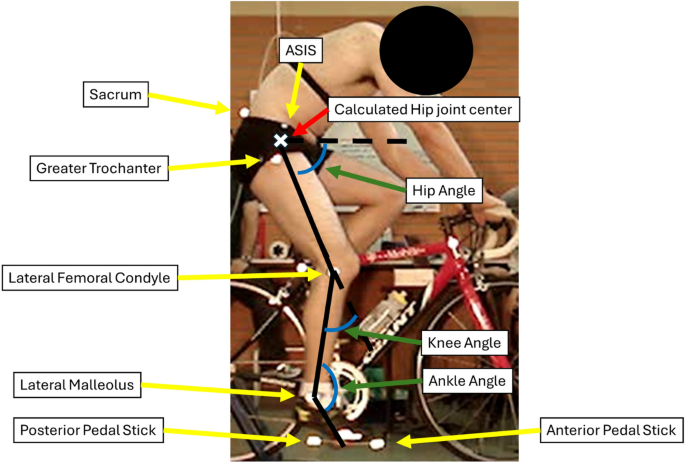
Seat height is the most critical adjustment, ensuring your legs aren’t overextended or cramped. The goal is for your knee to have a slight bend (about 25-35 degrees) at the bottom of the pedal stroke.
- Sit on the bike in your normal riding position, feet on pedals at the 6 o’clock position (bottom dead center).
- Use a measuring tape to check the distance from your pedal to the top of the seat—aim for 88-100% of your inseam length (e.g., for a 30-inch inseam, target 26-30 inches).
- Loosen the seat post clamp using an Allen wrench (usually on the side of the frame). For quick-release levers, flip it to the open position.
- Raise or lower the post incrementally (1-2 cm at a time) until your heel just touches the pedal at the bottom without rocking your hips.
- Tighten the clamp securely—torque to 5-7 Nm if you have a torque wrench to avoid slippage.
- For recumbent bikes: Adjust the seat backrest first, then slide the seat forward/back for leg reach, using the horizontal rail.
Time estimate: 5-10 minutes. If the post doesn’t move, apply lubricant and tap gently with a mallet.
Phase 2: Setting Fore-Aft Seat Position
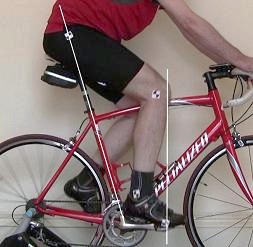
This prevents forward lean or hip rocking, optimizing power transfer. A plumb line from your kneecap should align with the pedal axle when the crank is horizontal (3 o’clock position).
- Mount the bike and have a helper drop a plumb line (string with weight) from the bump just below your kneecap.
- Loosen the seat rails clamp (under the seat, often with two bolts).
- Slide the seat forward or backward so the line hits the pedal spindle—most people need 5-7 cm from the saddle nose to the handlebars for balance.
- For spin bikes with drop handlebars, ensure your reach feels natural without straining shoulders.
- Retighten bolts evenly, alternating sides to avoid warping.
- Variation for upright bikes: If equipped with fore-aft sliders, use markings on the rail for precision.
Troubleshooting tip: If alignment feels off, recheck with the bike level tool. This phase takes about 5 minutes.
Phase 3: Fine-Tuning Seat Tilt and Angle

A level or slightly nose-down seat (1-2 degrees) reduces pressure on soft tissues. Avoid upward tilts, which can cause numbness.
- Place a level tool on the seat surface while loosening the tilt bolts (typically four under the seat).
- Adjust until the bubble centers, or tilt down slightly for forward-leaning postures in spin classes.
- Tighten bolts in a star pattern for even pressure.
- Test by sitting: You should feel supported without sliding forward.
- For gym-shared cycles: Note the original position with a marker if allowed, to reset for others.
Time estimate: 3-5 minutes. Total process: 15-20 minutes.
Post-Adjustment Testing and Troubleshooting
After adjustments, test your gym cycle seat with a 5-10 minute ride at moderate resistance. Pedal smoothly—your hips shouldn’t rock, knees track over toes, and you feel no pain. Use the “heel test”: With heels on pedals, legs should straighten at bottom without hip lift.
If issues persist:
– Seat too high (knee pain): Lower by 1 cm and retest.
– Slipping post: Clean and lubricate; replace if worn.
– Uneven tilt (numbness): Readjust angle and consider a padded cover.
– For electronic gym cycles, reset via the console if height is motorized.
Monitor for a few sessions; bodies adapt, so minor tweaks may be needed. If pain continues, consult a bike fitter.
Pro Tips for Optimal Gym Cycle Seat Adjustment
To elevate your setup beyond basics, here are expert insights from cycling pros:
– Personalize for workouts: Raise the seat 1-2 cm higher for standing climbs on spin bikes to engage glutes more.
– Avoid common mistakes: Don’t adjust based on feel alone—always measure to prevent overuse injuries like IT band syndrome.
– Optimize for body type: Shorter riders may need shorter posts; taller ones, extensions. Use apps like Retül for virtual fitting.
– Maintenance routine: Check adjustments monthly, as sweat and use can loosen clamps—wipe down after rides.
– Enhance comfort: Pair with clipless pedals for better power, but start with straps if new.
– Track progress: Log your measurements in a notebook to refine over time, improving endurance.
– Eco-tip: If upgrading, choose adjustable seats from sustainable brands like Trek for longevity.
These tips can boost your workout efficiency by 15-20%, per studies from the Journal of Sports Sciences.
When to Seek Professional Help
While most gym cycle seat adjustments are DIY, call in a pro if the seat post is bent, the frame is damaged, or electronic adjustments fail—signs like grinding noises or unresponsive mechanisms indicate deeper issues. Look for certified bike fitters through the United Bicycle Institute or gym-affiliated technicians with experience in brands like Precor.
Expect costs of $50-150 for a full fit session, depending on location. Check your gym membership for free services or warranties—many cover adjustments for 1-2 years. If it’s a home cycle under warranty, contact the manufacturer before tampering to avoid voiding it.
FAQ
Q: How do I know if my gym cycle seat is too low?
A: If your knees bend more than 45 degrees at the bottom pedal stroke or you feel quad strain, it’s likely too low. Measure inseam-based height (as in Phase 1) and raise gradually—aim for a 30-degree knee flex for comfort.
Q: Can I adjust the seat on a recumbent gym cycle the same way?
A: Not exactly; recumbents focus on backrest and horizontal sliders rather than vertical posts. Slide the seat to align your knee over the pedal axle, ensuring 90-110 degrees at the hip for low-impact support.
Q: What if the seat post won’t budge after loosening?
A: Apply penetrating lubricant like WD-40, let it sit 10 minutes, then tap lightly with a rubber mallet. If stuck due to rust, seek pro help to avoid frame damage.
Q: Is there a difference in adjustment for spin bikes vs. upright ones?
A: Yes—spin bikes often have more fore-aft range for dynamic classes, while uprights prioritize height for casual riding. Always prioritize knee alignment over handlebar reach.
Q: How often should I readjust my gym cycle seat?
A: Every 4-6 weeks or after weight changes/growth spurts. For intense users, check weekly to maintain performance and prevent wear.
Q: Will adjusting the seat affect my workout metrics on smart gym cycles?
A: It might reset calibration temporarily—recalibrate via the app after changes. Proper fit often improves metrics like cadence and power output.
Q: Are there gender-specific considerations for gym cycle seat adjustment?
A: Women may need narrower seats to reduce perineal pressure; men, more padding. Always prioritize personal comfort over generics.
Alternative Solutions for Gym Cycle Seat Issues
If standard adjustments don’t suffice—say, due to a non-standard frame—consider these options. For persistent discomfort, a professional bike fit is ideal, but seat cushions or replacement saddles offer quick alternatives.
| Solution | Pros | Cons | Best For |
|---|---|---|---|
| Gel seat cover | Affordable ($10-20), adds cushioning without tools | May shift during rides, temporary fix | Beginners with minor discomfort |
| Adjustable seat post upgrade | Precise height control, easy install | Costs $50-100, requires compatibility check | Frequent users needing frequent tweaks |
| Full bike fit service | Customized to your body, long-term injury prevention | Expensive ($100+), time-intensive | Athletes with chronic pain |
| Ergonomic replacement seat | Better pressure relief, ventilated designs | Installation needed, $30-80 | Those with numbness or long sessions |
Compare based on your budget and needs—a cover is great for gym-shared bikes, while upgrades suit home setups.
Enjoy Your Optimized Gym Cycle Workouts
With this guide, you’ve got the tools to perfect your gym cycle seat adjustment:
– Essential preparation and safety steps
– Detailed phases for height, position, and tilt
– Testing methods and pro tips for longevity
Following these actionable steps will transform your rides from painful to powerful, enhancing comfort and results. Take action today—hop on your bike, make those tweaks, and feel the difference in your next session.
Have you adjusted your gym cycle seat using these steps? Share your before-and-after experience in the comments below to inspire others! If discomfort lingers, describe your setup for tailored advice.