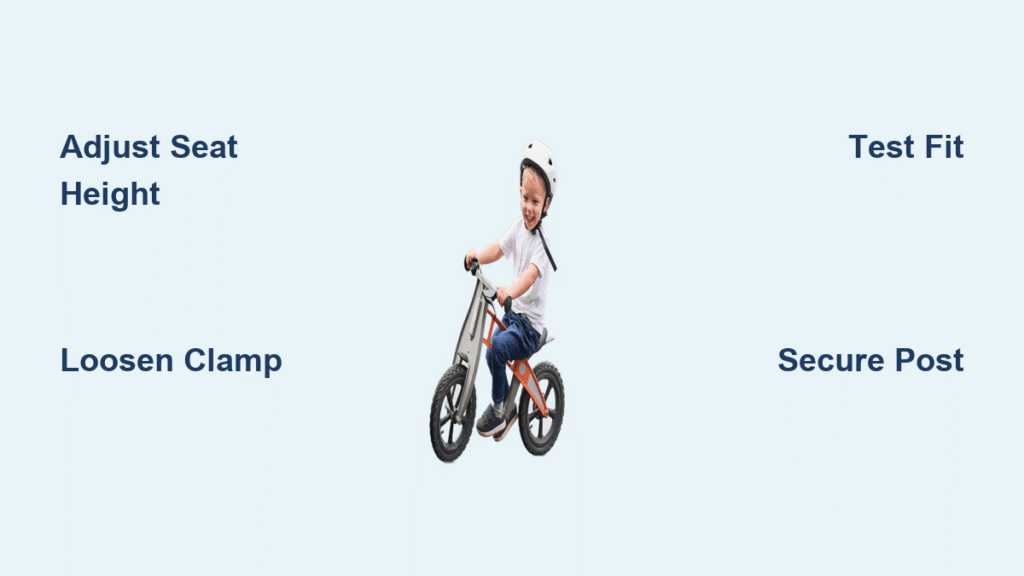
Struggling with your child’s balance bike where the seat feels too high or too low, making it hard for them to balance and build confidence? You’re not alone—many parents face this issue as kids grow quickly, and an improperly adjusted seat can turn fun riding sessions into frustrating tumbles. The good news is that learning how to adjust seat on balance bike is a straightforward process that takes just minutes with the right tools. For a quick fix, simply locate the seat post clamp, loosen it with an Allen key, slide the seat up or down to the desired height, and tighten it securely—this ensures your little one’s feet can flat-foot the ground for safe, effective practice.
In this comprehensive guide, we’ll go beyond the basics to cover everything you need to know about adjusting the seat on a balance bike, from gathering the essential tools to handling model-specific variations and troubleshooting common snags. Whether you’re dealing with a popular brand like Strider, Woom, or a generic model, you’ll find step-by-step instructions, safety tips, and pro advice to get it right every time. By the end, you’ll have the confidence to make adjustments yourself, helping your child scoot, balance, and transition to pedaling with ease—no more wobbly rides or safety worries.
What You’ll Need to Adjust the Seat on a Balance Bike

Before diving into the adjustment process, it’s essential to have the right materials and tools on hand. Most balance bikes use a simple seat post system that requires minimal equipment, but having everything ready prevents interruptions and ensures a smooth, safe adjustment. This setup typically takes about 5-10 minutes once prepared.
Here’s a breakdown of the key items in a handy table format. Note that specifics can vary by model—check your bike’s manual for exact requirements, as some premium bikes like the Woom 1 might use quick-release mechanisms instead of bolts.
| Item | Quantity | Specifications |
|---|---|---|
| Allen key (hex wrench) | 1 | Size 4mm or 5mm (most common for seat post clamps; confirm with your model’s specs) |
| Adjustable wrench or socket set | 1 (optional) | For bikes with nut-based clamps; 10-13mm size works for many entry-level models |
| Seat post lubricant (e.g., WD-40 or bike-specific grease) | Small can/bottle | To prevent rust and ease adjustments; avoid over-spraying on painted surfaces |
| Clean rag or cloth | 1 | For wiping down the seat post and removing dirt before tightening |
| Measuring tape or ruler | 1 | For precise height measurement; ensure feet touch ground with slight knee bend |
| Owner’s manual | 1 | Digital or physical copy for model-specific diagrams and torque specs (e.g., 5-7 Nm for tightening) |
Important: If your balance bike is under warranty, avoid using excessive force or non-recommended tools to prevent voiding coverage. For aluminum or carbon fiber posts (common in higher-end models), use only manufacturer-approved lubricants to avoid corrosion.
Preparing to Adjust the Seat on a Balance Bike
Proper preparation is key to a successful seat adjustment, especially since balance bikes are designed for young children who need stability to learn. Rushing this step can lead to unsafe fits or damage to the bike. Start by choosing a flat, well-lit workspace like a garage floor or kitchen table covered with a towel to protect surfaces. This process should take about 2-3 minutes.
Safety Considerations First
Safety comes before everything—balance bikes are low to the ground, but an incorrect seat height can cause falls or discourage your child. Always supervise adjustments and test rides. Warning: Never adjust the seat while your child is on the bike, and ensure the area is free of hazards like tools or pets. If your child is under 18 months, consult a pediatrician before starting balance bike training, as per guidelines from the American Academy of Pediatrics.
Key preparation steps include:
– Inspect the bike: Check for wear, such as bent posts or loose parts. If the seat post shows signs of rust or cracks, replace it immediately—source parts from the manufacturer or sites like Amazon for compatibility.
– Measure your child’s inseam: Have your child stand against a wall in bare feet or riding shoes. Measure from the floor to their crotch (inner leg length). The ideal seat height should allow their feet to touch the ground flat with a slight knee bend (about 10-15 degrees). For example, for a 2-year-old with a 12-inch inseam, set the seat around 10-11 inches high.
– Clean the components: Wipe the seat post and clamp with a rag to remove dirt or grit, which can make adjustments sticky or cause uneven tightening.
– Gather references: Download the manual if you don’t have it—brands like Strider provide free PDFs on their websites. Note the minimum and maximum seat heights (typically 11-19 inches for toddler models).
By prepping thoroughly, you’ll avoid common pitfalls like over-tightening, which can strip threads on lightweight aluminum frames.
Step-by-Step Guide to Adjusting the Seat on a Balance Bike
Now for the main event: the actual adjustment process. We’ll break this into logical phases to make it easy to follow, regardless of your bike’s design. Most adjustments are tool-based, but some modern bikes use lever systems for tool-free changes. This full process usually takes 5-15 minutes, depending on the model. Use numbered lists for the sequential actions in each phase.
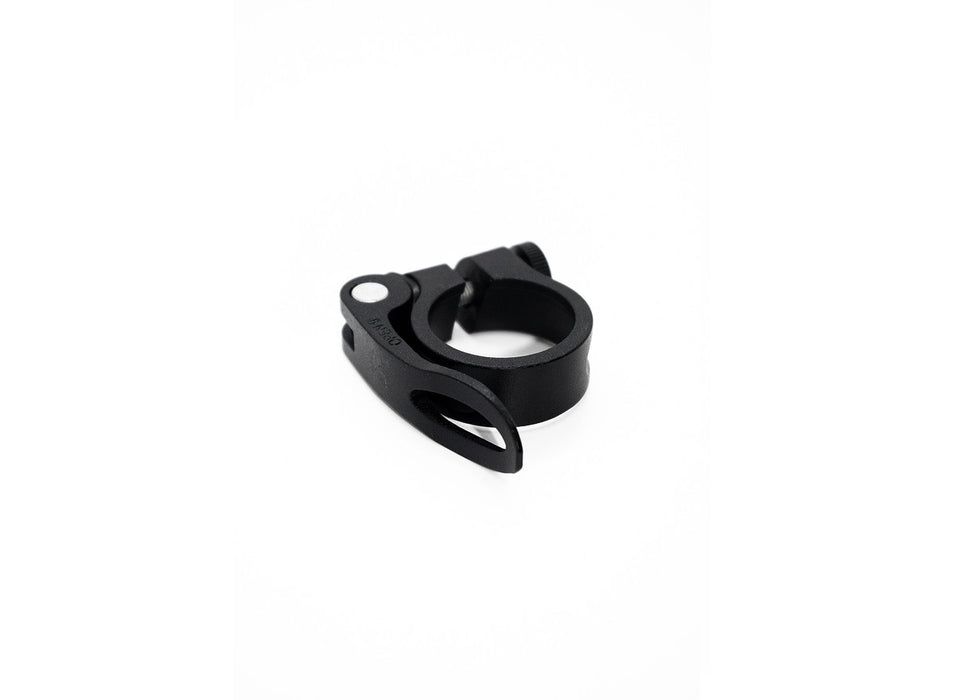
Phase 1: Locating and Loosening the Seat Post Clamp
The seat post is the vertical tube connecting the saddle to the frame, secured by a clamp at the top. Identifying it correctly prevents confusion with handlebar adjustments.
- Flip the bike upside down or lay it on its side on a soft surface to access the underside easily—protect the grips and seat from scratches.
- Locate the seat post clamp: It’s usually a metal collar around the post where it inserts into the frame. On basic models, it’s a bolted clamp; on premium ones like the Glide Bikes, it might be a quick-release lever.
- Insert the appropriate Allen key into the bolt head (often a single bolt on one side). Turn counterclockwise to loosen—apply steady pressure, but don’t force it if it’s seized (use lubricant if needed).
- If your bike has a nut instead of a bolt, use the wrench to loosen it similarly. Tip: Mark the current height with tape for easy reversal if the new setting doesn’t work.
Troubleshooting Note: If the clamp won’t budge, spray a bit of lubricant and wait 5 minutes. For stubborn cases, gently tap the Allen key with a mallet—never hammer the post directly.
Phase 2: Adjusting the Seat Height
This is where you customize the fit for your child’s growth stage. Aim for a height where they can plant both feet firmly on the ground while seated, promoting confident gliding.
- With the clamp loose, gently pull the seat post up or down. Slide it to the measured height—use your tape to verify (e.g., for a Strider 14 Sport, the range is 11-15 inches).
- Ensure the post is fully inserted into the frame (at least 2-3 inches for stability) but not bottoming out. Some bikes have a minimum insertion line marked—heed this to avoid instability.
- Level the seat: While adjusting height, check that the saddle is parallel to the ground using a level app on your phone or by eye. Tilt it slightly forward if your child prefers, but keep it neutral for beginners.
- Test the fit preliminarily: Sit your child on the bike (without riding) and have them push off gently. Adjust incrementally—raise by 1/2 inch at a time as they grow.
Important: For steerable balance bikes, ensure the adjustment doesn’t interfere with handlebar movement. Variations: On folding models like the KaZAM, you may need to release an additional pivot lock.
Phase 3: Tightening and Securing the Adjustment
Securing everything properly prevents the seat from slipping during use, which is crucial for safety.
- Slide the post back into the frame if needed, then tighten the clamp bolt clockwise with the Allen key. Apply firm, even pressure—torque to about 5-7 Nm if you have a torque wrench (or snug but not over-tight; it should resist wiggling).
- If using a quick-release lever, flip it to the closed position until it feels secure (it should require moderate force to open).
- Wipe away any excess lubricant and double-check for play: Shake the seat vigorously—if it moves more than 1mm, re-loosen and tighten again.
- Reinstall any covers or caps on the clamp for a clean finish.
Warning: Over-tightening can damage the frame, especially on lightweight titanium models. If you’re unsure, refer to the manual’s torque specs.
Post-Completion Testing and Troubleshooting

After adjustment, thorough testing ensures everything is safe and functional. This phase takes about 5 minutes and can prevent on-road issues.
Initial Testing
- Static check: Have your child sit on the bike indoors. Verify feet touch the ground flat, knees aren’t locked, and the seat doesn’t shift when they rock side to side.
- Dynamic test: Take it for a short supervised ride on a flat, soft surface like grass. Watch for slipping or discomfort—adjust further if the child can’t glide smoothly.
- Full inspection: Check all bolts for tightness and ensure no parts rub against the frame.
Common Troubleshooting
If issues arise:
– Seat slips down: The clamp isn’t tight enough or the post is dirty—clean and re-lubricate, then torque higher.
– Can’t loosen the bolt: It might be rusted; apply penetrating oil and let it sit. If stripped, replace the clamp (costs $5-15 online).
– Post won’t adjust smoothly: Check for burrs or bends—file lightly if minor, or contact the manufacturer for a replacement.
– Model-specific woes: For wooden balance bikes like the Woombie, use only hand-tightening to avoid cracking. If it’s an electric-assisted model (rare for balances), disconnect the battery first.
If testing reveals persistent problems, note the symptoms for the pro tips or FAQ sections below.
Pro Tips for Adjusting Balance Bike Seats
To elevate your adjustment game and keep your balance bike in top shape, here are 5-7 expert tips drawn from cycling pros and parent forums like Reddit’s r/parenting. These go beyond basics to optimize performance and longevity.
- Adjust seasonally: Kids grow fast—recheck height every 1-2 months or after growth spurts. Use a growth chart app to track inseam changes.
- Personalize for skill level: For beginners (ages 18 months+), set lower for stability; raise as they master balancing to encourage longer glides.
- Combine with handlebar tweaks: Adjust bars to hip height for ergonomics—prevents hunching and builds better posture.
- Avoid common mistakes: Don’t raise too high too soon (leads to tip-overs) or ignore weight limits (most bikes handle 50-60 lbs max).
- Optimize for storage: Mark height positions on the post with permanent marker for quick future adjustments, especially for multi-child families.
- Enhance durability: Apply frame protector’s tape around the clamp area to prevent paint scratches over time.
- Monitor for wear: Replace the seat post every 1-2 years if heavily used; affordable upgrades like ergonomic saddles ($20-40) can improve comfort.
Following these can extend your bike’s life by 20-30% and make riding more enjoyable.
When to Seek Professional Help for Balance Bike Adjustments
While most seat adjustments are DIY-friendly, some situations warrant a pro’s touch to avoid safety risks or warranty issues. Signs include: the post is bent or corroded (from crashes), the clamp is stripped and won’t hold torque, or it’s a high-end model with proprietary parts (e.g., Prevelo bikes). If adjustments fail after troubleshooting, or if you’re uncomfortable with tools, head to a local bike shop.
Look for providers certified by organizations like the League of American Bicyclists, with good reviews on Yelp for kid’s bikes. Expect costs of $20-50 for a simple adjustment or inspection; full post replacement might run $50-100 including labor. Always check your warranty—brands like Strider offer 1-2 years coverage, but DIY damage isn’t included. Bring the manual and note symptoms to speed things up.
FAQ
Q: How often should I adjust the seat on a balance bike?
A: Adjust every 1-3 months or whenever your child experiences discomfort or growth spurts. For active toddlers, check before each riding season—aim for feet flat on the ground with a 10-15 degree knee bend to support safe learning, as recommended by cycling experts at REI.
Q: What’s the ideal seat height for a 2-year-old on a balance bike?
A: For a typical 2-year-old with a 12-14 inch inseam, set the seat 10-12 inches from the ground. This allows full foot contact for confidence-building. Measure inseam accurately and subtract 1-2 inches for the bend—test by having them sit and push off.
Q: Can I adjust the seat without tools on any balance bikes?
A: Yes, models like the Radio Flyer or some Woom variants use quick-release levers for tool-free adjustments. However, for most (e.g., Strider), an Allen key is needed. Always confirm in the manual to avoid forcing mechanisms.
Q: What if the seat post is stuck and won’t move after loosening?
A: Apply a bike-safe lubricant like Tri-Flow, wait 10 minutes, and gently wiggle the post. If it’s rusted, warm it slightly with a hairdryer. Persistent issues may indicate a bent frame—seek professional help to prevent further damage.
Q: Is it safe to lower the seat all the way for storage?
A: Yes, but don’t remove it fully, as this can loosen the clamp over time. Store at the minimum height (per manual specs, often 9-11 inches) and cover the bike to protect from dust. Re-adjust before next use.
Q: How do I know if the adjustment is affecting my child’s balance?
A: Watch for signs like frequent falling, tiptoeing, or reluctance to ride. If the seat’s too high, lower by 1/2 inch; too low causes knee strain. A test glide on flat ground should feel stable—consult a pediatric PT if balance issues persist.
Q: Are there differences in adjusting seats for different brands?
A: Absolutely—Strider uses a simple Allen bolt, while CoPilot models have eccentric clamps for finer tweaks. Always reference brand-specific guides (e.g., via YouTube tutorials from official channels) to match torque and avoid model mismatches.
Alternative Solutions for Balance Bike Seat Adjustments
If standard bolt adjustments aren’t working due to a damaged clamp or you want a more permanent fix, consider these alternatives. They’re ideal when quick fixes fall short, like for heavily used bikes.
| Solution | Pros | Cons | Best For |
|---|---|---|---|
| Quick-Release Seat Post Upgrade | Tool-free adjustments; easy for frequent changes | Costs $20-40; may not fit all frames | Parents with growing kids needing regular tweaks |
| Professional Seat Post Replacement | Ensures compatibility and strength; includes warranty | $50-100 total; requires shop visit | Bikes with bent or worn posts from crashes |
| Adjustable Saddle with Rails | Allows micro-adjustments for angle/height; more ergonomic | Installation time (10-15 mins); $15-30 | Comfort-focused setups for longer sessions |
| Aftermarket Clamp Kit | Affordable fix for stripped bolts; customizable torque | DIY skill needed; potential fit issues | Budget models like generic Amazon bikes |
Weigh these based on your bike’s age and usage—upgrades often pay off for long-term value.
Start Using Your Balance Bike with the Perfect Seat Height
With this guide, you’ve got all the tools and steps to master how to adjust seat on balance bike like a pro:
– Essential materials and safe preparation
– Detailed phases for loosening, adjusting, and tightening
– Testing methods and troubleshooting for reliability
– Pro tips, FAQs, and alternatives for advanced needs
Following these instructions ensures a safe, customized fit that boosts your child’s confidence and skills— no more mismatched heights or frustrating rides. Take action today: Grab your Allen key, measure up, and hit the park for that first smooth glide.
Have you adjusted your balance bike seat using these steps? Share your tips or challenges in the comments below to help other parents! If issues persist, describe your model for tailored advice.