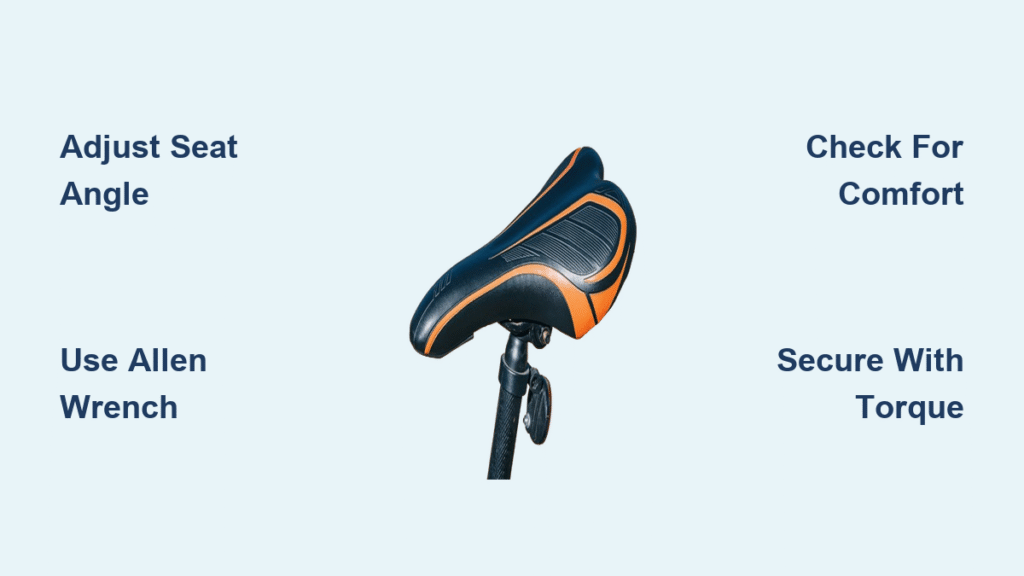
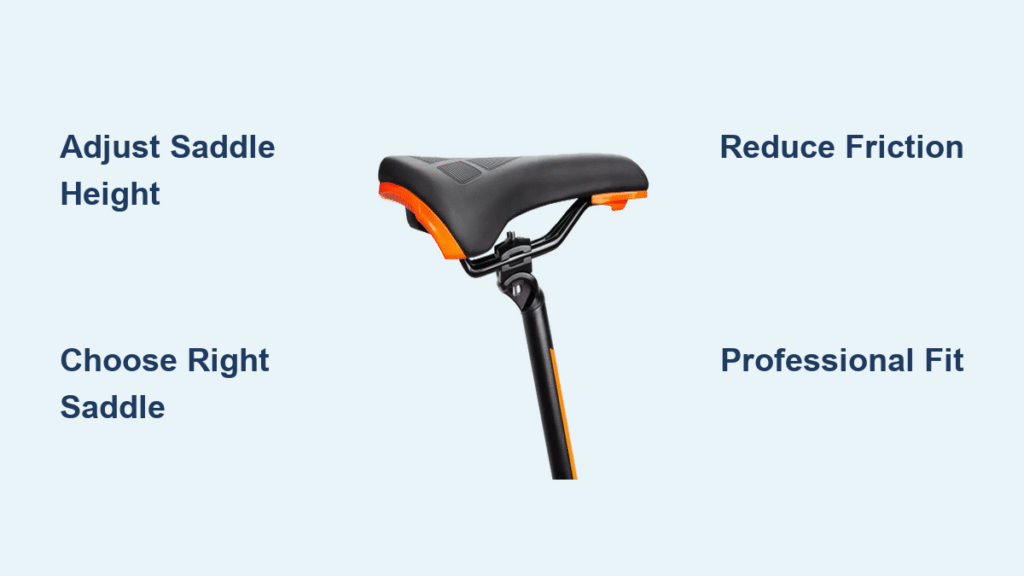
If you’ve been riding your Trek bike and feeling discomfort in your hips, knees, or lower back, it might be time to tweak your setup. Adjusting the Trek bike seat angle can make all the difference in your comfort and performance, whether you’re commuting, hitting trails, or logging long miles. Many riders overlook this simple fix, but a quick adjustment—often taking just 10-15 minutes—can alleviate pressure points and improve your pedaling efficiency right away. Don’t suffer through another ride; we’ll walk you through the basics to get you back to smooth sailing.
In this comprehensive guide, we’ll go beyond the quick fix to cover everything you need to know about Trek bike seat angle adjustment. From gathering the right tools to detailed step-by-step instructions, safety tips, and post-adjustment testing, you’ll find multiple methods tailored to different Trek models like the Domane, Madone, or Fuel EX. By the end, you’ll have the confidence to fine-tune your bike like a pro, prevent common issues, and ensure your rides are pain-free and enjoyable. Let’s dive in and get your saddle perfectly angled for you.
Tools and Materials Needed for Trek Bike Seat Angle Adjustment

Before you start adjusting your Trek bike seat angle, it’s essential to have the right tools on hand. Most Trek bikes use standard components, but double-check your model’s specs on the Trek website or your owner’s manual, as some high-end models might have proprietary parts. You’ll need basic bike maintenance tools, which are affordable and reusable for other repairs.
Here’s a handy table outlining the essentials:
| Item | Quantity | Specifications |
|---|---|---|
| Allen wrench set | 1 set | 4mm, 5mm, and 6mm sizes (most Trek seat clamps use 5mm) |
| Torque wrench | 1 | Adjustable to 5-8 Nm for precise tightening (prevents over-torquing) |
| Bike stand or repair stand | 1 | Optional but recommended for stability; wall-mounted or freestanding |
| Saddle angle adjustment shim (if needed) | 1-2 | 1-2 degree increments, available from Trek dealers or online |
| Clean rag or microfiber cloth | 1 | For wiping down the seat post and clamp |
| Bike grease or anti-seize compound | Small tube | To prevent corrosion on the seat post |
| Level tool (digital or bubble) | 1 | Smartphone app works too, for checking angle accuracy |
These items should cost under $50 if you don’t already own them. For electric Trek models like the Allant+ e-bike, ensure your tools are compatible with any integrated components—avoid using power tools to prevent damage.
Preparing to Adjust Your Trek Bike Seat Angle
Proper preparation is key to a successful Trek bike seat angle adjustment and avoids unnecessary frustration or bike damage. Start by assessing your current setup: Sit on your bike in your normal riding position and note any discomfort. A neutral seat angle (parallel to the ground) is ideal for most riders, but you might need a slight tilt forward or backward based on your body type and riding style—forward for aggressive road positions, backward for comfort on hybrids.
Safety considerations: Always work in a well-lit, stable area like a garage. Flip your bike upside down or use a stand to secure it—never adjust while riding! Wear gloves to protect your hands from sharp edges, and if your Trek has hydraulic brakes or electronic shifting (like on the Emonda series), disconnect the battery if applicable to avoid accidental activation. Check for wear: Inspect the seat post for cracks or corrosion, as these could worsen with adjustment. If your bike is under warranty, note that DIY tweaks won’t void it unless you modify core components.
Important: Consult your Trek model’s user manual (downloadable from trek.com) for specific torque specs. Over-tightening can strip threads, while under-tightening leads to slippage. Allow 20-30 minutes for the full process, and test ride in a safe area afterward.
Step-by-Step Guide to Adjusting Trek Bike Seat Angle
Adjusting the Trek bike seat angle is straightforward and doesn’t require advanced skills. We’ll break it into logical phases: loosening, angling, and securing. This method works for most Trek bikes with a standard seat post clamp, but for carbon frames (common on Madone or Emonda), be extra gentle to avoid carbon fiber damage. If your saddle has a single-bolt clamp (like on some Bontrager saddles), the process is similar but uses a different wrench size.
Phase 1: Loosening the Seat Clamp
- Position your bike securely: Use a bike stand or lay it upside down on a soft surface to protect the saddle and handlebars.
- Locate the seat clamp: On most Trek models, it’s under the saddle where the seat post meets the frame—a small bolt or lever on the top tube or seat tube.
- Insert the appropriate Allen wrench (usually 5mm for Trek) into the clamp bolt.
- Loosen the bolt counterclockwise: Turn it 2-3 full rotations until the saddle moves freely side-to-side. Don’t remove it completely to avoid losing parts. If it’s a quick-release lever (on older hybrids), flip it to the open position.
- Gently rock the saddle to ensure it’s loose. Wipe any dirt from the clamp with a rag for better grip later.
This phase takes about 5 minutes. If the bolt is seized (common in wet climates), apply a penetrating oil like WD-40 and wait 10 minutes before trying again.
Phase 2: Adjusting the Angle
- Lift the saddle slightly: Hold it level and use your level tool to check the current angle. A digital level app on your phone can rest on the saddle for accuracy.
- Tilt the nose: For forward tilt (to reduce hamstring pressure), lower the front of the saddle. For backward tilt (better for upright comfort), raise the nose. Aim for 1-3 degrees of adjustment—small changes make a big difference.
- Use shims if needed: If your saddle doesn’t have enough range, insert a thin shim under the rear or front for fine-tuning. Secure it with grease to prevent slipping.
- Test the feel: Sit on the bike in riding position (feet on pedals) and rock your hips. The saddle should support your sit bones without numbness.
Warning: Avoid extreme angles (over 5 degrees), as they can cause knee strain or slippage. For MTB models like the Roscoe, a slight downward nose tilt aids in steep descents.
This phase is quick—under 10 minutes—and iterative; make small adjustments and test.
Phase 3: Securing and Finalizing
- Realign the saddle: Ensure it’s centered on the seat post (rails should sit evenly in the clamp).
- Tighten the bolt clockwise: Use your torque wrench set to 5-6 Nm for aluminum frames or 4-5 Nm for carbon (check Trek specs). Hand-tighten first, then torque.
- Double-check: Wiggle the saddle; it shouldn’t move. Re-level if needed.
- Apply grease: Dab anti-seize on the seat post if reinstalling after removal to prevent creaking.
Total time for this phase: 5 minutes. Clean up any tools and grease residue.
Testing and Troubleshooting After Adjustment

Once you’ve completed the Trek bike seat angle adjustment, it’s time to verify everything works. Take a short 5-10 minute test ride on flat terrain: Pedal at various cadences and note comfort levels. Your pelvis should stay stable without rocking, and there should be no pressure on soft tissues. Measure your power output or speed if you have a bike computer— a good adjustment can boost efficiency by 5-10%.
If issues persist:
– Saddle slips during ride: Retighten to spec or check for worn clamp pads (replace via Trek parts).
– Persistent discomfort: Revert and try a 1-degree opposite adjustment; body adaptation takes 1-2 rides.
– Creaking noises: Clean and regrease the rails; for carbon posts, use Trek-approved lubricant.
– Model-specific quirks: On e-bikes like the Rail, ensure the adjustment doesn’t interfere with the motor housing—consult a dealer if unsure.
If the test ride reveals frame damage or the saddle won’t hold, stop and seek professional help. Track your adjustments in a notebook for future reference.
Pro Tips for Optimal Trek Bike Seat Angle Adjustment
To elevate your Trek bike seat angle game beyond the basics, here are expert insights from bike fit pros and Trek enthusiasts:
– Personalize based on riding style: Road cyclists (e.g., Domane riders) benefit from a level or slight forward tilt for aero positioning, while gravel adventurers on the Checkpoint might prefer a 2-degree backward tilt for all-day comfort.
– Combine with height adjustment: Angle alone isn’t enough—ensure your seat height allows a 30-35 degree knee bend at the bottom of the pedal stroke for injury prevention.
– Use a professional bike fit as baseline: Apps like Retül (Trek’s partner) can scan your biomechanics for precise angles, saving trial-and-error time.
– Avoid common mistakes: Don’t adjust on an uneven floor, as it skews your level readings. Also, never ride with a loose saddle—it can cause accidents.
– Optimize for seasons: In winter, a slight backward tilt helps with padded shorts; summer riders might go level to reduce sweat buildup.
– Maintenance hack: Check angle monthly, as vibrations from rough roads can shift it subtly.
– Upgrade wisely: If adjustments don’t help, consider a Bontrager saddle with micro-adjust rails for easier future tweaks.
These tips can extend your bike’s usability and reduce wear on components.
When to Seek Professional Help for Trek Bike Seat Angle Issues
While DIY Trek bike seat angle adjustment is empowering, some situations call for a pro. Signs include: persistent pain after multiple attempts, damage to the seat post or frame (e.g., cracks on carbon models), or if your bike has integrated components like Di2 shifting that complicate access. For high-end Treks like the Madone SLR, improper torque can void warranties.
Look for certified Trek dealers or IBEX-trained mechanics—they use tools like laser alignment for precision fits. Expect costs of $50-150 for a basic adjustment and fit session. Always verify warranty coverage: Trek’s lifetime frame warranty protects against defects but not user errors. If you’re near a Trek store, their free Project One customization consultations often include angle advice.
FAQ
Q: How do I know the correct Trek bike seat angle for my body type?
A: The ideal angle varies, but start with level (parallel to ground) for most riders. Taller riders or those with flexibility issues may need a 1-2 degree backward tilt. Use a bike fit chart from Trek’s site or consult a pro; factors like inseam length and riding discipline play a role. Test by ensuring your hips don’t rock at 80% pedaling effort.
Q: Can I adjust the seat angle on a Trek e-bike without special tools?
A: Yes, most e-Trek models like the Dual Sport+ use standard clamps, so the same Allen wrenches work. However, avoid adjusting near the battery compartment to prevent pinches. If it’s a Bosch-powered system, power off first. For integrated designs, a dealer tool might be needed—check your manual.
Q: What if my Trek saddle won’t tilt enough after loosening?
A: This could be due to a worn clamp or limited rail movement. Inspect for debris; clean with isopropyl alcohol. If it’s a fixed-angle saddle (rare on Treks), you’ll need a replacement with adjustable rails. Shims can add range, but for severe cases, upgrade to a model like the Bontrager Aeolus.
Q: Is adjusting the Trek bike seat angle covered under warranty?
A: Yes, as long as you follow Trek’s guidelines and don’t cause damage. Their 2-year component warranty includes seat posts, but misuse (e.g., over-torquing) isn’t covered. Document your adjustments with photos for claims.
Q: How often should I check my Trek bike seat angle?
A: Every 3-6 months or after 500 miles, especially if you notice slippage or discomfort. Rough terrain on models like the Top Fuel can shift it faster, so monthly checks for MTB riders are wise.
Q: Does seat angle affect bike performance?
A: Absolutely— a proper angle optimizes power transfer and reduces energy loss from poor posture. Studies from the Journal of Sports Sciences show that a 2-degree mismatch can drop efficiency by up to 7%. Fine-tuning can improve speed and endurance.
Q: Can I do this adjustment on the trail?
A: No, it’s not recommended—tools and stability are needed. Carry a multi-tool for emergencies, but full adjustments require a safe spot. For quick fixes, a 4mm Allen can loosen most clamps temporarily.
Alternative Solutions for Trek Bike Seat Angle Adjustment
If manual adjustment feels tricky or doesn’t yield results, consider these alternatives. They might suit riders with limited mobility or those seeking permanent fixes.
| Solution | Pros | Cons | Best For |
|---|---|---|---|
| Professional Bike Fit Session | Expert precision, full-body analysis, long-term comfort | Costs $100-200, requires appointment | Serious cyclists or those with chronic pain |
| Adjustable Saddle Upgrade (e.g., Bontrager Verse) | On-the-fly tweaks with levers, wider range (up to 5 degrees) | Higher upfront cost ($100+), added weight | Commuters needing frequent changes |
| Seat Post with Built-in Angle Adjuster | Integrated shims or hydraulic tilt, no tools needed | Expensive ($200+), compatibility issues with some frames | Touring riders on long trips |
| App-Based Virtual Fit (e.g., BikeFast app) | Cheap ($10-20), uses phone camera for guidance | Less accurate than in-person, no hands-on help | Budget DIYers new to adjustments |
Weigh these based on your needs; for most, starting with the basic method is best.
Enjoy Your Perfectly Adjusted Trek Bike
With this guide, you’ve got everything to master Trek bike seat angle adjustment and transform your rides:
– Essential tools and prep for safe starts
– Detailed phases from loosening to testing
– Pro tips and troubleshooting for lasting results
Following these steps ensures comfort, efficiency, and injury prevention, so you can focus on the joy of cycling. Take action today—grab your tools and make that tweak; you’ll feel the difference immediately.
Have you adjusted your Trek bike seat angle before? Share your tips or challenges in the comments below to help fellow riders! If discomfort lingers, a quick dealer visit could be your next step. Ride on with confidence—your Trek is ready for whatever adventure awaits.

