Riding your bike should be a joy, not a pain—literally. If you’ve ever cut a ride short because of an uncomfortable bike seat that’s leaving you sore, chafed, or numb, you’re not alone. Whether it’s a new bike or an old favorite, an ill-fitting saddle can turn every pedal stroke into torture. The good news? You can fix an uncomfortable bike seat with some simple adjustments and tweaks that provide quick relief, like repositioning your saddle height or adding a cushioned cover.
In this comprehensive guide, we’ll go beyond those basic fixes to explore the root causes of discomfort and offer multiple proven solutions, from DIY adjustments to seat upgrades. By the end, you’ll have the tools and knowledge to make your bike rides comfortable and enjoyable again, no matter your riding style or experience level. Let’s get you back in the saddle pain-free.
Common Causes of an Uncomfortable Bike Seat
Before diving into fixes, it’s essential to understand why your bike seat feels like a rock. Identifying the cause helps you target the right solution. Here are the most frequent culprits, explained in detail:
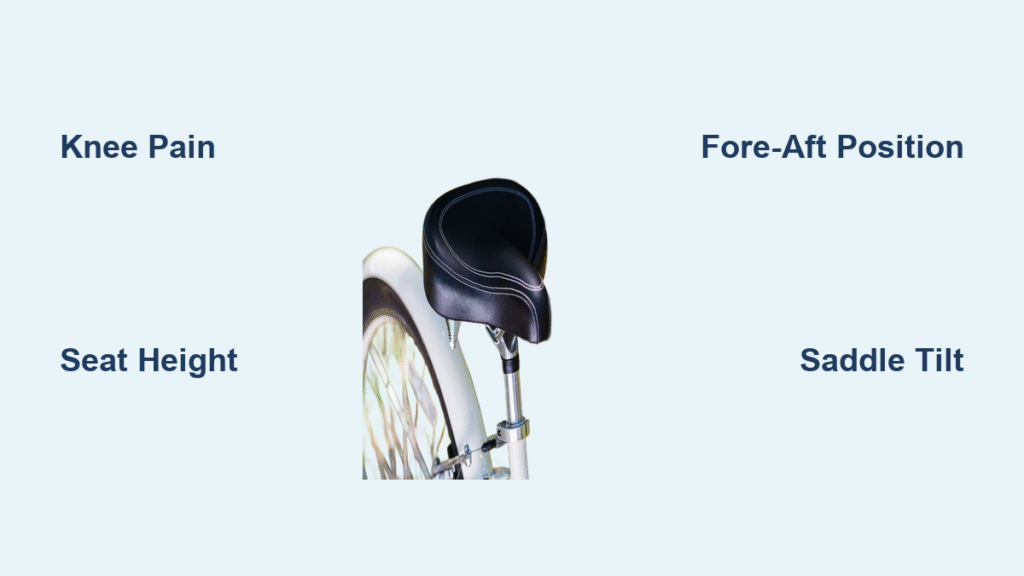
Incorrect Saddle Height
One of the top reasons for discomfort is a saddle that’s too high or too low. If it’s too high, you might be rocking side to side excessively, straining your hips and lower back. Too low, and your knees could be bending too much, putting pressure on your quads and causing fatigue. This is common on stock bikes where the height isn’t adjusted for your leg length—aim for a height where your leg is almost fully extended at the bottom of the pedal stroke, with a slight bend in the knee (about 25-35 degrees).
Poor Saddle Fit for Your Body Type
Not all seats are created equal, and a saddle that doesn’t match your sit bone width or riding position can pinch nerves or create pressure points. Narrow saddles work for aggressive road cyclists but can be torture for casual riders with wider hips. Over time, this leads to numbness in the groin area or general soreness. Measure your sit bones (the bony parts you sit on) by sitting on corrugated cardboard and checking the indentations—they should be about 20-30% wider than your saddle’s width for optimal comfort.
Wear and Tear on the Saddle
An old or damaged seat can lose its padding, develop cracks, or accumulate grime that irritates the skin. Foam degradation happens after 1,000-2,000 miles of use, making the seat feel harder and less supportive. Dirt and sweat buildup can also cause chafing, especially if you’re riding in hot weather without cleaning it regularly.
Improper Bike Fit Overall
Sometimes, the seat discomfort stems from the bigger picture: a bike that’s not fitted to your body. If your handlebars are too low or the crank arms are too long, you’ll shift weight awkwardly onto the saddle, amplifying pressure. This is especially true for beginners who buy off-the-shelf bikes without a professional fitting.
Riding Position and Habits
Your posture matters too. Leaning too far forward (common in road biking) increases perineal pressure, while poor core engagement can make you bounce on the seat. Long rides without breaks exacerbate this, leading to hot spots or blisters.
How to Fix an Uncomfortable Bike Seat: Step-by-Step Solutions

Now that we’ve pinpointed the issues, let’s tackle them with practical, actionable methods. Start with the simplest fixes and progress to more involved ones. Each method includes diagnosis tips, step-by-step instructions, and testing advice. Expect these to take 15-60 minutes, depending on your tools.
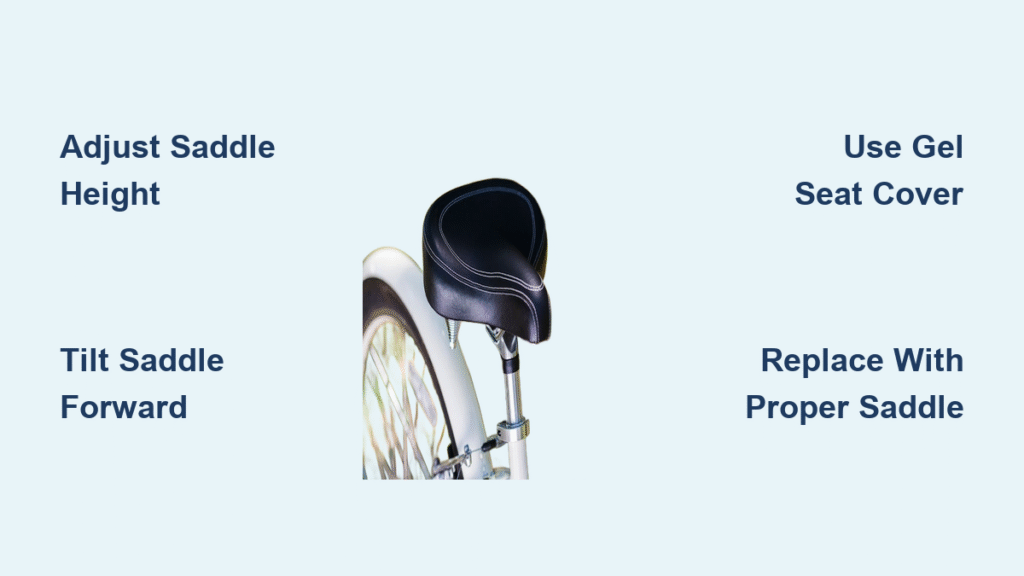
Method 1: Adjust Saddle Position for Quick Relief
This is the easiest starting point and often resolves 70% of discomfort issues without buying anything new. It involves tweaking height, fore-aft position, and tilt to distribute weight evenly.
Diagnosing the Issue
Sit on your bike in a riding position (feet on pedals) and note any pain points. If your knees hurt or you feel stretched, height is off. Forward lean causing groin pressure? Check tilt and fore-aft.
Fix Steps
- Tools Needed: Allen wrenches (4-6mm), a ruler or plumb line, and a friend to help measure.
- Set saddle height: Stand next to the bike with heels on the pedals—your leg should be straight. For precise measurement, your inseam (floor to crotch) multiplied by 0.883 gives the distance from pedal axle to saddle top when cranks are horizontal.
- Adjust fore-aft: With cranks horizontal (pedal at 3 o’clock), drop a plumb line from your kneecap—it should align with the pedal axle. Loosen the seat post clamp and slide forward/back as needed (5-10mm adjustments).
- Tilt the saddle: Use an Allen wrench to loosen the rails under the seat. Aim for level (use a smartphone app or bubble level). A slight 1-2 degree nose-down tilt reduces perineal pressure for many riders.
- Tighten everything securely—torque to 5-7 Nm to avoid slippage.
Testing the Fix
Take a 10-15 minute test ride on varied terrain. Pedal smoothly and check for reduced soreness. If pain persists, move to the next method. Warning: Over-tightening can strip bolts; use a torque wrench if possible.
Method 2: Add Padding or a Seat Cover
For immediate cushioning without permanent changes, layer up. This is ideal if your saddle is worn but otherwise fine.
Diagnosing the Issue
Press on the saddle—if it feels flat or lacks give, padding is the problem. Chafing from rough surfaces? A cover can help.
Fix Steps
- Tools Needed: None for basic covers; scissors for custom fits.
- Choose a gel or foam seat cover (e.g., from brands like Planet Bike, $10-20). Look for ones with cutouts for pressure relief.
- Stretch the cover over the saddle, securing straps or Velcro. For extra padding, add a gel insert under cycling shorts.
- If DIY-ing, cut EVA foam (1/4-inch thick) to fit the saddle shape and attach with adhesive spray.
Testing the Fix
Ride for 20 minutes and assess numbness or bounce. Covers add 1-2 pounds, so test on short rides first. Important: Avoid overly thick padding—it can cause instability.
Method 3: Replace or Upgrade the Saddle
If adjustments don’t cut it, swap the seat for one tailored to you. This mid-level fix costs $30-150 and lasts years.
Diagnosing the Issue
Measure sit bones as mentioned earlier. If the current saddle is narrower than needed or lacks cutouts, it’s time for an upgrade.
Fix Steps
- Tools Needed: Allen wrenches, new saddle compatible with your seat post (most are universal).
- Remove the old saddle: Loosen the clamp nut under the seat post and slide off the rails.
- Install the new one: Match the position from Method 1, then tighten. Popular options include the Brooks B17 for leather comfort or Selle Italia for gel support—choose based on width (e.g., 140-155mm for average adults).
- Break it in: New saddles need 100-200 miles to mold to your shape; apply chamois cream to shorts for initial rides.
Testing the Fix
Do progressive rides: 5 miles day 1, building to 20. Monitor for even pressure distribution. If it’s a high-end model with suspension, note improved vibration absorption.
Method 4: Professional Bike Fitting for Advanced Comfort

For persistent issues, a full fit addresses the whole bike. This is more involved but transformative for serious riders.
Diagnosing the Issue
If multiple adjustments fail, or you have specific pain (e.g., sciatica), the bike’s geometry might be off.
Fix Steps
- Tools Needed: Book a session ($50-200 at a bike shop).
- The fitter uses motion capture or lasers to measure your cleat position, saddle setback, and even shoe insoles.
- They may recommend orthotics or bar adjustments alongside seat tweaks.
Testing the Fix
Follow up with a 30-mile ride. Shops often offer guarantees—return if discomfort lingers.
Prevention Tips and Maintenance Advice
To avoid future saddle woes, incorporate these habits:
– Clean your seat weekly with mild soap and water to prevent irritation—dry thoroughly to avoid mold.
– Check adjustments monthly, especially after rough rides or weight changes.
– Rotate saddles if you have multiple bikes to extend lifespan.
– Strengthen your core with planks or yoga to improve riding posture.
– Use anti-chafing cream on long rides and invest in quality padded shorts.
Pro Tips for Ultimate Bike Seat Comfort
- Measure Twice, Adjust Once: Always double-check saddle height with a bike fit app like Bike Fast Fit—small errors amplify over miles.
- Consider Your Riding Style: Roadies need sleeker saddles; commuters benefit from wider, cushioned ones. Avoid the common mistake of buying based on looks over specs.
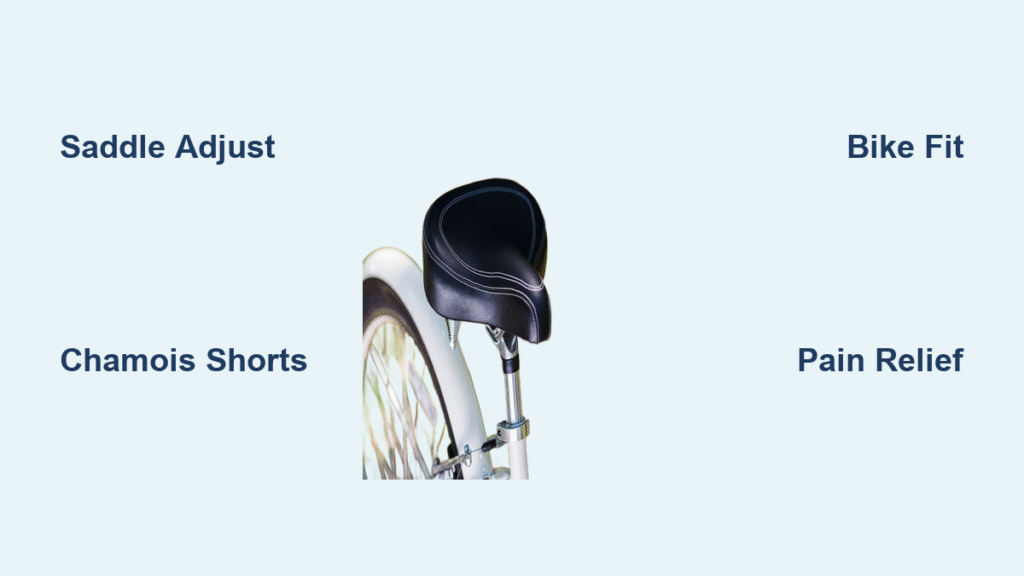
- Layer Smart: Combine a good saddle with chamois shorts and jersey pads for multi-level comfort—don’t rely on one fix.
- Break-In Period: New seats feel stiff; ride short distances initially to avoid blisters.
- Weight Distribution: Shift weight to pedals and handlebars during climbs to offload the saddle—practice on trainers.
- Eco-Friendly Upgrades: Opt for recycled material saddles from brands like Fabric to reduce environmental impact while fixing discomfort.
- Monitor Wear: Inspect for cracks every 500 miles; replace proactively to prevent sudden failures mid-ride.
Common mistakes to avoid: Ignoring body changes (e.g., post-pregnancy) or over-tilting the nose down, which can cause back strain. For optimization, track rides with apps like Strava to correlate discomfort with distance/terrain.
When to Seek Professional Help
If DIY fixes don’t resolve the issue after a week of testing, or if you experience sharp pain, numbness lasting hours, or balance problems, consult a pro. Signs include recurring injuries, saddle sores that won’t heal, or if you’re a competitive rider needing precise aerodynamics.
Look for certified fitters from organizations like the BikeFit network—check reviews on Yelp or bike forums. Sessions cost $75-250, but many shops include follow-ups. Factor in warranty: Most saddles have 1-2 year guarantees; professional adjustments preserve them. If it’s a high-end bike, manufacturer services (e.g., Specialized) might cover fits under warranty.
FAQ
Q: How long does it take to break in a new bike seat?
A: Typically 100-300 miles, depending on the material. Leather saddles like Brooks take longer (up to 500 miles) as they mold to your shape, while gel ones adapt quicker. Ride short sessions with chamois cream to ease the process and prevent initial soreness.
Q: Can I fix an uncomfortable bike seat without tools?
A: Yes, for quick tests—try a seat cover or padded shorts. But for lasting fixes like height adjustments, you’ll need basic Allen keys. Start with no-tool options to diagnose before investing.
Q: What’s the best saddle width for women?
A: Women often need wider saddles (145-160mm) due to wider sit bones on average. Measure yours and add 10-20mm for comfort. Brands like Specialized offer women-specific models with shorter noses to reduce pressure.
Q: Why does my bike seat hurt after short rides?
A: It could be poor fit or lack of padding in shorts. Check tilt first—a level or slightly nose-down saddle helps. If it’s new, your body needs time to adapt; build up gradually.
Q: Are gel saddles always more comfortable?
A: Not necessarily—they can shift under you, causing instability. They’re great for bumpy roads but less ideal for smooth racing. Test in-store if possible.
Q: How do I clean my bike seat to prevent discomfort?
A: Wipe with a damp cloth and bike cleaner weekly, avoiding harsh chemicals that degrade foam. For leather, use saddle soap monthly. This prevents bacterial buildup leading to chafing.
Q: Does saddle height affect more than just comfort?
A: Absolutely—it impacts power output and injury risk. Too high increases knee strain; too low reduces efficiency. Use the 30% knee bend rule for balance.
Alternative Solutions for Uncomfortable Bike Seats

If standard fixes fall short, consider these options. For example, if you’re on a budget, a suspension seat post ($50-100) absorbs shocks better than a new saddle.
| Solution | Pros | Cons | Best For |
|---|---|---|---|
| Suspension Seat Post | Reduces vibrations on rough terrain; easy install | Adds weight (0.5-1 lb); may alter fit | Mountain or gravel bikers |
| Padded Cycling Shorts Upgrade | Immediate relief; versatile for any saddle | Wears out faster; doesn’t fix root issues | Beginners or short-ride commuters |
| Custom-Molded Saddle | Perfect fit via heat-molding; long-lasting | Expensive ($200+); requires pro service | Frequent riders with chronic pain |
| Bike Trainer for Testing | Adjust and test indoors without risk | Not a permanent fix; setup cost | All riders diagnosing issues safely |
Weigh these against your needs—suspension posts shine for off-road but add bulk for racers.
Get Comfortable on Your Bike Again
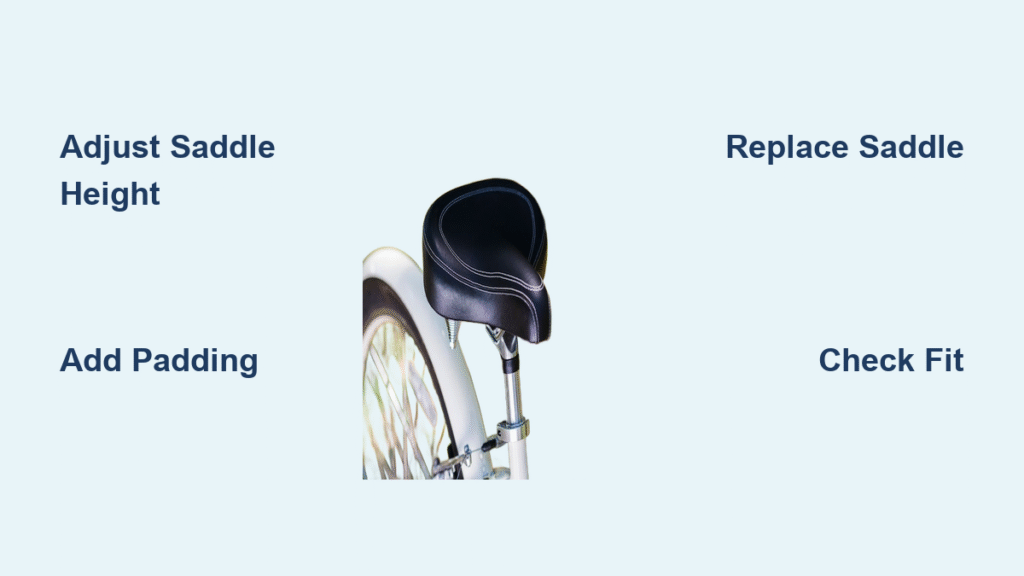
You’ve now got a roadmap to fix your uncomfortable bike seat, from simple adjustments to full upgrades:
- Diagnose causes like height or fit mismatches
- Apply quick methods like covers or repositioning
- Explore replacements and pro fittings for lasting results
- Follow prevention tips to stay pain-free
By tackling this step-by-step, you’ll transform those dreaded rides into smooth, enjoyable adventures. Don’t let discomfort sideline your cycling—start with a saddle check today and feel the difference.
Have you fixed an uncomfortable bike seat with these tips? Share your before-and-after story in the comments below to inspire other riders! If issues persist, describe your setup for tailored advice.