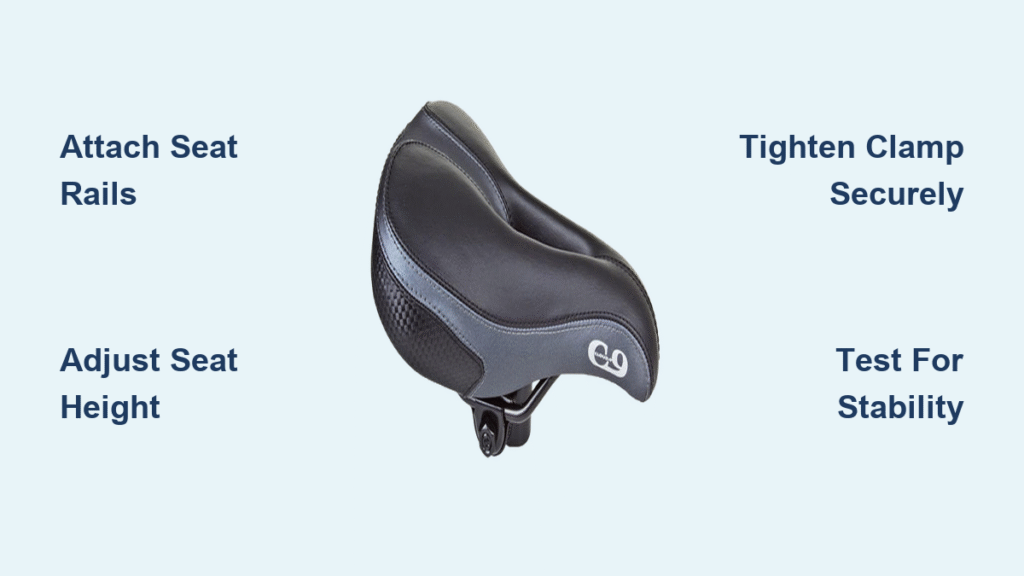
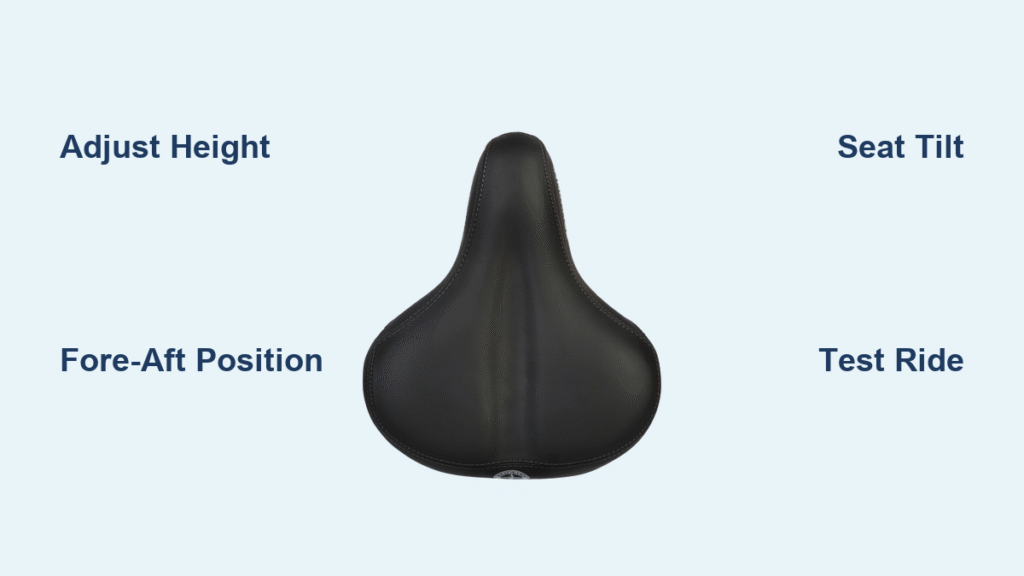
Installing a new bike seat can breathe new life into your ride, especially if you’re upgrading to the ultra-comfortable Cloud 9 bike seat known for its ergonomic design and pressure-relieving cushioning. If you’ve been dealing with a sore backside from a worn-out saddle or just want to enhance your cycling experience, you’re in the right place. The good news is that Cloud 9 bike seat installation is a straightforward DIY project that most cyclists can tackle in under 30 minutes with basic tools. Whether you’re a beginner or a seasoned rider, this guide will walk you through the process to get you pedaling comfortably again without the hassle of professional help.
In this comprehensive guide, we’ll go beyond the basics to cover everything from the tools you’ll need to detailed step-by-step instructions, safety tips, and post-installation checks. You’ll learn how to properly align your Cloud 9 bike seat for optimal comfort, troubleshoot common issues like wobbling or improper fit, and even get pro tips to maximize its benefits. By the end, you’ll have the confidence to complete the installation yourself, ensuring a smooth, pain-free ride every time. Let’s dive in and get your bike seat set up right.
What You’ll Need for Cloud 9 Bike Seat Installation

Before you start, gather the right tools and materials to make the Cloud 9 bike seat installation efficient and safe. The Cloud 9 seat typically comes with pre-installed rails for easy attachment to standard bike seat posts, but you’ll need some basics for removal and securing. Most of these are common household items or inexpensive additions to your bike toolkit.
Here’s a breakdown in table format for clarity:
| Item | Quantity | Specifications |
|---|---|---|
| Cloud 9 Bike Seat | 1 | Ensure it’s the correct model (e.g., Cloud 9 Cruiser or Touring); includes U-rails for compatibility with most bikes |
| Allen Wrench Set | 1 set | Sizes 4mm, 5mm, and 6mm for loosening/tightening seat post clamps; hex-style preferred |
| Torque Wrench (optional but recommended) | 1 | Adjustable to 5-7 Nm for precise tightening to avoid damaging rails |
| Bike Stand or Helper | 1 | To stabilize the bike; flip the bike upside down if no stand available |
| Clean Rag or Microfiber Cloth | 1 | For wiping down the seat post and rails to ensure a secure fit |
| Bike Grease or Anti-Seize Compound | Small tube | To prevent corrosion on the clamp and rails; optional for indoor use |
| Measuring Tape or Ruler | 1 | For adjusting seat height and fore-aft position accurately |
Important: Double-check your bike’s seat post clamp type—most modern bikes use a standard quick-release or bolt-on clamp, but older models might vary. If your Cloud 9 seat is a specific variant like the Cloud 9 Gel model, confirm it matches your bike’s rail system (usually 7mm round rails).
Preparing Your Bike for Cloud 9 Bike Seat Installation
Proper preparation is key to a successful Cloud 9 bike seat installation and prevents issues like slippage or misalignment later on. Rushing this step can lead to an uncomfortable ride or even safety hazards, so take your time—about 5-10 minutes here will save you headaches down the road.
Safety Considerations
Always prioritize safety when working on your bike. Park your bicycle on a flat, stable surface away from traffic. If flipping the bike upside down, protect the handlebars and saddle (your old one) with a towel to avoid scratches. Wear gloves to protect your hands from sharp edges on tools or the seat rails. Warning: Never install or adjust the seat while riding, as this can cause loss of control and accidents. If you’re unsure about your bike’s compatibility, consult the Cloud 9 manual or your bike’s manufacturer guidelines.
Initial Preparation Steps
-
Remove the Old Seat: Locate the seat post clamp under the saddle. Use the appropriate Allen wrench (usually 5mm) to loosen the clamp bolt. Slide the old seat off the post. If it’s a quick-release mechanism, simply flip the lever to open and remove.
-
Clean the Seat Post: Wipe down the exposed seat post with a clean rag to remove dirt, grime, or old grease. This ensures a firm grip for the new Cloud 9 bike seat. Apply a thin layer of bike grease to the post if it’s been exposed to weather, but avoid over-applying to prevent slippage.
-
Inspect Components: Check the seat post for damage or wear. Ensure the Cloud 9 seat’s rails are straight and undamaged. Measure your desired seat height from the center of the bottom bracket (pedal axle) to the top of the old saddle—this will be your reference for reinstallation.
By prepping thoroughly, you’re setting the stage for a seamless installation and a seat that feels custom-fitted from the first ride.
Step-by-Step Cloud 9 Bike Seat Installation Process
Now comes the heart of the guide: the actual Cloud 9 bike seat installation. We’ll break this into logical phases to make it easy to follow, whether you’re installing on a road bike, mountain bike, or cruiser. The entire process should take 15-20 minutes. Use a bike stand for stability, or enlist a friend to hold the bike steady.
Phase 1: Attaching the Seat to the Post Clamp
This phase focuses on securing the Cloud 9 seat’s rails into the clamp. The Cloud 9’s ergonomic design with its wide, cushioned base requires precise alignment to avoid uneven pressure.
-
Position the Seat Rails: Slide the Cloud 9 seat’s U-shaped rails into the open seat post clamp. Align the rails so the nose of the seat points forward (toward the handlebars). The seat should sit centered over the frame.
-
Tighten the Clamp: Insert the Allen wrench into the clamp bolt and turn clockwise to snug it up. If using a torque wrench, aim for 5-6 Nm of torque—tight enough to prevent movement but not so much that it crushes the rails. Warning: Overtightening can deform the aluminum rails, leading to cracks over time.
-
Check Initial Alignment: Gently rock the seat side to side. It should feel secure with no play. Adjust the fore-aft position so the widest part of the seat aligns with your sit bones (you can use a sit bone measurement tool if available; Cloud 9 recommends this for optimal comfort).
Phase 2: Inserting and Adjusting the Seat Post
With the seat clamped, it’s time to insert it into the bike frame and fine-tune for your body.
-
Insert the Post: Slide the assembled seat post into the frame’s seat tube until it reaches your pre-measured height. For most adults, this is about 70-80 cm from the bottom bracket, but adjust based on your leg length (your knee should have a slight bend at the pedal’s bottom position).
-
Secure the Post: Tighten the frame’s seat post binder bolt (usually 6mm Allen) to 6-8 Nm. Again, use a torque wrench if possible to avoid stripping threads.
-
Level and Angle the Seat: Use a level app on your phone or a bubble level placed on the seat to ensure it’s parallel to the ground. For the Cloud 9, a slight downward tilt (1-2 degrees) at the nose can relieve perineal pressure, but keep it minimal to maintain pedaling efficiency. Loosen the clamp slightly if needed and retighten.
Phase 3: Final Adjustments for Comfort
The Cloud 9 seat shines with personalization, so spend a few minutes dialing it in.
-
Set Fore-Aft Position: Sit on the bike in your riding position. Your knee should align over the pedal spindle when the crank is at 3 o’clock. Shift the seat forward or back by loosening the clamp.
-
Test Fit: Flip the bike right-side up and sit on it. Bounce lightly to check stability. Pedal in place to feel the cushioning— the Cloud 9’s gel inserts should provide immediate relief.
Pro Tip: If your bike has a suspension seat post, compress it a few times post-installation to ensure everything moves smoothly.
Post-Installation Testing and Troubleshooting

Once installed, test your Cloud 9 bike seat thoroughly to confirm it’s secure and comfortable. Take a short 5-10 minute test ride on a familiar route. Pay attention to vibrations, slippage, or discomfort— these are common signs of improper setup.
Basic Testing
- Stability Check: Accelerate and brake gently. The seat shouldn’t shift or creak.
- Comfort Assessment: Note any hot spots. The Cloud 9’s design typically reduces numbness, but if issues persist, readjust the tilt.
- Height Verification: Ensure your leg extension feels natural; improper height can cause knee strain.
Common Troubleshooting
If something’s off:
– Seat Wobbles: Retighten the clamp to spec or clean/re-grease the rails.
– Slips Down Post: The post might be too lubricated—wipe excess grease and retighten the binder bolt.
– Uneven Feel: Re-level the seat or check for bent rails (return if damaged).
– Compatibility Issues: If your bike has a non-standard post (e.g., carbon fiber), use a compatible adapter; consult Cloud 9’s support for specifics.
For persistent problems, reference the manufacturer’s warranty—Cloud 9 offers a satisfaction guarantee on most models.
Pro Tips for Optimal Cloud 9 Bike Seat Performance

To get the most out of your Cloud 9 bike seat installation, here are some expert insights that elevate your setup from good to great. These go beyond the basics and can extend the seat’s lifespan while enhancing your rides.
-
Customize for Your Riding Style: For long-distance touring, position the seat slightly further back; for urban commuting, keep it forward for quicker handling. Use the Cloud 9’s cutout design to minimize pressure—pair it with padded shorts for ultra-comfort.
-
Avoid Common Mistakes: Don’t ignore torque specs; under-tightening leads to slippage, while over-tightening damages rails. Also, never install without cleaning—dirt buildup causes premature wear.
-
Optimize for Weather: Apply anti-seize to rails if riding in wet conditions to prevent rust. For hot climates, the Cloud 9’s breathable cover helps, but clean it regularly to maintain ventilation.
-
Maintenance Recommendations: Every 500 miles, loosen and retighten the clamp to check for wear. Wipe the seat with mild soap after muddy rides to preserve the gel padding.
-
Enhance Ergonomics: Measure your sit bones (sit on corrugated cardboard and trace) to confirm the Cloud 9’s 11-13 inch width suits you. If not, consider Cloud 9’s adjustable models.
-
Pair with Accessories: Add a seat cover for protection during storage, or integrate with a bike computer mount that doesn’t interfere with the rails.
-
Sustainability Tip: Cloud 9 seats are made with eco-friendly materials—recycle your old saddle responsibly through local bike shops.
These tips can make your Cloud 9 bike seat feel like it was custom-molded for you, reducing fatigue on even the longest rides.
When to Seek Professional Help
While Cloud 9 bike seat installation is DIY-friendly for most, some situations call for a pro. If your bike has a complex frame (e.g., carbon fiber or integrated post), or if you’re experiencing frame damage during removal, head to a bike shop. Signs you need help include persistent wobbling after multiple adjustments, unusual noises, or if the seat doesn’t fit standard clamps— this could indicate a need for custom adapters.
Look for certified mechanics at reputable shops like those affiliated with the League of American Bicyclists. Expect costs of $20-50 for a professional install, plus any parts. Check your bike’s warranty first, as tampering might void it, though Cloud 9’s own warranty covers manufacturing defects regardless of who installs it.
FAQ
Q: How long does Cloud 9 bike seat installation take for beginners?
A: For first-timers, expect 20-30 minutes including prep and testing. Experienced cyclists can do it in 10-15 minutes. The key is familiarizing yourself with the tools upfront to avoid frustration.
Q: Is the Cloud 9 bike seat compatible with all bikes?
A: Most yes—it’s designed for standard 7mm rails on road, hybrid, and cruiser bikes. However, some high-end racing bikes or kids’ models may need adapters. Always verify with the product specs or Cloud 9’s compatibility chart on their website.
Q: What if my seat post is stuck and won’t come out?
A: Apply penetrating oil like WD-40 around the post and let it sit for 10 minutes. Gently tap with a rubber mallet while wiggling. If it’s seized from corrosion, a bike shop can use specialized tools without damaging the frame. Warning: Avoid excessive force to prevent cracking the seat tube.
Q: How do I adjust the Cloud 9 seat for different riders?
A: Loosen the clamp and slide for height/position, then retighten. For multiple users, mark positions with tape on the post. The seat’s adjustable tilt allows quick tweaks—aim for neutral spine alignment during rides.
Q: Can I install the Cloud 9 on an electric bike?
A: Absolutely, as long as the seat post matches standard sizes. E-bikes often have heavier frames, so double-check torque (up to 8 Nm) and test for stability under load. Cloud 9’s cushioned design is great for e-bike comfort on longer commutes.
Q: What maintenance does the Cloud 9 seat need after installation?
A: Clean with a damp cloth weekly; avoid harsh chemicals that degrade the gel. Inspect rails monthly for wear. With proper care, it can last 2-5 years of regular use, per Cloud 9’s durability testing.
Q: Why is my new Cloud 9 seat uncomfortable right after installation?
A: It might need a break-in period of 50-100 miles as the padding settles. Ensure proper height and tilt—common culprits are seats too high or tilted up, causing pressure points. Readjust and test incrementally.
Q: Does Cloud 9 offer a warranty on their seats?
A: Yes, most models come with a 1-2 year warranty against defects. Installation doesn’t affect it, but keep your receipt. Contact their support for claims, and they’ll guide you through returns if needed.
Alternative Solutions for Bike Seat Installation
If the standard Cloud 9 bike seat installation doesn’t suit your setup—say, due to a unique frame or if you prefer a different comfort level—consider these alternatives. They might involve similar steps but with variations for specific needs.
| Solution | Pros | Cons | Best For |
|---|---|---|---|
| Quick-Release Seat Post Adapter | Easy swap without tools; allows height adjustments on the fly | Less secure for rough terrain; adds minor weight | Commuters who switch seats frequently |
| Professional Bike Fit Service | Custom measurements for perfect ergonomics; includes full bike tune-up | Higher cost ($50-150); requires shop visit | Serious cyclists with pain issues or triathlon setups |
| Universal Seat Clamp Kit (e.g., from Ergon) | Fits non-standard rails; more durable for off-road | Bulkier than stock; may alter aesthetics | Mountain bikers upgrading to Cloud 9-style comfort |
| Memory Foam Seat Cover Over Existing Saddle | No installation needed; adds cushioning instantly | Doesn’t replace the seat; wears out faster | Budget riders testing Cloud 9 comfort before buying |
These options can bridge gaps if DIY installation hits a snag, but the Cloud 9 remains a top choice for its balance of comfort and ease.
Enjoy Your New Cloud 9 Bike Seat
Congratulations—you’ve successfully navigated the Cloud 9 bike seat installation process! Here’s a quick recap of the key steps to reinforce what you’ve learned:
– Gather tools and prep your bike safely for a smooth start.
– Attach and adjust the seat in phases for precision and comfort.
– Test thoroughly and troubleshoot any hiccups to ensure reliability.
– Apply pro tips for long-term performance and enjoyment.
Following this guide ensures your rides are not just functional but truly comfortable, thanks to the Cloud 9’s innovative design. You’ll notice reduced soreness and better posture from day one, making every pedal stroke more enjoyable. Take that test ride today and feel the difference!
Have you installed a Cloud 9 bike seat before? Share your tips or any challenges in the comments below to help fellow cyclists. If you’re still tweaking, describe your setup for personalized advice. Happy riding!
(Word count: 1,856)


