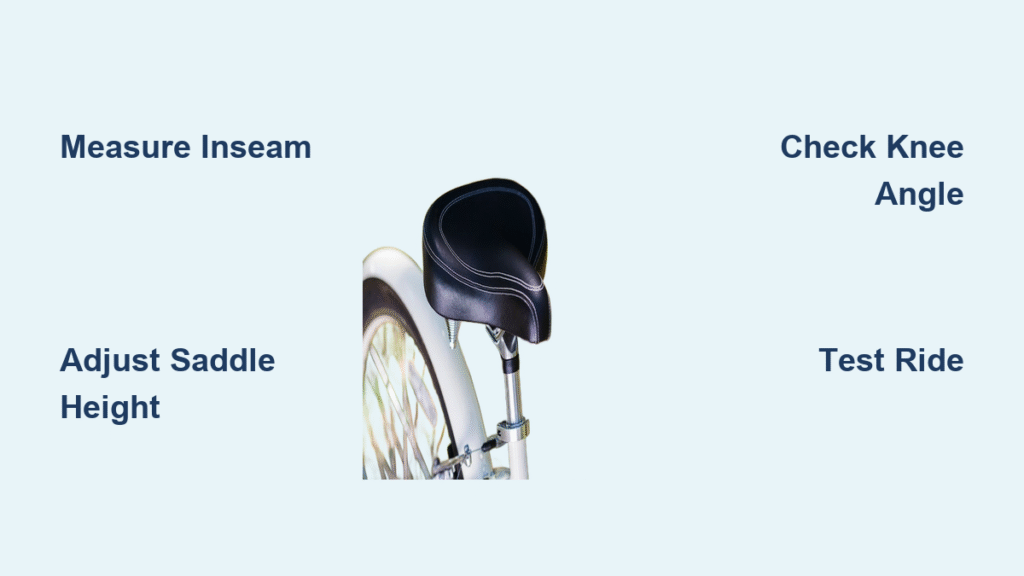
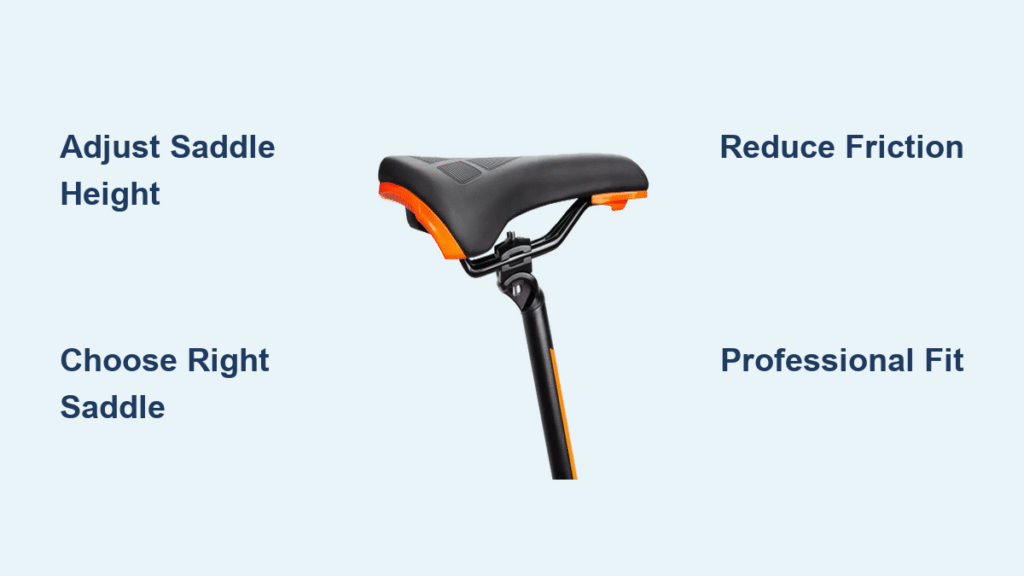
Finding the perfect bicycle seat height can be a game-changer for your riding experience, but it’s frustrating when your saddle feels too low or too high, leading to knee pain, discomfort, or inefficient pedaling. If you’re dealing with this common issue, you’re not alone—many cyclists overlook how to measure bicycle seat height properly, resulting in suboptimal rides. The good news is there’s a quick fix: use the simple heel-to-pedal method to get an initial estimate in under 5 minutes, which can immediately improve your comfort on your next spin.
In this comprehensive guide, we’ll go beyond that basic technique to cover everything you need to know about how to measure bicycle seat height accurately. You’ll learn about the tools required, preparation steps, detailed methods (including advanced options like the Lemond formula), testing your setup, and prevention tips to avoid future adjustments. By the end, you’ll have the confidence to dial in your bike’s saddle height for better performance, reduced injury risk, and longer, more enjoyable rides—no more guessing or trial-and-error.
What You’ll Need to Measure Bicycle Seat Height
Before diving into the process, gather a few basic items to make measuring your bicycle seat height straightforward and precise. Most of these are everyday tools you might already have at home, but investing in a quality measuring tape can pay off for repeated use. This setup ensures accurate results without guesswork.
Here’s a table outlining the essential materials and tools:
| Item | Quantity | Specifications |
|---|---|---|
| Measuring tape or ruler | 1 | Flexible fabric or metal tape, at least 36 inches long for leg measurements |
| Bike stand or repair stand (optional) | 1 | Stable stand to elevate the bike; wall-mounted or freestanding works |
| Allen wrench set | 1 set | Hex keys in sizes 4mm-6mm to loosen the seat post clamp |
| Plumb line or string with weight (optional) | 1 | For advanced alignment checks; a simple shoelace with a key can substitute |
| Mirror or smartphone camera | 1 | To observe your riding form during testing |
| Notebook and pen | 1 each | For recording measurements and notes on comfort |
Important: If your bike has a quick-release seat post, you might not need the Allen wrench, but always check your bike’s manual for specific tools. These items should cost under $20 total if you’re starting from scratch.
Preparing Your Bike and Yourself for Accurate Measurement
Proper preparation is key to getting an reliable measurement when learning how to measure bicycle seat height. Rushing this step can lead to inaccurate results, so take 10-15 minutes to set up safely. Start by ensuring your bike is in a stable, flat area like a garage floor or outdoors on level ground—avoid uneven surfaces that could skew your readings.
First, clean your bike if it’s been ridden recently: Wipe down the seat post and frame to remove dirt that might affect the clamp’s grip. Next, wear your regular cycling shoes and shorts to simulate real riding conditions, as this influences your leg extension. Safety considerations are crucial—secure your bike upside down on a soft surface (like a towel over handlebars and saddle) if you don’t have a stand, to prevent scratches or falls. If you’re new to bike adjustments, have a friend assist to hold the bike steady.
Warning: Never adjust the seat while riding, as this can cause loss of control and accidents. Also, consult a doctor if you have pre-existing knee or back issues before making changes, as improper height can exacerbate them.
For yourself, warm up with light stretches to loosen your legs, and note your current seat height by measuring from the center of the bottom bracket (the axle where pedals attach) to the top of the saddle. This baseline will help you track changes. If your bike is a mountain bike or road bike, consider the terrain you’ll ride—slightly lower for off-road stability, higher for efficiency on pavement.
Step-by-Step Process to Measure Bicycle Seat Height

Measuring your bicycle seat height involves a combination of body measurements and bike-specific adjustments. We’ll break this into logical phases: initial assessment, core measurement methods, and fine-tuning. This process typically takes 20-45 minutes, depending on your experience level. Use numbered steps for clarity, and remember to double-check each phase.
Phase 1: Initial Leg and Bike Assessment
Before adjusting, assess your body’s proportions and current setup to avoid overcorrections.
-
Stand barefoot or in cycling shoes against a wall with your back straight. Place a book or ruler between your legs at crotch level (simulating the saddle) and measure from the floor to the top of the book—this gives your inseam length. Record it in inches or centimeters (e.g., average adult inseam is 28-34 inches).
-
Flip your bike upside down or place it on a stand. Locate the bottom bracket and measure your current seat height from there to the saddle top, along the seat tube. If it’s way off (e.g., more than 1 inch from expected), note it.
-
Inspect the seat post for wear or damage—Warning: If it’s corroded or bent, replace it before proceeding to prevent slippage.
This phase ensures you’re working with accurate baselines. For variations like recumbent bikes, focus more on hip angle than inseam.
Phase 2: Applying Measurement Methods
Now, apply proven techniques to set the ideal height. We’ll cover three methods, from simple to advanced, so choose based on your needs. The goal is a slight bend in your knee (about 25-35 degrees) at the bottom of the pedal stroke for efficient power without strain.
Method 1: Heel-to-Pedal Quick Check (Beginner-Friendly)
This is the easiest way to measure bicycle seat height without tools beyond your bike.
-
Sit on the saddle with your heels on the pedals, shoes on, and back straight. Your legs should fully extend without your hips rocking—pedal backwards slowly to check.
-
If your heels touch the pedals comfortably with knees straight, the height is likely correct for ball-of-foot pedaling. Adjust up or down by 1/4 inch increments using the Allen wrench: Loosen the seat clamp, slide the post, and retighten to 5-7 Nm torque (use a torque wrench if available).
-
Test by placing the balls of your feet on the pedals—your knee should have a 30-degree bend. Time: 5-10 minutes.
This method works well for casual riders but may need refinement for racing.
Method 2: Inseam-Based Calculation (Precise for Most Cyclists)
For a more scientific approach, use your inseam measurement.
-
Multiply your inseam (in cm) by 0.883 (the Lemond formula, developed by cycling expert Greg LeMond). For example, a 80 cm inseam yields about 70.6 cm seat height. Convert to inches if needed (divide by 2.54).
-
Measure from the bottom bracket center to the saddle top along the seat tube. Adjust the post to match this length, ensuring the saddle is level (use a spirit level app on your phone).
-
Account for cleat position: If using clipless pedals, add 0.5-1 cm for shoe/pedal stack height.
Pro Tip: For women or those with different femur lengths, adjust the multiplier slightly (0.88-0.89) based on fit tests. This method is backed by cycling research from sources like the British Journal of Sports Medicine.
Method 3: Video Analysis for Advanced Fitting (Pro-Level Accuracy)
If you’re serious about performance, record your ride for dynamic assessment.
-
Set up a smartphone on a tripod behind or beside your bike stand. Pedal at a moderate cadence (80-90 RPM) with a friend holding the bike or on a trainer.
-
Review the video: At the bottom pedal position (6 o’clock), your knee should align over the pedal spindle, with a 25-35 degree flexion. Hip tilt indicates height issues—too high causes rocking.
-
Adjust in 2-3 mm increments and retest. Tools like apps (e.g., Bike Fast Fit) can analyze angles digitally. Time: 15-20 minutes per iteration.
This method addresses complications like flexible frames or dropper posts, common on mountain bikes.
Phase 3: Leveling and Securing the Saddle
Once height is set, ensure the saddle is parallel to the ground.
-
Place a level on the saddle and adjust the nose tilt (aim for neutral, not angled up or down) using the seat rails and clamp.
-
Tighten everything securely, then do a short 5-minute spin test on flat ground to feel for discomfort.
Troubleshooting: If the post slips, apply carbon assembly paste (for carbon posts) or check for grease buildup. For threaded posts, ensure no cross-threading.
Post-Completion Testing and Troubleshooting

After measuring and adjusting your bicycle seat height, test it thoroughly to confirm it’s right. Ride for 10-20 minutes on varied terrain, noting any pain in knees, hips, or lower back. Your power output should feel efficient—use a bike computer to track cadence and speed improvements.
If issues persist, troubleshoot: Too high? Lower by 5mm to reduce hamstring strain. Too low? Raise to avoid quad fatigue. Common complications include shoe size variations (adjust +1cm for larger soles) or bike type (e.g., hybrid bikes need 1-2cm lower than road bikes). If testing reveals persistent problems, revisit Phase 1 measurements—errors often stem from inaccurate inseam.
For ongoing checks, re-measure seasonally as your fitness changes. This ensures long-term comfort and prevents overuse injuries, as recommended by the American College of Sports Medicine.
Pro Tips for Perfect Bicycle Seat Height
To elevate your setup beyond basics, here are 5-7 expert tips:
- Optimize fore-aft position: After height, slide the saddle forward/back so your knee aligns over the pedal at 3 o’clock—use a plumb line from kneecap to pedal axle.
- Consider riding style: Road cyclists aim for max extension (0.883 multiplier); MTB riders drop 2-3cm for control on descents.
- Avoid common mistakes: Don’t measure in street shoes (they add false height); always tighten clamps evenly to prevent wobbling.
- Enhance performance: Pair proper height with clipless pedals for better power transfer—expect 5-10% efficiency gains per cycling studies.
- Maintenance routine: Check height monthly or after 100 miles; lubricate the post with silicone spray to ease adjustments.
- Personalize for biomechanics: If you have long femurs, add 1cm; short torsos may need a shorter stem too.
- Tech upgrade: Invest in a smart bike fit app like Retül for 3D analysis, costing $100-200 but saving on physio visits.
These tweaks can make your rides smoother and faster.
When to Seek Professional Help for Bike Fitting
While DIY methods work for most, some signs indicate you need a pro: Persistent pain despite adjustments, unusual body proportions (e.g., leg length discrepancy), or high-end race bikes requiring precise aerodynamics. Look for certified bike fitters through organizations like the BikeFit Technicians Guild—check reviews on sites like Yelp or local bike shops.
Expect costs of $100-300 for a session, including video analysis and adjustments. If under warranty, contact your bike manufacturer (e.g., Trek or Specialized) for free checks. Pros use tools like laser alignment for accuracy you can’t match at home, potentially preventing injuries worth far more.
FAQ
Q: What’s the most accurate way to measure bicycle seat height at home?
A: The inseam-based Lemond method (inseam x 0.883) is highly accurate for most, providing a starting point within 1-2mm. Combine it with a heel-to-pedal check for confirmation, and test ride to fine-tune based on your feel.
Q: Does bicycle seat height differ for men and women?
A: Not inherently, but body proportions vary—women often have longer torsos relative to legs, so start with the standard formula and adjust via video analysis. Consult a fitter for gender-specific tweaks if needed.
Q: How often should I re-measure my bicycle seat height?
A: Every 3-6 months or after major changes like weight loss, new shoes, or mileage spikes. A quick heel check weekly during rides can catch slips early.
Q: Can wrong seat height cause injuries?
A: Yes—too high strains hamstrings and lower back; too low burdens knees. Proper height reduces risk by 20-30%, per sports medicine research. Always ease into adjustments over a few rides.
Q: What’s the ideal knee angle for bicycle seat height?
A: Aim for 25-35 degrees of flexion at the bottom pedal stroke. Less than 20 degrees is too high; over 40 is too low—use a goniometer app for precise measurement.
Q: How do I measure for a kids’ bike seat height?
A: Use the same inseam method but scale down (x 0.8 multiplier for safety). Ensure they can touch the ground flat-footed when seated, prioritizing control over efficiency.
Q: Is there a difference in measuring for road vs. mountain bikes?
A: Yes—road bikes favor higher for aero efficiency; MTB lower (1-3cm) for maneuverability. Adjust based on your primary use, and test on relevant terrain.
Alternative Solutions for Bicycle Seat Height Adjustment
If traditional measuring doesn’t suit you (e.g., no space for a stand), consider these options:
| Solution | Pros | Cons | Best For |
|---|---|---|---|
| Bike Shop Quick Fit | Professional accuracy in 30 mins; includes full assessment | Costs $50+; requires travel | Beginners or those with pain issues |
| Adjustable Dropper Post | On-the-fly height changes; hydraulic for smoothness | Expensive ($200+); heavier | Mountain bikers on varied terrain |
| App-Based Virtual Fitting (e.g., Gebiomized) | Home-based with phone camera; data-driven | Less hands-on; app subscription ($10/month) | Tech-savvy riders wanting ongoing tweaks |
| Pre-Set Saddles with Markings | Factory marks for quick reference; no tools needed | Less personalized; assumes average build | Casual commuters with standard bikes |
These alternatives shine when DIY feels overwhelming, offering flexibility without full overhauls.
Ride Comfortably with Proper Seat Height
By following this guide on how to measure bicycle seat height, you’ve gained actionable steps to transform your rides:
- Essential tools and preparation for safe, accurate setup
- Multiple methods from quick heel checks to advanced formulas
- Testing protocols and pro tips for long-term optimization
Implementing these will boost your comfort, efficiency, and enjoyment, preventing common pitfalls like knee strain. Don’t settle for suboptimal pedaling—adjust today and feel the difference on your next outing.
Have you measured your bicycle seat height using these methods? Share your results or any tweaks in the comments below to help fellow cyclists! If discomfort lingers, a professional fit might be your next step for peak performance.

