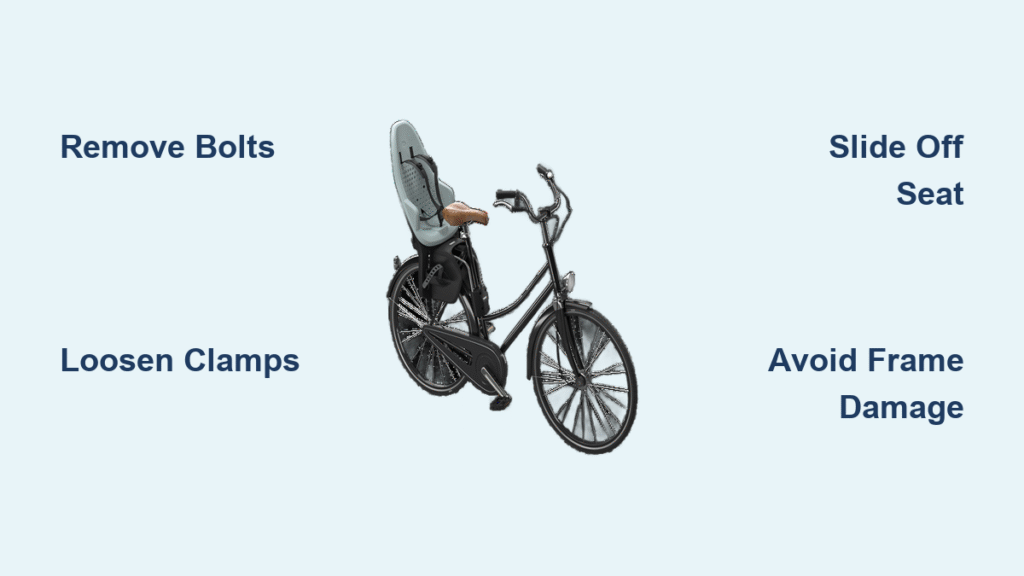
Struggling to remove your Thule bike seat without scratching your bike or dealing with stubborn bolts? You’re not alone—many cyclists face this frustration when it’s time to store the seat for the season or switch to a different setup. The good news is that with the right approach, how to remove Thule bike seat can be a straightforward process that takes just 15-30 minutes. In this guide, we’ll start with a quick fix for the most common models like the Thule Yepp Nexxt or Chariot, ensuring you can detach it safely and efficiently right away.
Beyond the basics, this comprehensive guide dives deep into preparation, detailed steps for various Thule models, troubleshooting common issues, and tips to prevent future headaches. By the end, you’ll have the confidence to handle the removal yourself, whether you’re dealing with a rear-mounted child seat or a cargo carrier attachment. We’ll cover tools, safety precautions, and even when to call in a pro, so you can get back to riding hassle-free.
What You’ll Need for Thule Bike Seat Removal
Before diving in, gather the essential tools and materials to make the process smooth and avoid damaging your bike or the seat. Thule seats typically use standard bike hardware, so you likely have most of these on hand. Always check your specific model’s manual (available on Thule’s website) for any unique requirements.
| Item | Quantity | Specifications |
|---|---|---|
| Allen wrench set | 1 set | Sizes 4mm, 5mm, and 6mm (most common for Thule mounts) |
| Adjustable wrench or socket set | 1 | For loosening nuts on seat post clamps; 10-13mm sizes |
| Screwdriver (Phillips or flathead) | 1 | For any plastic covers or secondary fasteners |
| Torque wrench (optional but recommended) | 1 | For reassembly later; set to 5-7 Nm to avoid over-tightening |
| Clean rags or microfiber cloth | Several | For wiping down bolts and preventing dirt buildup |
| Bike stand or helper | 1 | To stabilize the bike during removal; essential for safety |
| Lubricant (e.g., WD-40 or bike chain lube) | 1 can | For stuck bolts; use sparingly to avoid residue on the seat |
Important: If your Thule bike seat is a child carrier like the Yepp Mini or RideAlong, ensure it’s empty and the child is safely away before starting. Working on a bike without proper support can lead to slips or falls.
Preparing Your Bike for Thule Seat Removal
Proper preparation is key to a frustration-free removal, especially since Thule seats are designed for secure, vibration-resistant mounting. Skipping this can lead to stripped screws or bike frame damage. Start by parking your bike in a well-lit, flat area like a garage or driveway—avoid uneven surfaces that could tip it over.
Safety Considerations
Safety first: Always wear gloves to protect your hands from sharp edges on the frame or seat brackets. If your bike has electronic components (like lights integrated near the seat), disconnect the battery to prevent shorts. For child seats, double-check that all straps and padding are secured or removed to avoid snags.
Warning: Never remove the seat while riding or in motion. If the seat has been exposed to rain or mud, clean it lightly first to prevent grime from gumming up the works. Allow 10-15 minutes for this prep phase, and consult your bike’s manual if it’s a non-standard frame (e.g., full-suspension mountain bikes may require extra care).
Initial Inspection
Before tools come out, inspect the mounting points:
– Locate the main attachment: Most Thule seats clamp to the seat post or rear frame rack with 2-4 bolts.
– Check for wear: Look for rust, corrosion, or loose parts. If bolts are seized, apply lubricant and wait 5 minutes.
– Document the setup: Take photos of the current configuration for easy reassembly later.
This step ensures you’re not forcing anything and helps identify model-specific quirks, like the quick-release mechanism on some Yepp models.
Step-by-Step Thule Bike Seat Removal Process

Removing a Thule bike seat involves reversing the installation process, but it’s broken into phases for clarity. We’ll focus on the most popular models like the Thule Yepp Nexxt (rear child seat) and Thule Chariot (convertible trailer/seat), but the principles apply broadly. Total time: 15-30 minutes for standard setups. Use a bike stand to elevate the rear wheel off the ground for stability.
Phase 1: Disengage Accessories and Straps
Start by clearing any add-ons to access the core mountings. This prevents damage to softer parts like padding.
- Remove the child or cargo: Empty the seat completely and fold down any adjustable backrests or footrests according to the manual.
- Detach straps and harnesses: Unclip all safety belts and buckles. For Thule Yepp models, release the quick-release buckles at the shoulders and waist—store them in the seat bag to avoid loss.
- Disconnect any accessories: If your seat has integrated lights, fenders, or reflectors, unscrew or unclip them first. Use a Phillips screwdriver for plastic covers.
Tip: If straps are tangled, gently pull them through the slots without yanking to preserve the fabric.
Phase 2: Loosen and Remove Main Mounting Bolts
This is the core of how to remove Thule bike seat—focus on the frame clamp or seat post attachment. Thule uses torque-limited bolts to prevent over-tightening, so go slow.
- Position the bike: Secure it upside down on a soft surface (like a towel over your saddle) or use a stand to access the underside.
- Identify bolt locations: For seat post mounts (common on road bikes), look for 2-3 Allen bolts on the clamp around the post. Frame-mounted seats like the Chariot may have rack-style bolts at the rear dropout.
- Apply lubricant if needed: Spray a light mist on rusty bolts and let it sit for 2-3 minutes.
- Loosen bolts counterclockwise: Start with the lower bolt using a 5mm Allen wrench. Turn gradually—expect 5-10 full rotations. If it’s a quick-release lever (on some models), flip it to the open position first.
- Support the seat: Have a helper hold it as you loosen the final bolt to prevent it from dropping and scratching the frame.
Warning: If a bolt spins without loosening, stop immediately—it could be cross-threaded. Use pliers to hold the nut on the other side while turning the bolt.
For variations: On carbon fiber frames, use a torque wrench to avoid cracking—Thule recommends no more than 6 Nm of force.
Phase 3: Detach and Lift Off the Seat
Once bolts are loose, the seat should slide free. This phase takes under 5 minutes.
- Slide the clamp off: Gently pull the seat assembly away from the seat post or frame. Wiggle if it’s snug, but don’t force it.
- Inspect the interface: Check for rubber shims or adapters (Thule includes these for different tube diameters, like 27.2mm to 31.8mm posts). Remove and store them with the seat.
- Clean the mounting area: Wipe the bike frame and seat base with a microfiber cloth to remove dirt or residue. This prevents corrosion during storage.
If your model has a pivot joint (e.g., for adjustable angles), loosen the pivot bolt last and fold the seat flat before full removal.
Post-Removal Testing and Troubleshooting
After detachment, test for completeness and address any snags. Reattach loosely if needed to verify.
Testing the Bike
- Spin the rear wheel: Ensure no parts from the seat are interfering— the bike should roll freely.
- Check frame integrity: Inspect for scratches or dents at mount points. Apply touch-up paint if necessary.
- Test ride (short): Take a 1-2 minute spin without the seat to confirm stability.
Common Troubleshooting Issues
If removal doesn’t go smoothly:
– Stuck bolts: Soak with penetrating oil overnight and use a breaker bar for leverage. If still stuck, heat gently with a hairdryer (avoid torches on carbon frames).
– Incompatible frame: Some e-bikes or fat-tire models may need Thule’s extension kit—double-check compatibility on Thule’s site.
– Missing parts: If a bolt is stripped, replace with Thule OEM hardware (available for $5-10 online). Search “Thule Yepp replacement bolts” for your model.
– Error doesn’t resolve: If the seat won’t budge after Phase 2, it might be a warranty issue—contact Thule support with photos.
For ongoing issues, refer to Thule’s official troubleshooting guide or YouTube tutorials specific to your model for visual aids.
Pro Tips for Thule Bike Seat Removal and Maintenance
Go beyond the basics with these expert insights to make future removals easier and extend your seat’s life:
– Label your hardware: Use zip ties or tape to mark bolt sizes and positions during removal—saves time on reinstall.
– Store properly: Hang the seat in a dry place with bolts attached loosely to prevent loss. Avoid direct sunlight to preserve fabrics.
– Lubricate annually: Apply bike grease to threads before reinstalling to fight corrosion, especially in wet climates.
– Common mistake to avoid: Don’t overtighten during past installations—this is why bolts seize. Always use a torque wrench.
– Optimize for travel: For frequent removal, upgrade to Thule’s quick-release adapters (around $20) for under-5-minute swaps.
– Seasonal check: Inspect mounts every 6 months for wear; replace rubber pads if cracked to maintain a secure fit.
– Eco-friendly cleaning: Use mild soap and water on the seat post area post-removal to keep your bike looking new without harsh chemicals.
These tips can cut removal time in half over time and prevent costly repairs.
When to Seek Professional Help

While DIY removal is empowering, some situations call for a bike shop pro. Signs include: severe rust making bolts immovable, damage to the frame from improper past installs, or if your Thule seat is under warranty (tampering voids it). Look for shops certified by Thule or with high ratings on sites like Yelp—ask about experience with child carriers.
Typical costs: $20-50 for a quick removal service, plus parts if needed. If it’s a warranty claim, Thule covers labor at authorized dealers. Always bring your proof of purchase and model number (e.g., Thule 8032 Yepp Nexxt).
FAQ
Q: How long does it take to remove a Thule bike seat?
A: For most models like the Yepp Nexxt, expect 15-30 minutes if prepared. Quick-release versions can be done in under 10 minutes. Factor in extra time for stuck bolts or first-time users.
Q: Do I need special tools for Thule Chariot seat removal?
A: No, standard Allen wrenches suffice, but a torque wrench is ideal for reassembly. The Chariot’s hitch system may require a 13mm wrench for the rear dropout pins—check the manual for your variant.
Q: Can I remove the Thule bike seat without damaging the frame?
A: Yes, with care. Use padded cloths under the bike and avoid prying tools. For delicate carbon frames, apply tape to protect paint. If unsure, consult a pro to prevent scratches.
Q: What if my Thule seat is mounted on a seat post with a specific diameter?
A: Thule adapters handle 25.4mm to 31.8mm posts. During removal, note the shim size and store it. If mismatched, it could cause wobbling—replace if worn.
Q: Is it safe to ride without the Thule bike seat after removal?
A: Absolutely, as long as the mount area is clean and secure. Test for any leftover hardware that could interfere with pedaling or the chain.
Q: How do I reinstall the Thule bike seat after removal?
A: Reverse the steps: Slide onto the post, tighten bolts to 5-7 Nm, and test for stability. Follow Thule’s torque specs to ensure safety.
Q: Are there differences in removal for electric bikes?
A: Yes, e-bikes may have integrated batteries near the seat tube—disconnect first. Thule offers e-bike specific mounts; removal is similar but check for wiring.
Alternative Solutions for Thule Bike Seat Removal
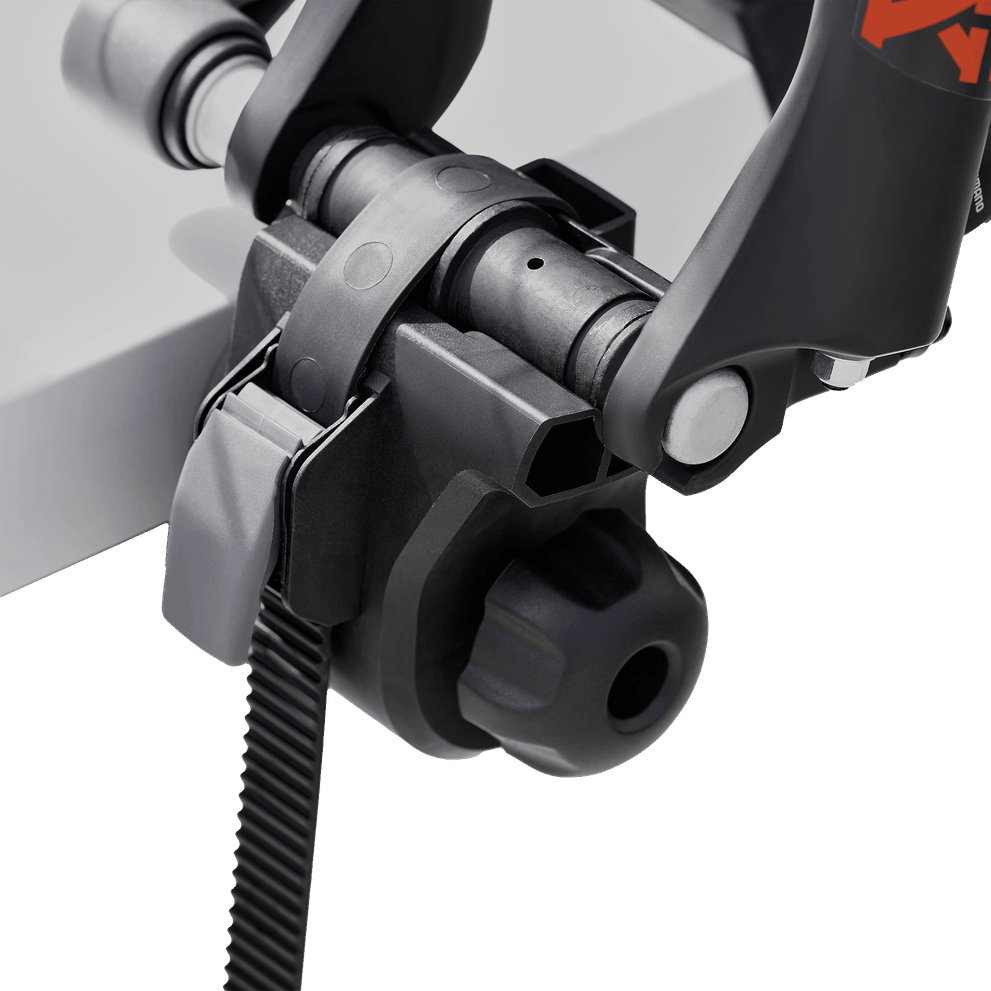
If the standard method fails due to model variations or damage, consider these alternatives. For instance, if your seat is integrated into a Thule trailer system, a full disassembly might be needed.
| Solution | Pros | Cons | Best For |
|---|---|---|---|
| Quick-Release Upgrade Kit | Faster detachment (under 2 minutes); no tools needed | Costs $15-30; requires initial install | Frequent users or commuters |
| Professional Bike Shop Service | Expert handling; warranty-safe | $20-50 fee; wait time for appointment | Rusted or complex mounts like on mountain bikes |
| Thule Universal Hitch Remover Tool | Designed for trailers/seats; prevents frame damage | $10-20; specific to hitch-style models | Chariot or cargo conversions |
| DIY Heat Method (Hairdryer) | Loosens seized bolts quickly | Risk of overheating plastics; not for all materials | Mild corrosion without pro access |
Weigh these based on your setup— the upgrade kit is ideal for repeat removals.
Enjoy a Seat-Free Ride with Your Bike
Now that you’ve mastered how to remove Thule bike seat, you’re set for easier storage, maintenance, or upgrades:
– Essential tools and prep for safe starts
– Detailed phases from straps to full detachment
– Troubleshooting and pro tips for long-term success
Following this guide ensures a smooth process without the common pitfalls, letting you focus on the joy of cycling. Grab those Allen wrenches and give it a go today—you’ll wonder why it seemed so daunting before.
Have you removed your Thule bike seat using these steps? Share your tips or any model-specific challenges in the comments below to help fellow cyclists!

