If you’ve ever hit the trails on your mountain bike only to feel nagging knee pain, lower back discomfort, or just plain inefficiency pedaling uphill, you’re not alone. Adjusting your mountain bike seat position is a game-changer for comfort and performance, but getting it wrong can turn a fun ride into a painful chore. The good news? A quick fix like measuring your inseam and setting your saddle height to about 109% of that length can provide immediate relief, helping you pedal more efficiently without strain.
In this comprehensive guide, we’ll go way beyond that basic tweak to cover everything you need to know about mountain bike seat position. From understanding the science behind saddle height, fore-aft adjustments, and tilt to step-by-step instructions tailored for MTB riders, you’ll find multiple methods to dial in the perfect setup. By the end, you’ll have the confidence to customize your bike for your body type, riding style, and terrain—whether you’re a beginner tackling easy singletrack or an advanced rider bombing down technical descents. Let’s get your seat sorted so you can focus on the thrill of the ride.
Why Proper Mountain Bike Seat Position Matters
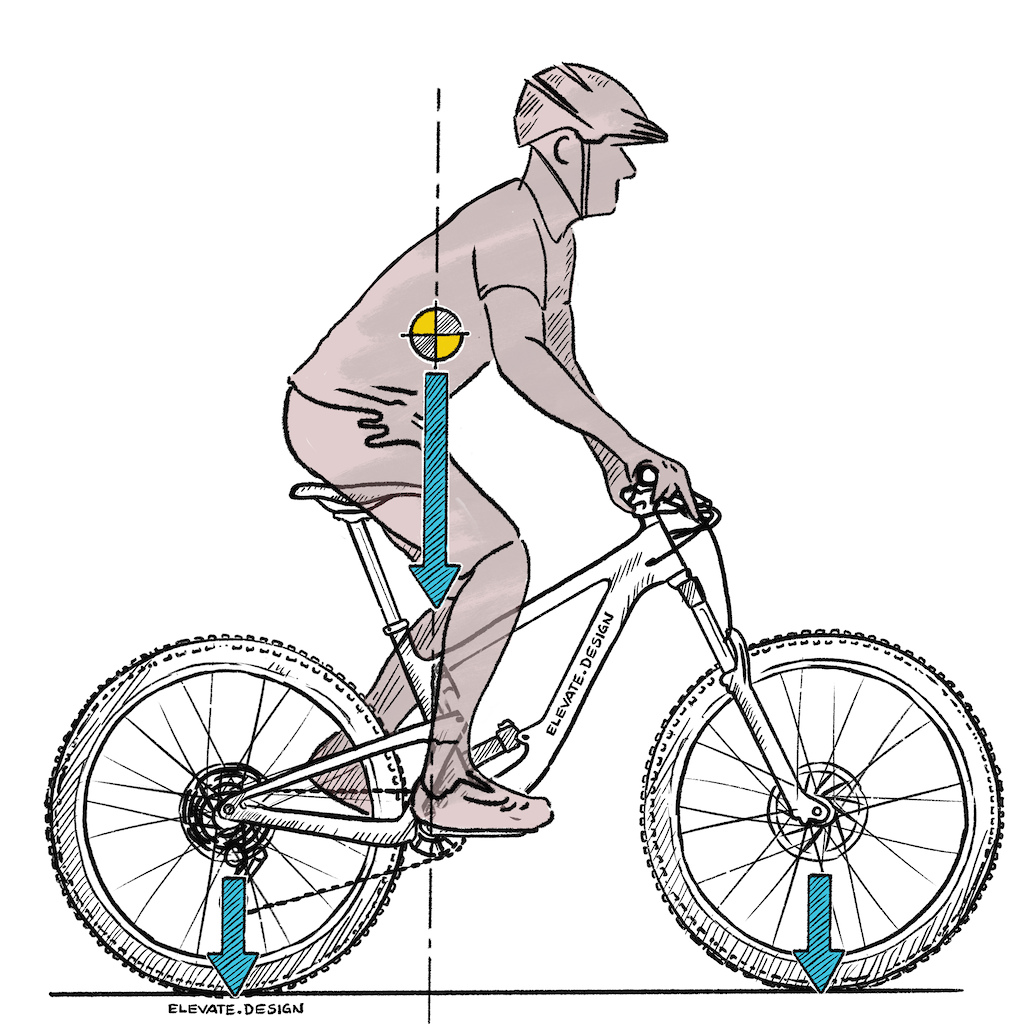
Getting your mountain bike seat position right isn’t just about comfort—it’s essential for power transfer, injury prevention, and overall bike handling. On rugged trails, where you’re constantly shifting weight between climbs, descents, and technical sections, an improper saddle setup can lead to inefficiencies like reduced pedaling power or even chronic issues such as IT band syndrome or hip flexor strain.
Think about it: If your saddle is too low, you’ll rock side-to-side, wasting energy and stressing your knees. Too high, and you might hyperextend, causing hamstring pulls. The ideal position optimizes your hip angle at the bottom of the pedal stroke (around 30-35 degrees) for maximum leverage while allowing you to stand and maneuver easily during drops or roots. Studies from sources like the British Journal of Sports Medicine show that riders with proper saddle height can improve efficiency by up to 10%, meaning less fatigue on long rides. For mountain biking specifically, this setup also enhances control—crucial when you’re navigating rocky switchbacks or steep climbs.
Tools and Materials Needed for Seat Adjustment

Adjusting your mountain bike seat position doesn’t require fancy equipment, but having the right tools ensures precision and safety. Most adjustments can be done with basic bike tools, and the process typically takes 30-60 minutes. Below is a table outlining what you’ll need, including quantities and specs for common mountain bikes (e.g., those with 29-inch wheels or full-suspension frames).
| Item | Quantity | Specifications |
|---|---|---|
| Allen wrench set | 1 set | 4mm, 5mm, and 6mm sizes for seat post clamp and saddle rails |
| Torque wrench | 1 | Adjustable up to 10 Nm for precise tightening without stripping bolts |
| Measuring tape or inseam ruler | 1 | Flexible, at least 36 inches long; use a book for accurate inseam measurement |
| Plumb line or laser level | 1 | For checking fore-aft position; a string with weight works as a DIY alternative |
| Bike repair stand (optional) | 1 | Stable model to elevate the bike; wall-mounted if space is limited |
| Saddle height gauge (optional) | 1 | Digital caliper or app-based tool for exact measurements |
| Lubricant | 1 small bottle | Bike-specific grease to prevent creaking on seat post |
Important: Always wear gloves when handling tools to avoid grease on your hands, and ensure your bike is stable—flip it upside down or use a stand to prevent scratches.
Preparation Steps Before Adjusting Your Seat
Before diving into adjustments, proper preparation sets you up for success and avoids common pitfalls like over-tightening bolts or inaccurate measurements. Start by assessing your current setup: Sit on your bike in your normal riding shoes and pedals, then note any discomfort points (e.g., knee pain on downstrokes). Clean the seat post and frame with a rag to remove dirt, which can affect smoothness.
Safety first—work in a well-lit, flat area away from traffic. If your mountain bike has dropper posts (common on modern MTBs), ensure it’s fully extended for height measurements. Measure your body metrics accurately: Stand barefoot against a wall, place a book between your legs (snug against your crotch), and measure from the floor to the top of the book for your inseam—this is your baseline for saddle height. Account for riding style: XC riders might prefer a slightly higher seat for efficiency, while enduro folks opt for lower for better descending control.
Warning: If your bike has electronic components like a dropper post, disconnect the battery during adjustments to prevent accidental activation. Double-check your bike’s manual for model-specific torque specs, as carbon frames require gentler handling to avoid damage.
Step-by-Step Guide to Adjusting Mountain Bike Seat Position
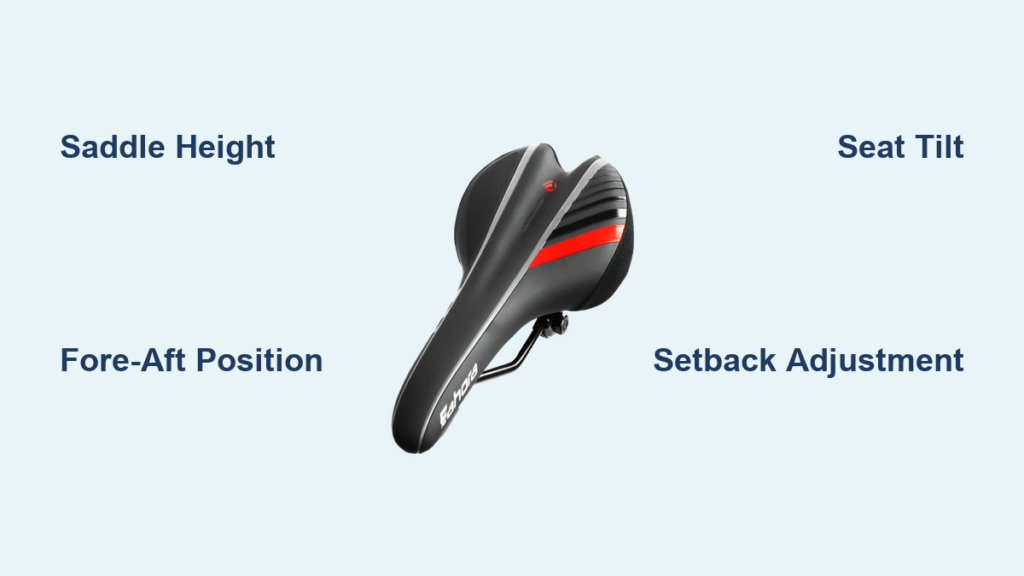
Adjusting your mountain bike seat position involves four key phases: height, fore-aft, tilt, and setback. We’ll break it down logically, with time estimates for each. This process is iterative—make small changes (1-2mm at a time) and test ride after each phase. For most riders, the goal is a neutral position where your knee aligns over the pedal spindle at the 3 o’clock position.
Phase 1: Setting Saddle Height (15-20 minutes)

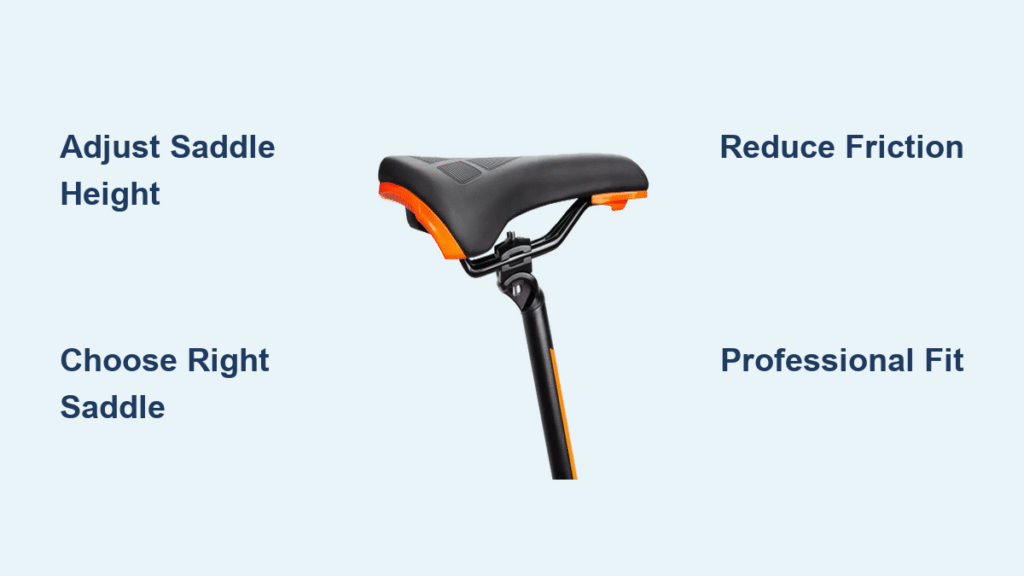
Saddle height is the foundation of mountain bike seat position, directly impacting leg extension and power. The Lemond method is a reliable starting point: Multiply your inseam (in cm) by 0.883 for road-like efficiency, but for mountain bikes, aim for 109% of inseam to allow for standing and technical riding.
- Measure your inseam as described earlier.
- Calculate: Height = Inseam × 1.09 (e.g., 80cm inseam = 87.2cm saddle height from bottom bracket center to saddle top).
- Loosen the seat post clamp with a 5mm Allen wrench.
- Slide the post up or down to match the height—use a measuring tape from the center of the bottom bracket (crank axle) to the top of the saddle.
- Tighten to 5-6 Nm with a torque wrench.
- Test: Sit on the bike, place heels on pedals at 6 o’clock position; your legs should be straight without rocking hips.
If you’re on a full-suspension bike, account for sag—compress the suspension slightly during measurement for a more accurate “riding height.”
Phase 2: Adjusting Fore-Aft Position (10-15 minutes)
Fore-aft (how far forward or back the saddle sits) affects your weight distribution and knee alignment. A neutral position places the ball of your foot over the pedal axle when cranks are horizontal.
- Mount the bike on a stand or flip it upside down.
- Loosen the saddle clamp bolts (usually 5mm Allen) under the saddle.
- Use a plumb line: Drop it from the front of your kneecap (with cranks at 3 o’clock) to align with the pedal spindle.
- Slide the saddle forward or back accordingly—most MTBs allow 20-40mm of adjustment.
- Retighten bolts to 4-5 Nm, ensuring even pressure to avoid saddle wobble.
- For aggressive trail riding, shift slightly forward for better climbing leverage.
Pro Tip: If you experience hot spots on your hands, your saddle might be too far back, overloading your upper body.
Phase 3: Fine-Tuning Saddle Tilt and Angle (10 minutes)
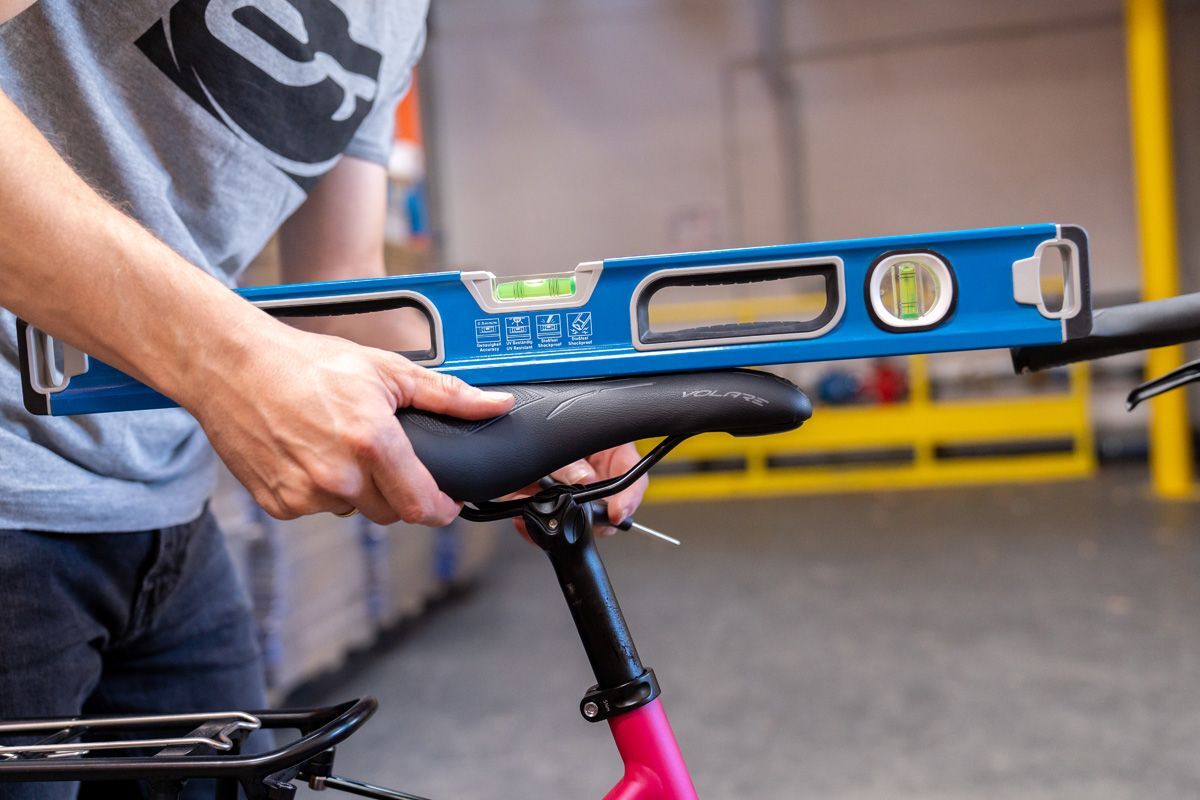
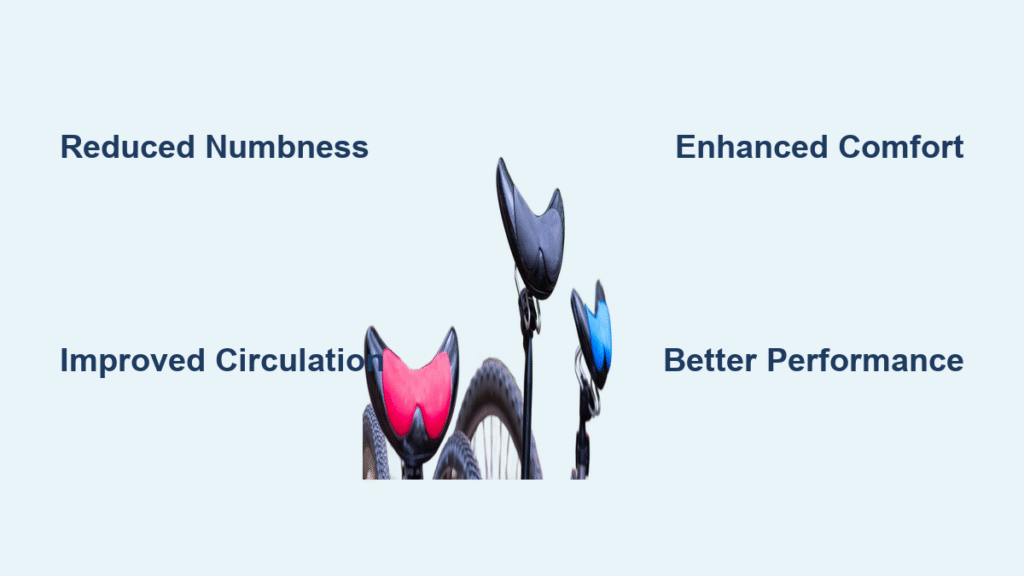
Tilt ensures even pressure distribution, preventing numbness or perineal discomfort—crucial for long MTB rides. Most saddles should be level or slightly nose-up (1-2 degrees) for mountain biking to avoid sliding forward on descents.
- Place a level on the saddle surface.
- Loosen the tilt adjustment bolts (often the same as fore-aft).
- Adjust until level, or tilt nose up slightly for technical terrain.
- Tighten securely.
- Test for pressure: Ride a short loop and note any sliding or discomfort.
Warning: Excessive nose-down tilt can cause you to slide forward, straining your arms and reducing control on steep drops.
Phase 4: Setback and Overall Balance (5-10 minutes)
Setback fine-tunes reach to the handlebars. For mountain bikes, a moderate setback (50-70mm from bottom bracket to saddle nose) balances climbing and descending.
- Measure from the bottom bracket to saddle nose.
- Adjust using the fore-aft clamp if needed.
- Ensure your reach feels natural—elbows slightly bent when gripping bars.
Testing and Fine-Tuning Your Setup
After adjustments, hit the trails for a 10-20 minute test ride on varied terrain: Include flats, climbs, and a mild descent. Pedal at 80-90 RPM and check for smooth hip rotation without knee wobble. Use a bike computer or app to monitor power output if available—aim for consistent cadence without strain.
If issues persist, revisit phases: Too much knee bend? Raise height. Numbness? Adjust tilt. For complications like shorter torsos, consider a shorter stem. Track changes in a notebook for future tweaks, as fitness or new shoes can alter ideal positioning.
Pro Tips for Mountain Bike Seat Position
- Customize for Terrain: For downhill-focused riding, lower your saddle 2-3cm via a dropper post for better control—brands like Fox or RockShox offer quick-adjust models.
- Avoid Common Mistakes: Don’t adjust while wearing thick-soled shoes; always use your riding cleats or flats for accuracy. Over-tightening can crack carbon seat posts—stick to torque specs.
- Optimize for Body Type: Taller riders (over 6ft) may need longer seat posts; shorter riders benefit from setback adjustments to avoid cramped positioning.
- Incorporate Stretching: Pair adjustments with hip flexor stretches to enhance flexibility and reduce injury risk.
- Seasonal Tweaks: In winter, raise the saddle slightly for layered clothing; monitor for changes after weight fluctuations.
- Tech Aids: Use apps like Bike Fast Fit for virtual measurements or Retül systems for pro-level analysis.
- Maintenance Routine: Check seat position monthly, as trail vibrations can loosen clamps—grease the post annually to prevent corrosion.
When to Seek Professional Bike Fitting
While DIY adjustments work for most, some signs scream for pro help: Persistent pain despite tweaks, unusual bike handling, or if you’re competing at a high level. A professional fitter uses motion capture and pressure mapping for personalized setups, costing $100-300 depending on the shop.
Look for certified fitters (e.g., via the BikeFit association) with experience in mountain bikes—avoid general shops if possible. Factor in warranty: Many brands like Specialized offer free adjustments within the first year. If your bike is under warranty, professional service preserves coverage for frame or component issues.
FAQ
Q: What’s the ideal saddle height for mountain biking?
A: For mountain bike seat position, start with 109% of your inseam measurement from the bottom bracket center to the saddle top. This allows full leg extension for efficiency while permitting standing for technical sections. Adjust down 1-2cm for aggressive descending.
Q: How does fore-aft position affect climbing?
A: A forward fore-aft setup shifts weight onto the pedals for better climbing power, reducing quad strain. Measure so your knee aligns over the pedal spindle at 3 o’clock—most riders find 5-10mm forward ideal for MTB trails.
Q: Can saddle tilt cause back pain?
A: Yes, a nose-down tilt can force you to reach excessively, straining your lower back. Keep it level or slightly up (1 degree) and test on rides; if pain persists, consult a fitter for holistic posture assessment.
Q: Is there a difference in seat position for hardtail vs. full-suspension MTBs?
A: Full-suspension bikes often need slightly higher saddles to account for rear sag (10-20% compression). Hardtails allow more direct adjustments, but both benefit from the same core principles—test under load for accuracy.
Q: How often should I readjust my mountain bike seat position?
A: Check every 3-6 months or after major changes like new pedals or weight loss. Trail abuse can shift things, so a quick plumb line test post-ride ensures stability.
Q: What if my saddle feels too wide or narrow?
A: Width should match your sit bone distance (measure with foil on a board). For MTB, opt for cutouts to reduce pressure; if uncomfortable, try a different model like the WTB Volt for versatility.
Q: Does rider height affect setback?
A: Absolutely—taller riders need more setback (60-80mm) for balanced reach, while shorter ones (under 5’6″) might prefer 40-50mm to avoid overextending. Combine with stem length for optimal cockpit fit.
Alternative Solutions for Mountain Bike Seat Position
If standard adjustments don’t suit your body or bike, consider alternatives like adjustable stems or custom saddles. For example, a dropper post allows on-the-fly height changes, ideal for all-mountain riding.
| Solution | Pros | Cons | Best For |
|---|---|---|---|
| Dropper Post | Quick height changes for descents; enhances control | Adds weight (200-300g); higher cost ($200+) | Trail/enduro riders on technical terrain |
| Professional Bike Fit | Personalized, data-driven adjustments; long-term injury prevention | Expensive ($150-400); time-intensive (1-2 hours) | Competitive or pain-prone riders |
| Ergonomic Saddle Swap | Better pressure relief with cutouts or gel; improves comfort instantly | Trial-and-error fitting; may alter position slightly | Riders with numbness or long-ride discomfort |
| Stem/Handlebar Adjustment | Balances overall reach without seat changes; cheaper DIY | Requires tools; can affect steering feel | Riders with arm/hand strain from poor cockpit setup |
These options shine when basic tweaks fall short, like on aggressive full-suspension setups.
Ride Comfortably with Perfect Seat Position
You’ve now mastered the ins and outs of mountain bike seat position with this guide:
– Essential tools and preparation for safe adjustments
– Detailed phases for height, fore-aft, tilt, and setback
– Testing methods and pro tips to optimize for your rides
– When to call in the pros and alternative solutions
Following these steps will transform your pedaling efficiency, slash discomfort, and boost your trail confidence—whether you’re grinding upswitchbacks or railing berms. Take action today: Grab your tools, make those tweaks, and head out for a test spin. You’ll feel the difference immediately.
Have you dialed in your mountain bike seat position using these tips? Share your before-and-after experience in the comments below to inspire other riders! If issues linger, describe your setup for tailored advice.